Speed and Acceleration Test (SAT)
prusaprinters
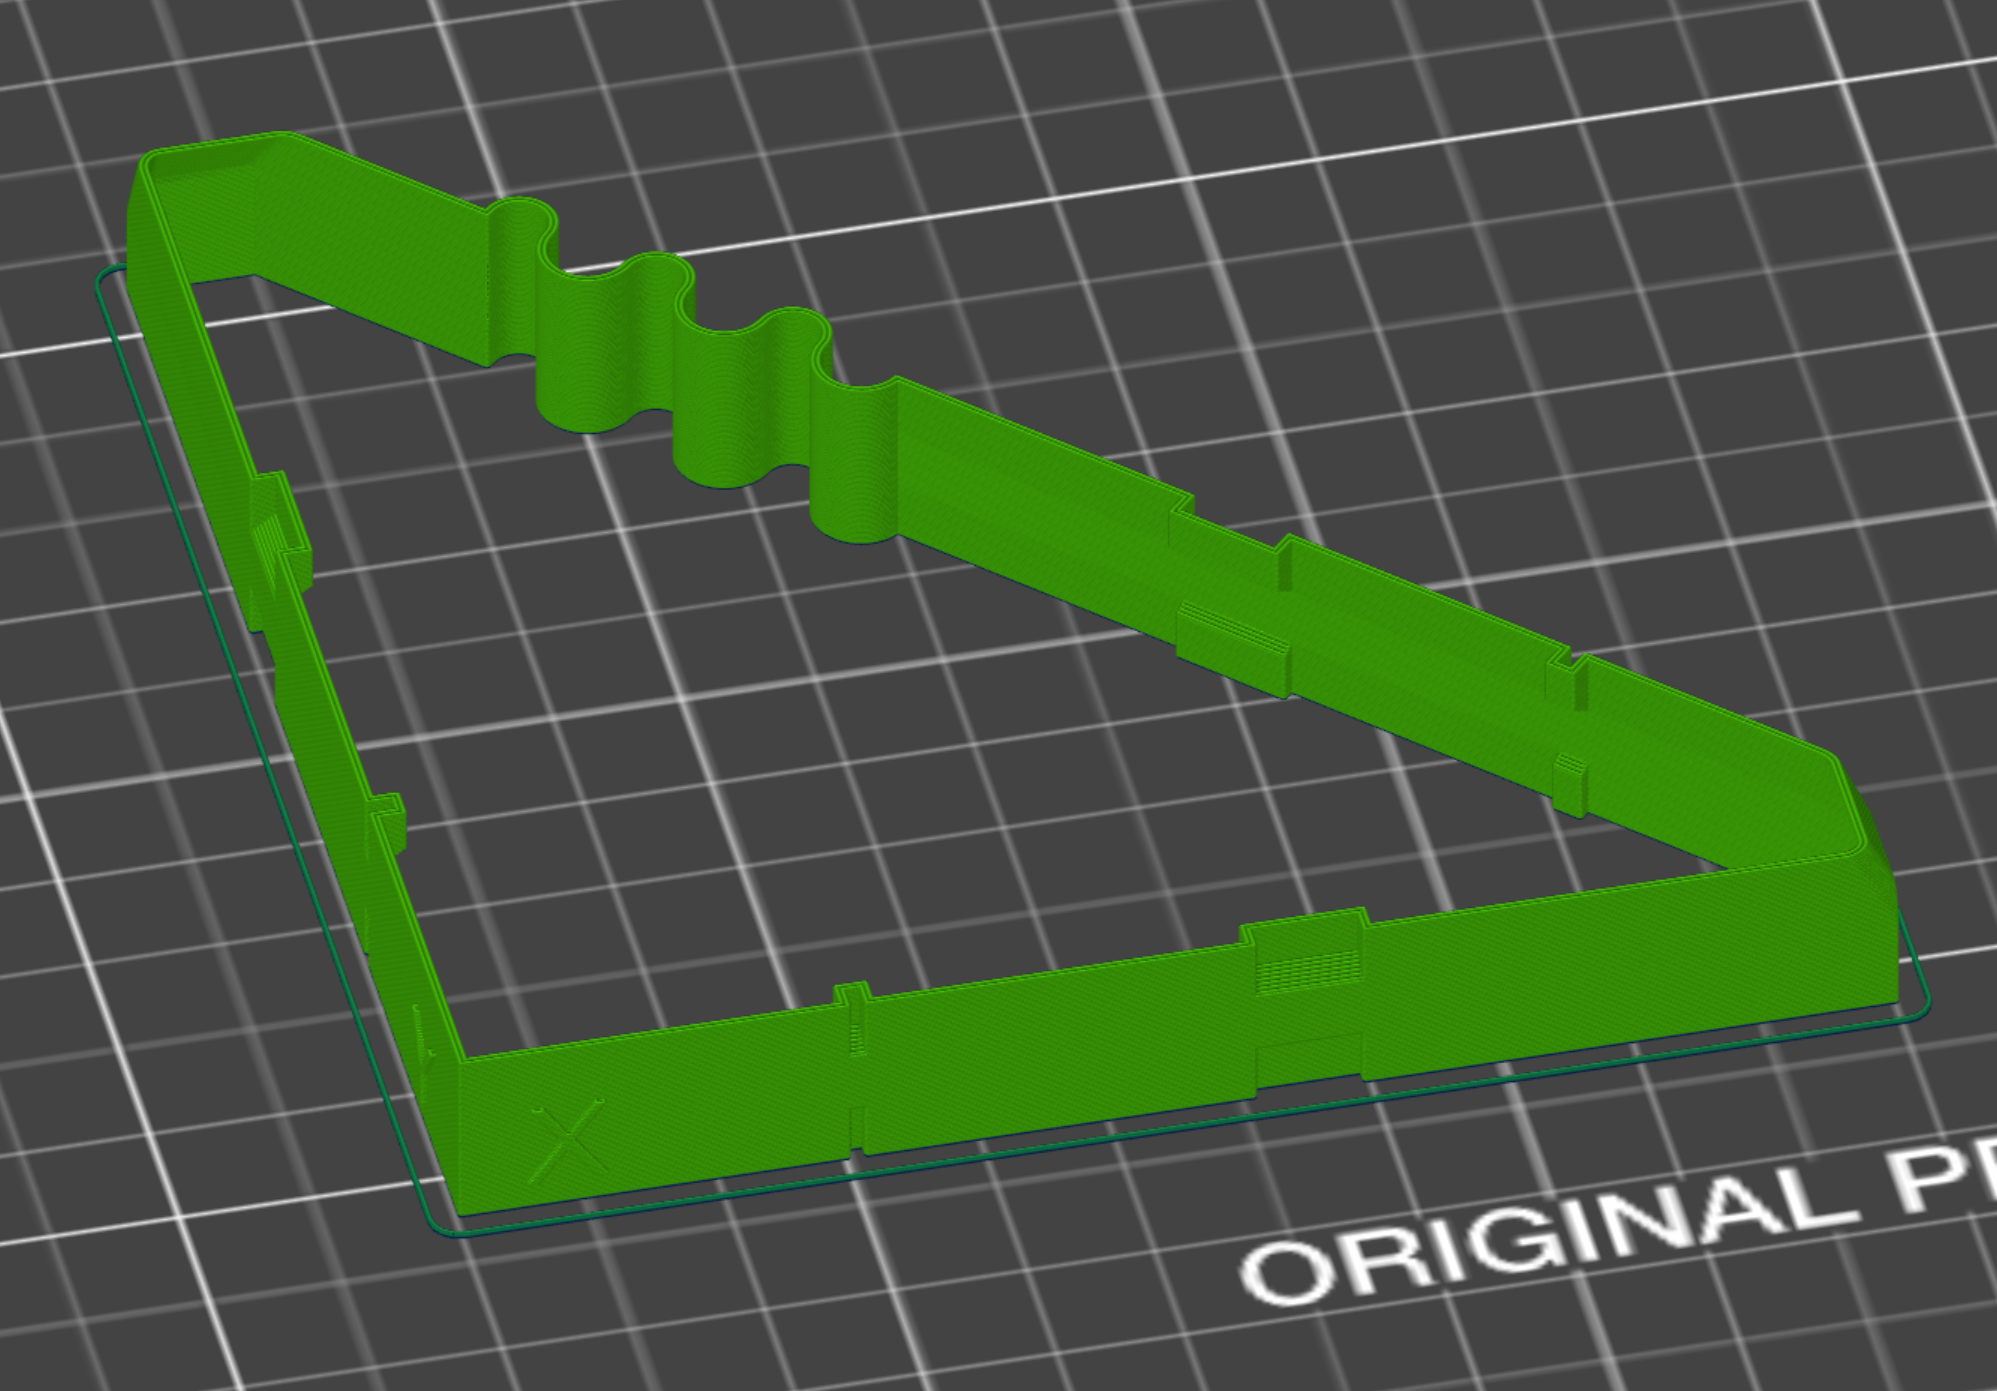
<p>This is a 3D printing speed test. It consists of two 3D models, optimized for testing speed and acceleration of the perimeters and the infill respectively. You can use these to tweak your speed and acceleration settings and look for quality issues (e.g. ghosting, surface quality), problems like layer adhesion or mechanical limitations (layer shifts). How fast can you go?</p> <p>For the purpose of comparability, I recommend the following print settings.</p> <h3>Print instructions</h3><h3>Category: 3D Printing Tests Instructions</h3> <p><strong>General</strong></p> <ul> <li>The stl files are designed to provoke ghosting on the X and Y axis and to test the infill. </li> <li>Recommended material: Standard materials like PLA, PETG, or ABS. Materials with shiny and silky surface finish will show ghosting more clearly. For that, you can also increase your print temperature slightly (5-15 °C) to make the surface shinier. </li> <li>Also adjust settings as "max print speed" and "max volumetric speed" if you go very fast; e.g. 180+ mm/s to ensure that the desired perimeter speed is applied.</li> <li><p>If necessary, decrease „Slow down if layer print time is below“ to about 3 sec in the filament settings to ensure that the desired perimeter speed is reached<br/> <strong>Ghosting Test (Perimeter speed)</strong></p> </li> <li><p>Settings: 0.2 mm, 2 perimeters, linear advance on, top/bottom layers: 0, no infill</p> </li> <li>Interesting speeds/accelerations: Perimeters, External Perimeters (It is recommended to set both parameters to the same value for the test)</li> <li>The model features offsets of 1mm (bottom), 2mm (top), straight lines for reference (middle), embossed text, sharp corners, and a wiggly path</li> <li><p>What to look for: Ghosting, layer shifts, layer adhesion, surface structure on the outside and on the inside<br/> <strong>Infill Test (Infill speed)</strong></p> </li> <li><p>Print Settings: 0.2 mm, 2 perimeters, linear advance on, top/bottom layers: 0, 12 % infill</p> <ul> <li>Infill pattern: Cubic (This pattern features straight lines which allow acceleration to the maximum speed and pissues as layer adhesion, layer shifts are easily visible.</li> </ul> </li> <li><p>Interesting speeds/accelerations: Infill</p> </li> <li><p>What to look for: Surface structure of infill, layer shifts, adhesion problems</p> <h3>Important Notes:</h3> <p>Always make sure the gcode is really using the desired speeds. Keep in mind that parameters like "Max volumetric speed" or accelerations can limit the attainable printing speed. It is recommended to check the speeds in the gcode or in the Slicer PE preview every time before you print.</p> <p>Slicer PE does only show the max speed for a move. However, acceleration and deceleration must be considered. If you increase speed settings and the print time does not change even when Slicer PE shows higher speeds, it is a clear indicator that the reached speed is limited by the acceleration. Also, the desired speed will only be reached after a certain acceleration distance. Keep that in mind and examine especially the middle section of straight moves.</p> </li> </ul>
With this file you will be able to print Speed and Acceleration Test (SAT) with your 3D printer. Click on the button and save the file on your computer to work, edit or customize your design. You can also find more 3D designs for printers on Speed and Acceleration Test (SAT).