Spelljammer Eel Ship V2
thingiverse
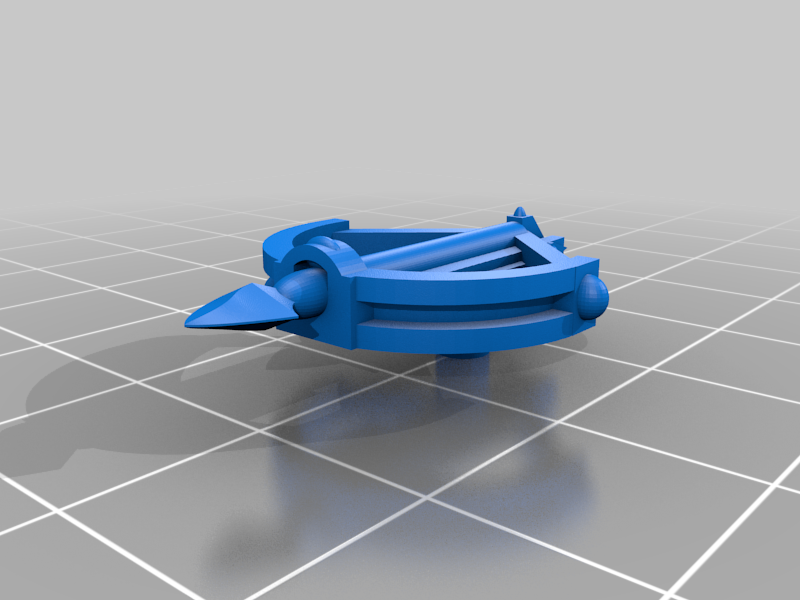
Welcome to my design of the SpellJammer Eel ship. This is designed to be “99% FDM flat printed support-less” with multiple options and is split to accommodate smaller printers. The ship can come together with a playable interior… or you can just print the decks and use them as maps. The weapons may be best printed on SLA printers, those weapons are the 1% that may require supports. Layer 001 – Bottom of the ship cut into four parts that can be glued together. Two of the parts have holes in them if you want to use risers. There is also a alt version of one of the pieces that if you don’t use a riser can lay flat and prevent tipping. The tail is attached at the end. WARNING do not print and glue the layer 002 alternate end cap if you print the whole ship. Layer 002 – These are the decks of the ship, with three core designs and one alternate design with all designs having a 1 inch grid pattern style. There is a standard deck in two floor flavors (metal floors style A and wood floors style B) which is based off the core map of the Eel ship in SpellJammer. There is a passenger and/or prison floor variant (style C) and a cargo floor variant (style D) both with wood floor style. WARNING: Finally there is a alternate deck end cap (002E-Deck-Alt end for map style only.stl) to be used ONLY if you want map style, attaching it will not allow for the full ship to merge. Layer 003 – Top of the ship comes in two flavors, a simple clean standard design and a fancy design. Both designs have a flower shaped section at the front and the back which can be used for ship mounted weapons. The flower design allows the weapons to be swapped out and even rotated for better gameplay. Layer 004 – There is the ship mounted catapult and ballista with the flower style base. Want two catapults, do it… two ballistas… why not. Print and swap them out. Updates Coming in V3 • Peg holes for easier gluing between parts. • Magnets holes to connect bottom layer to the deck layer for deck swaps. • Magnet holes to connect top layer to ship. • Alternate floor designs Instructions: 1. Print all of layer 001 and glue together starting front, mid sections, and then tail. 2. Print all of layer 002 and glue together starting with front, mid sections, and rear. Print the endcap if you desire. You can glue layer 002 to layer 001 if you want, or keep it separate if you want to swap decks. 3. Print all of layer 003 and glue all of layer three together. 4. Print your weapons and assemble! 5. Enjoy!
With this file you will be able to print Spelljammer Eel Ship V2 with your 3D printer. Click on the button and save the file on your computer to work, edit or customize your design. You can also find more 3D designs for printers on Spelljammer Eel Ship V2.