Spinner Game
thingiverse
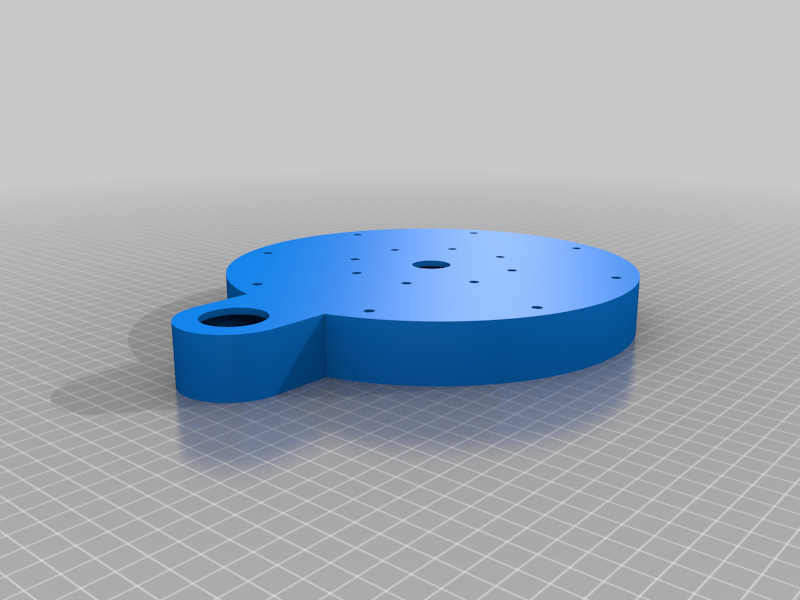
I threw this project together with spare parts I already had for a fun party game. Fill up some shot glasses, place them on the wedges and press the button to spin the wheel! If drinking isn't your think I have also included files for "blank" wedges that you can use for your own purposes! https://github.com/Delpino502/Spinner Most of the hardware for this project came from an old Arduino Uno kit I had on hand, but you will need some additional items as well. You will need the following non-printable items to complete this project: Arduino Uno R3 L923D Motor Driver MB102 Breadboard power supply 3v-6v DC motor 9v Battery 9v Battery to 5.5mm barrel plug connector Arcade style button Half size solder-able breadboard - https://www.amazon.com/dp/B07ZV8FWM4?psc=1&ref=ppx_yo2_dt_b_product_details 2x 5mm M3 Screws 2x Heat set brass nuts - https://www.amazon.com/gp/product/B087NBYF65/ref=ppx_yo_dt_b_search_asin_title?ie=UTF8&psc=1 Glue - I used hot glue to secure the wedges and internal hardware and super glue to hold the top to the bottom Wire to connect components Soldering iron The following items need to be printed: 1x Top 1x Bottom 8x wedges 1x battery door 1x spinner Start by uploading the code provided to the arduino. Assemble the hardware using the wiring diagram provided and test everything before mounting to the bottom. Install the heat set nuts into the bottom. Once the hardware has been tested mount the breadboard and arduino the bottom, and the motor and button to the top. The motor should fit snugly in the center hole on the top and I secured it to the top with some hot glue. In order to get my arcade button to fit (it was a bit tall) I have installed one nut on top and one underneath. This raises the button about a centimeter and allows it to fit. Install the battery and test again once assembled before gluing together. Once the spinner is glued shut you will only have access to the inside via the battery door. Install battery door using the M3 screws. To conserve the battery, disconnect it while not in use. I currently have the battery secured with a small piece of double sided tape on the battery door because I wasn't sure what battery I was going to use when I started this project. I have included the step file for the battery door if you would like to edit it to hold the battery more securely or hold a different battery. I hope you enjoy this project, if you build this please be sure to post your build in the "Makes" section on Thingiverse! There are probably many other ways to achieve this same end with different or smaller hardware, but for this project I challenged myself to create something with items I already had on hand. If you have any questions or suggestions feel free to let me know.
With this file you will be able to print Spinner Game with your 3D printer. Click on the button and save the file on your computer to work, edit or customize your design. You can also find more 3D designs for printers on Spinner Game.
