Splat Roller (Splatoon 3)
prusaprinters
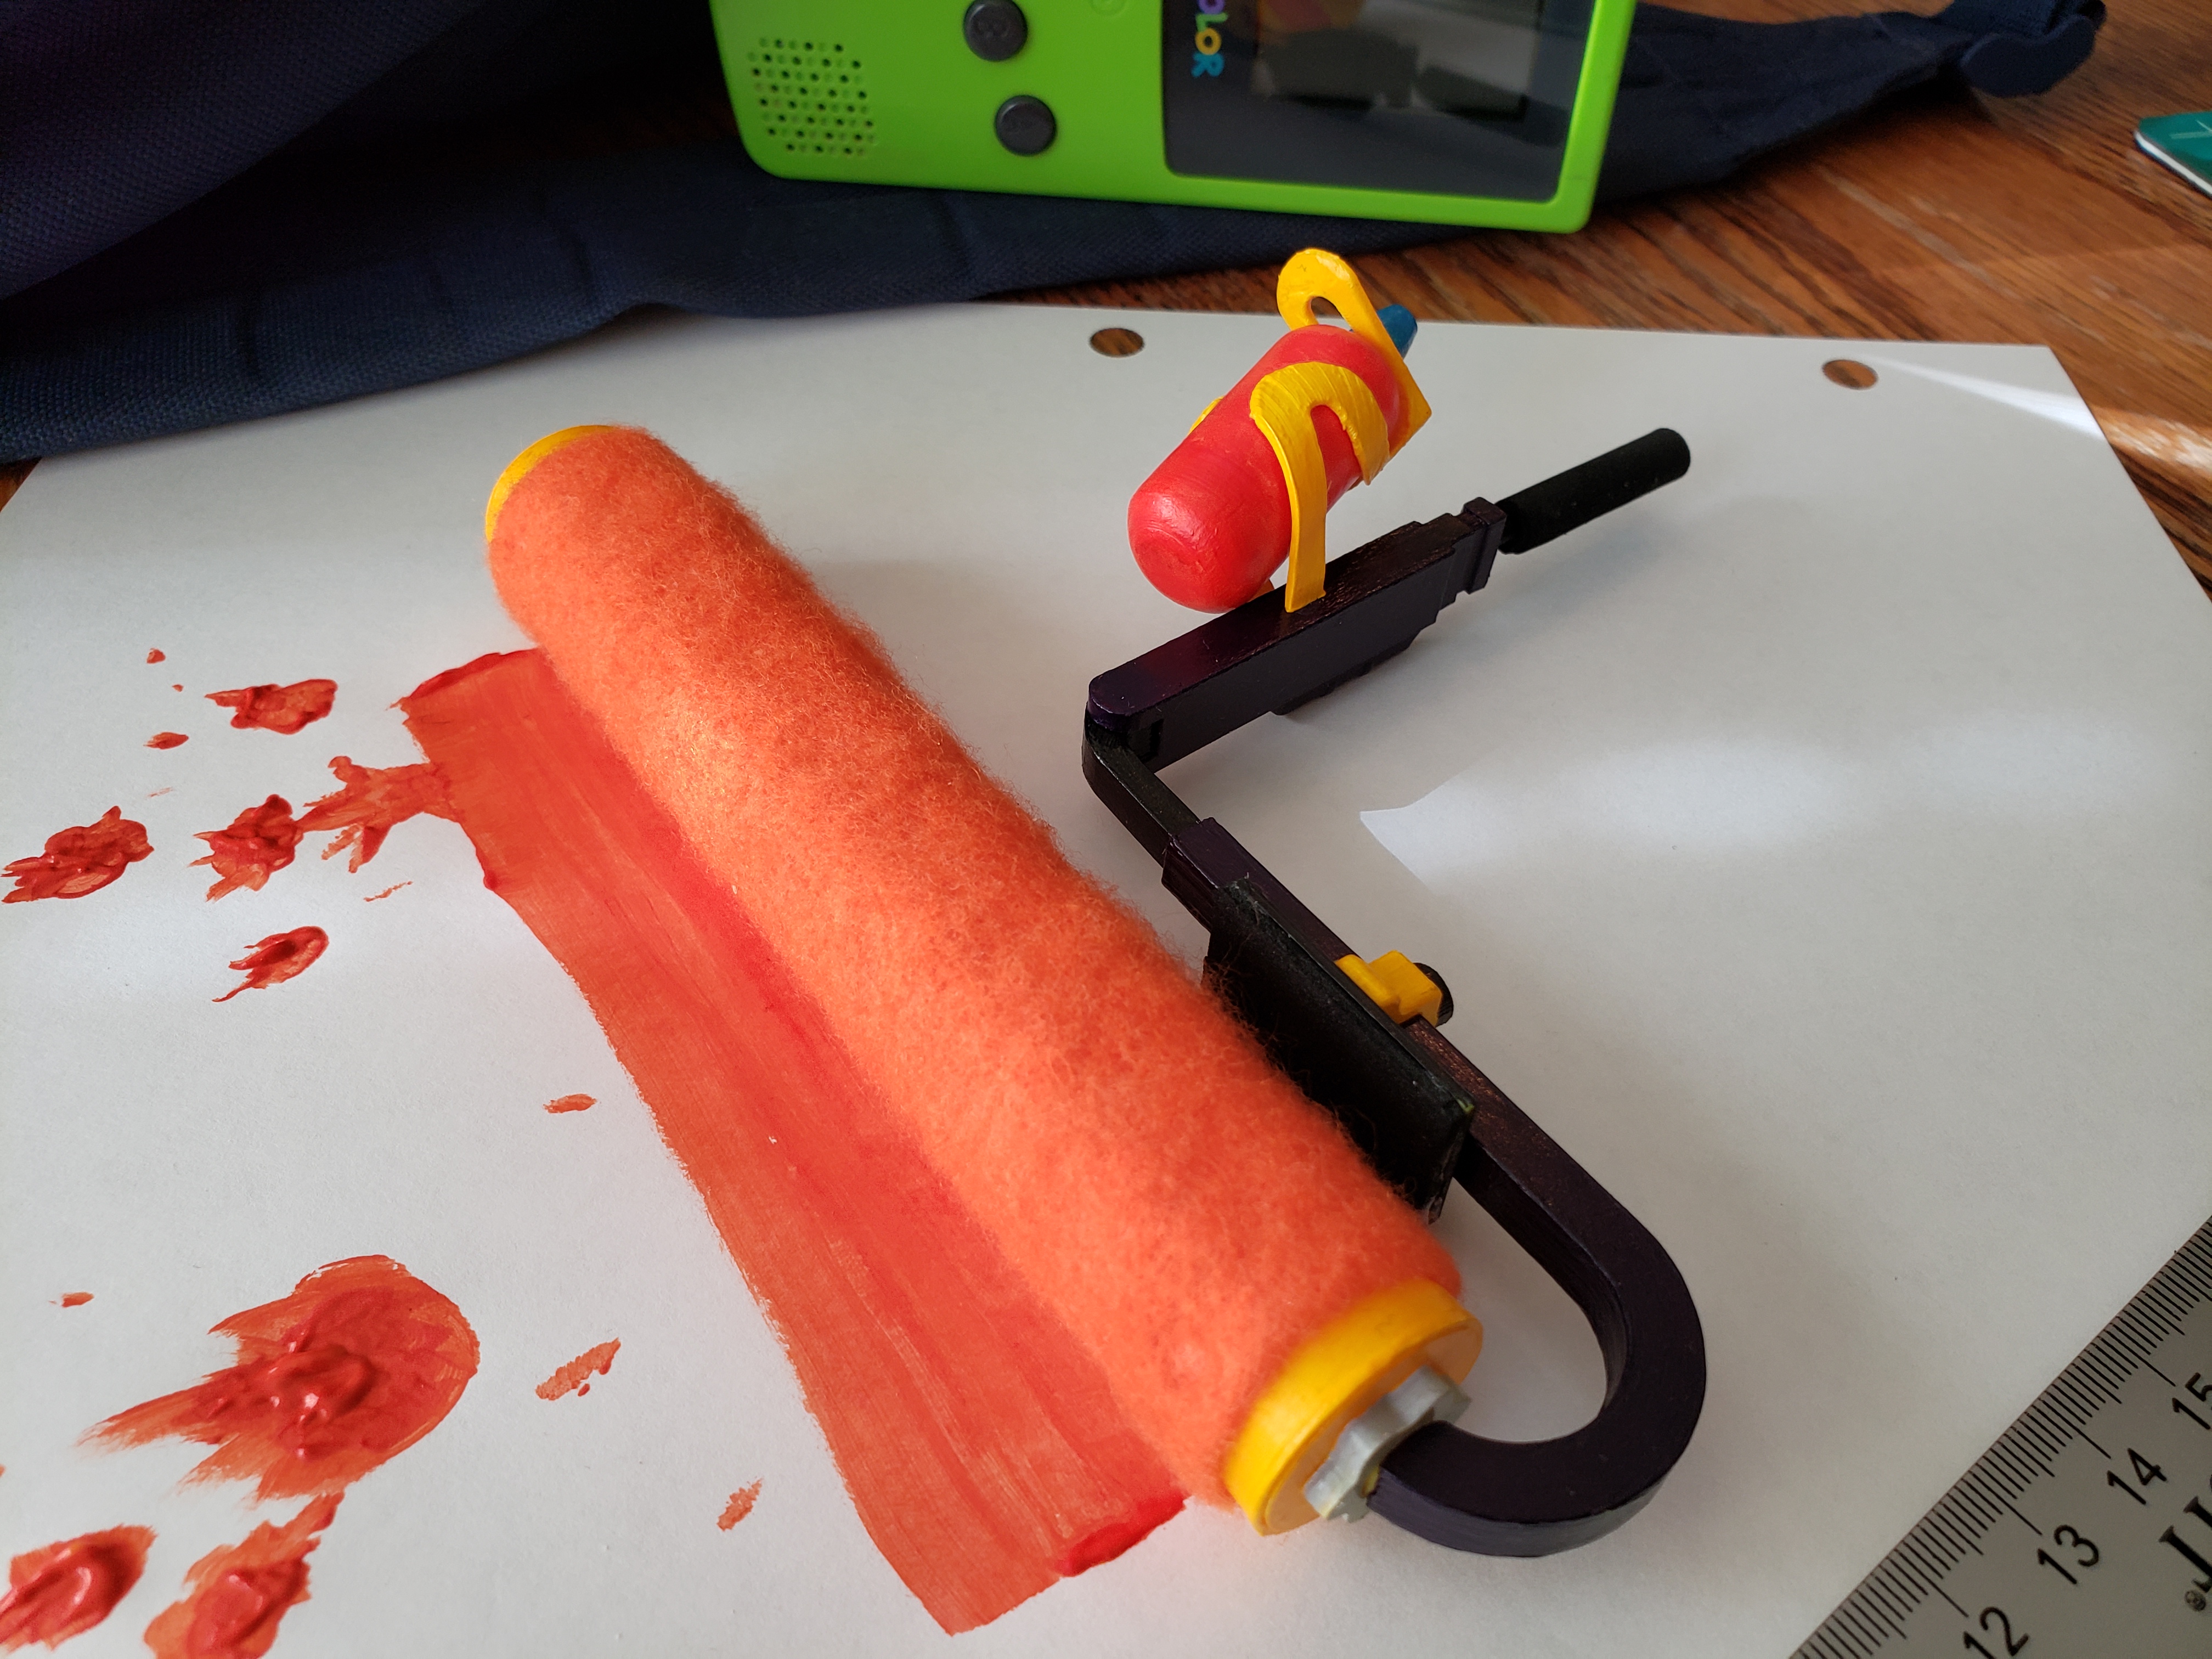
<p>It rolls, it folds, it has a cute little bottle attached: the splatroller! A bit longer than most pens when in vertical mode, this is a nice desk/shelf display piece. Glue is recommended to assemble it, but the non-moving joints are all designed with snug tolerances tolerances.</p><h4>Files</h4><ul><li>The files with color names are grouped by the color they should be printed in to match the ingame model.</li><li>The individual files are referenced by name in this README</li><li>splatroller.stl isn't intended to be printed; it's so you can have a nice 3D render to spin around in preview :)</li></ul><h4>Print Recommendations:</h4><p>Almost everything can be printed without supports. The three exceptions are BottleGrip, GripArm, and Hinge. BottleGrip just needs them, no way around it. GripArm needs them around the hinge. There is an optional part inside the hinge to help the upper bubble extrude correctly, but this isn't really a substitute for supports! Depending on your support settings, you may wish to omit this. If you do use it, it pops right off with flush cutters. To remove it from the STL in PrusaSlicer, use the <strong>split to objects</strong> button on GripArm.stl and delete the small cylinder. Hinge needs supports underneath the rectangular bit that slides into RollerArm, but I recommend blocking supports under the hinge divot.</p><p>Roller needs to be printed in vase mode, with a .4mm nozzle. <i>All the wheel tolerances assume this.</i> If you opt to not print in vase mode or use a different nozzle size, your wheels may not fit without adjustment!</p><h4>Assembly</h4><p>Before assembly, glue on your felt and foam if desired (see Non-Printed Parts, below). To assemble, GearWheel and EndWheel go just inside Roller, flush with its ends. This then slides onto the RollerArm's long rounded part. The EndCap holds the roller in place (if you glue this in, keep the roller spinning while doing so!) and is followed by the RetainingRing (non-functioning). BrakeClamp fits over RollerArm's square portion and inserts into BrakePad. Hinge inserts into the RollerArm's square hole and then clips into GripArm. Bottle slips into BottleGrip, then is capped with BottleCap. The whole bottle assembly inserts into the rectangular holes on the side of GripArm. Finally, Handle slides into the hole at the end of GripArm.</p><h4>Non-Printed Parts:</h4><ul><li>A sheet of 1-2mm thick black craft foam</li><li>A sheet of 1-2mm thick soft felt in your preferred ink color</li></ul><p>Wrap Handle's widest section with a 18mm x 30mm piece of black craft foam. If you cut the long edges at opposing 45 degree bevels you can achieve a smoother joint! A 30mm x 17mm rectangle of craft foam will fit BrakePad's flat side. Use a 70 mm x 128mm piece of felt the color of your favorite ink to wrap Roller: fill a row of divots with a quick-drying glue and press one long edge along and into each one. Once the glue is set, fill the next row and do likewise, being sure to pull the felt taut. Repeat until a single row is left. Work this one one divot at a time, alternating sides to work towards the middle and being sure the two edges of felt connect nicely; trim as needed while gluing each divot to get a neat seam.</p><h4>Future Feature:</h4><ul><li>A rotating brake pad! I designed this entirely off of the spinning gif @SplatoonNA tweeted and didn't know this spun around in vertical mode until the Splatfest Premier. Back to the drawing board…</li></ul><p><strong>photo note:</strong> current photos are of a painted prototype; some parts and proportions have changed in the final model.</p>
With this file you will be able to print Splat Roller (Splatoon 3) with your 3D printer. Click on the button and save the file on your computer to work, edit or customize your design. You can also find more 3D designs for printers on Splat Roller (Splatoon 3).