Splicing tool 1,75mm + 2,85mm - filament welding - filament connecting --> You will never have last meters again!!!
prusaprinters
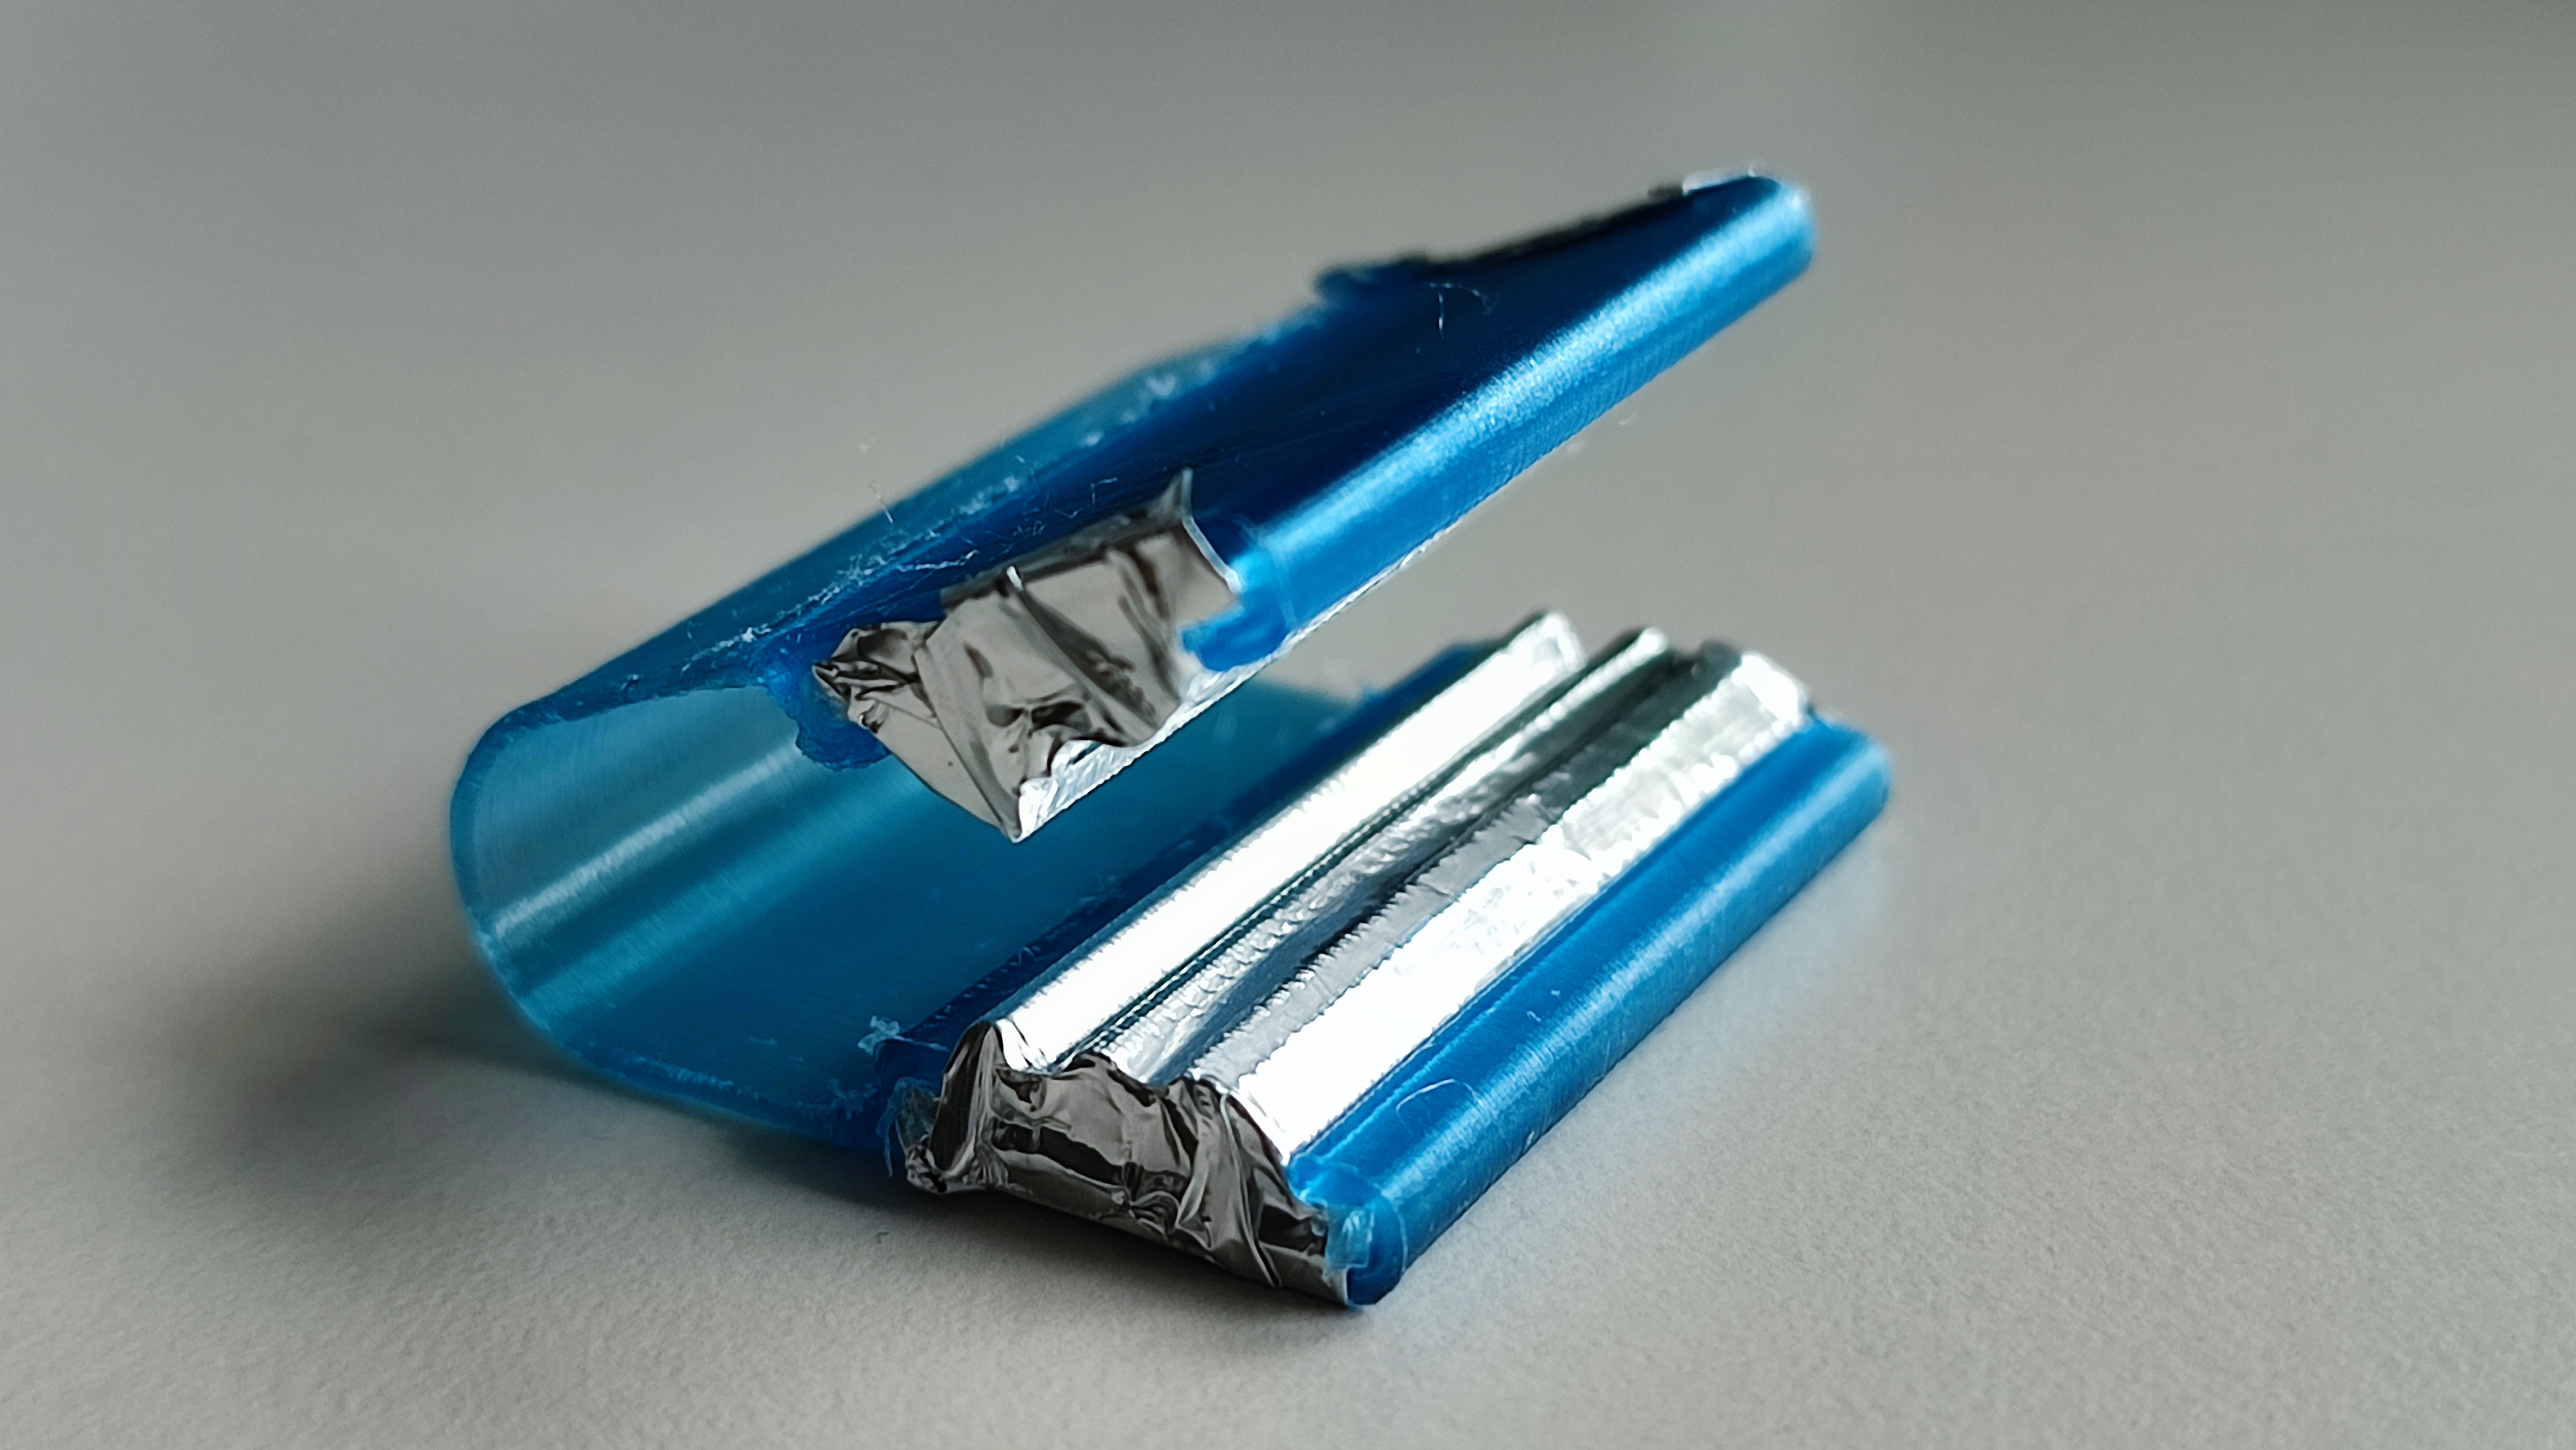
<p>Splicing tool 1,75mm +2,85mm - filament welding - filament connecting<br>If you like it --> press like it :-)</p><h3>Use your last meters to create a tool, with which <strong>you will never have last meters again!</strong> Instead of last meters, you will have unique filaments for your projects!</h3><p> </p><p>I´ve needed only 1,68m of filament to print it in two hours(0,1mm layer height) with 2 wall lines and 100% infill.</p><p>The g-code is with Cura profile for Creality CR-10S (print it on my CR-10 V2).</p><p>DIY filament welding works normally with a PTFE tube which will be slided over a melted connection. The disatvantage is, that you have to slide it over the whole filament. If you have a rest of 50 meter or more - have fun ;-)<br>These tool will work like a waffle iron. You have two parts which have to be wrapped with aluminium foil to get a smooth surface and get a fast thermal heat dissipation. These parts will be inserted from the side into another part which will clamp the parts including the foil and realises the easy use of the tool.<br>With a heating fan(a lighter, a tea light or an soldering iron can also work) you melt the end of two filements and put them together and insert the new connection into the Fila-Weld-Tool. If it is still liquid enought, you will get the round shape and maybe some burr at the tool seperation. The burr can be cut simply. With some experience, you will get a smooth connection without burr.</p><p><br>The aluminium foil is easy to assemble, just assemble the three parts together without foil, insert two pieces of aluminium foil, a piece of filament and press together. The foil will be pressed into the contour and you can deassemble everything and put the foil around. Foil should be a little bit longer than the tool, that you can press it with your fingers around like shown in the cover picture. No glue is needed, so that you can replace the foil easy if damaged.</p><p>I´ve tested the tool with PLA and PETG and with heat fan and solder iron. The first print in transparent blue+white PETG worked perfect with my bowden extruder.</p><p>It´s importend to make not an to wide area of the filaments soft, because than it is hard to get the correct position in the tool inbetween the cool down time of the filament.</p><p>This idea will be developed further, with a fixation which holds the two filaments in position. Let´s look how i will have the time to design this.<br>Ideas for improvement are welcome :-)</p><p>There are stl files in assembled condition and in print arrangement. V2 has only some area added to open the tool easier, but this is not tested yet.</p><p>A step file is also included for easy changes!</p><p>I´ve added a picture of the recommended print orientation.</p><p>Would be happy to see your makes, from the tool and your prints with self made special filaments!</p><p> </p><p>Update 21.05.2022:</p><p>Added a file with wall thickness 0,95mm like in the clamping area and removed some radii.</p><p>Additional with the same base i added a file for filament with 2,85m diameter. This diameter i could not test, because i have no printer for this size of filament.</p>
With this file you will be able to print Splicing tool 1,75mm + 2,85mm - filament welding - filament connecting --> You will never have last meters again!!! with your 3D printer. Click on the button and save the file on your computer to work, edit or customize your design. You can also find more 3D designs for printers on Splicing tool 1,75mm + 2,85mm - filament welding - filament connecting --> You will never have last meters again!!!.