Split-flap weather station
thingiverse
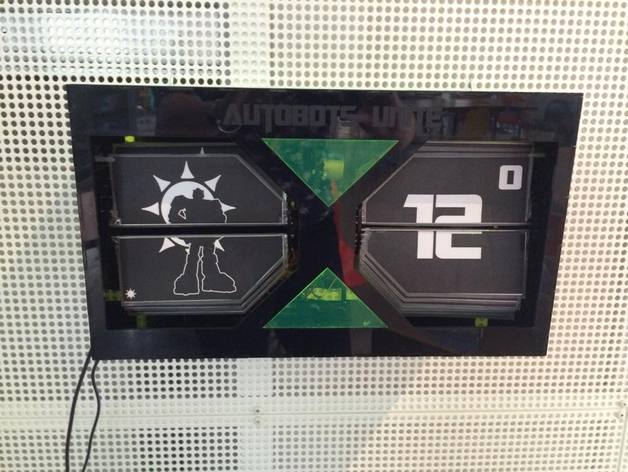
A Robotics-Inspired Weather Station Built for Mechatronics at DTU. Click here to watch it in action. For further details, explore our blog. Instructions To complete this project, you'll need: Arduino Uno Board Dual-Step Stepper Motors Wi-Fi Module (ESP8266) Note: Only Use 3.3V with This Component Resistors and Wiring for Connections Consult Our Code and Each Component's Data Sheet for Specific Details Photo Resistors x2 - Be Cautious of Short-Circuit Damage Three-Millimeter Acrylic Sheets (Three Required) Hooks for Hanging on a Wall (Optional) Paper or Cardboard for Split Flap Construction Secure the Motor, Arduino, Breadboards, and Resistors with Double-Sided Tape to the Housing. A Custom Engraving Can Be Added to the Front. Draw It in an Illustration Software, Save as a PDF, and Use a Laser Cutter to Engrave Your Design. The Arduino Unit Retrieves Data from Wunderground.com's API. We Utilized the Hourly Forecast API for Copenhagen, Denmark. If You're Not Located There, Adjust Your Location Settings Accordingly. Review Our Code to Understand Pin Connections and Component Arrangement. Ask Questions Below If Needed
With this file you will be able to print Split-flap weather station with your 3D printer. Click on the button and save the file on your computer to work, edit or customize your design. You can also find more 3D designs for printers on Split-flap weather station.