Spooky Scary Skeleton Robot
prusaprinters
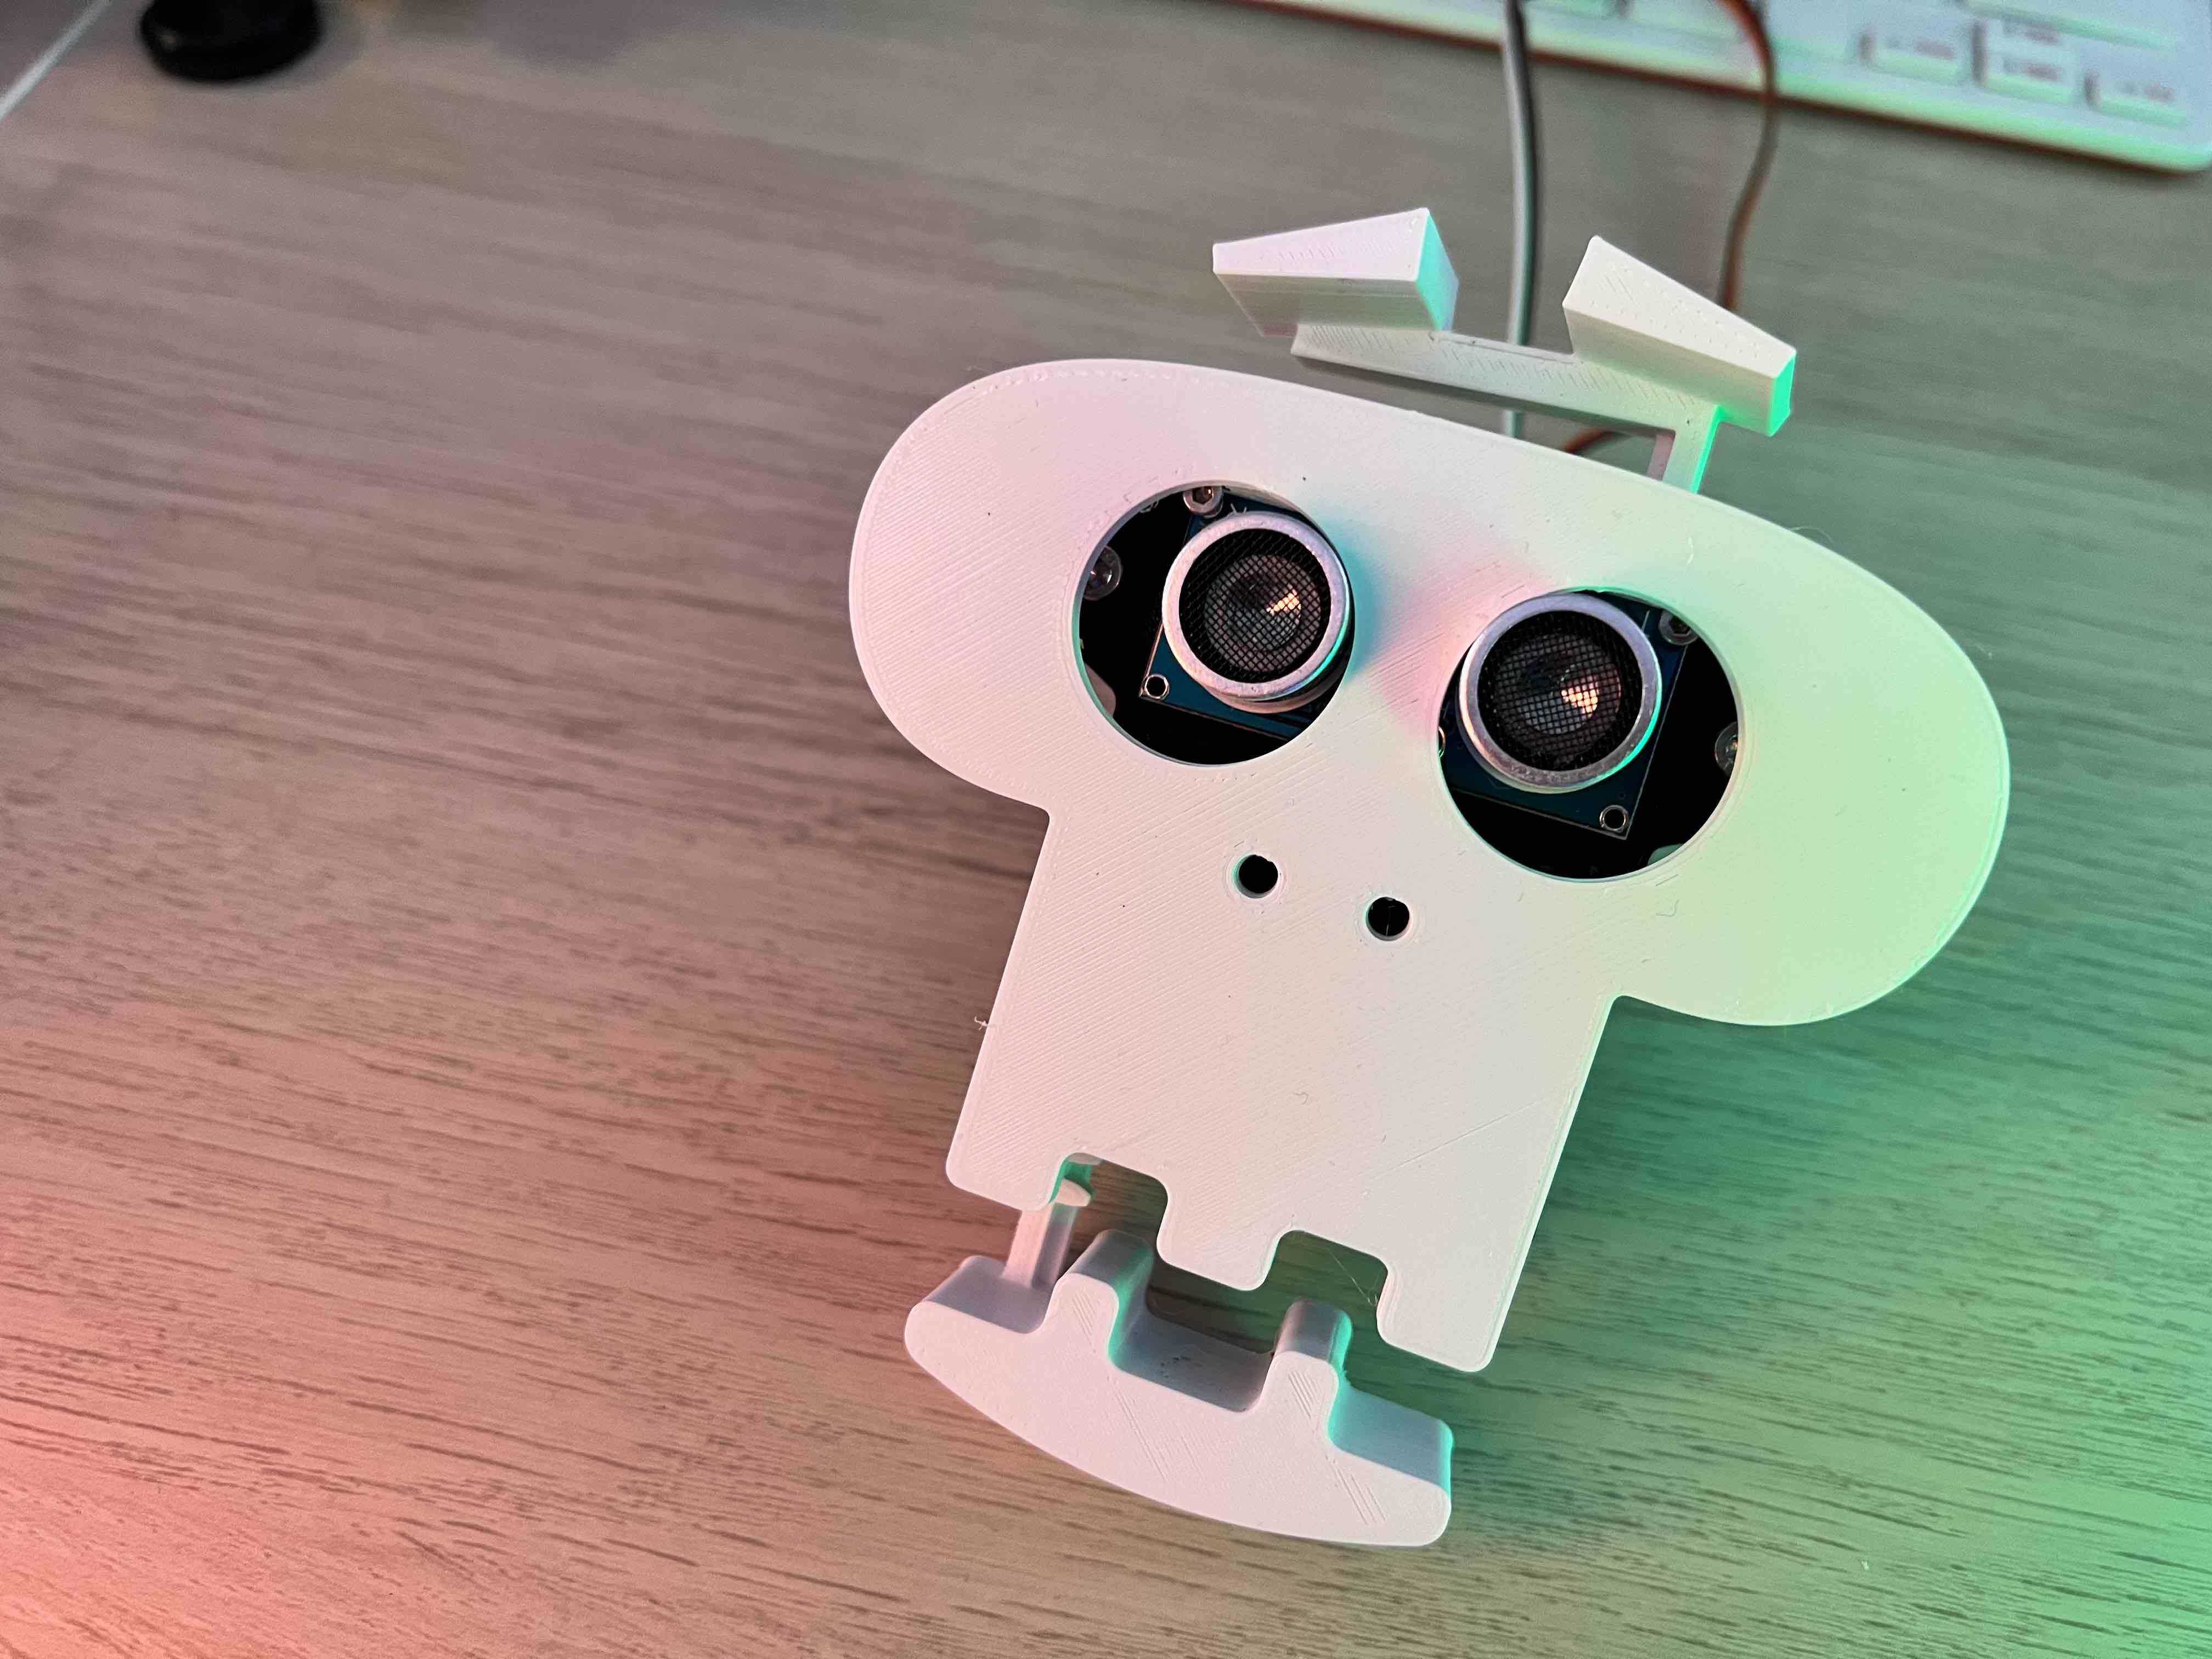
<p> </p><p> </p><p>Build your own cute Spooky Scary Skeleton Robot for Halloween - Using a Raspberry Pi Pico/Pico W, HC-SR04 Ultrasonic Range finder, and an SG90 Servo.</p><figure class="media"><oembed url="https://youtu.be/Ldio6vxHGfI"></oembed></figure><p>SPOOKY SCARY SKELETON ROBOT</p><p>This is a rather bare bones robot for Halloween, but its loads of fun! It uses an Ultrasonic range finder to detect people in front of it to activate its scared stiff expression. The Servo moves a mechanism inside to raise the eye brows and lower the jaw.</p><p>BILL OF MATERIALS</p><figure class="table" style="width:841.5px;"><table style="background-color:rgb(255, 255, 255);border-color:rgb(222, 226, 230);"><thead><tr><th style="background-color:var(--bs-table-bg);border-bottom-width:1px;border-color:inherit;border-left-width:0px;border-right-width:0px;border-style:solid;border-top-width:0px;padding:0.5rem;">Part</th><th style="background-color:var(--bs-table-bg);border-bottom-width:1px;border-color:inherit;border-left-width:0px;border-right-width:0px;border-style:solid;border-top-width:0px;padding:0.5rem;">Description</th><th style="background-color:var(--bs-table-bg);border-bottom-width:1px;border-color:inherit;border-left-width:0px;border-right-width:0px;border-style:solid;border-top-width:0px;padding:0.5rem;">Qty</th><th style="background-color:var(--bs-table-bg);border-bottom-width:1px;border-color:inherit;border-left-width:0px;border-right-width:0px;border-style:solid;border-top-width:0px;padding:0.5rem;">Cost</th></tr></thead><tbody><tr><td style="background-color:var(--bs-table-bg);border-bottom-width:1px;border-color:inherit;border-left-width:0px;border-right-width:0px;border-style:solid;border-top-width:0px;padding:0.5rem;">Raspberry Pi Pico</td><td style="background-color:var(--bs-table-bg);border-bottom-width:1px;border-color:inherit;border-left-width:0px;border-right-width:0px;border-style:solid;border-top-width:0px;padding:0.5rem;">The $4 microcontroller from Raspberry Pi</td><td style="background-color:var(--bs-table-bg);border-bottom-width:1px;border-color:inherit;border-left-width:0px;border-right-width:0px;border-style:solid;border-top-width:0px;padding:0.5rem;">1</td><td style="background-color:var(--bs-table-bg);border-bottom-width:1px;border-color:inherit;border-left-width:0px;border-right-width:0px;border-style:solid;border-top-width:0px;padding:0.5rem;">£4.00</td></tr><tr><td style="background-color:var(--bs-table-bg);border-bottom-width:1px;border-color:inherit;border-left-width:0px;border-right-width:0px;border-style:solid;border-top-width:0px;padding:0.5rem;">Servo</td><td style="background-color:var(--bs-table-bg);border-bottom-width:1px;border-color:inherit;border-left-width:0px;border-right-width:0px;border-style:solid;border-top-width:0px;padding:0.5rem;">A low cost SG90 Servo</td><td style="background-color:var(--bs-table-bg);border-bottom-width:1px;border-color:inherit;border-left-width:0px;border-right-width:0px;border-style:solid;border-top-width:0px;padding:0.5rem;">1</td><td style="background-color:var(--bs-table-bg);border-bottom-width:1px;border-color:inherit;border-left-width:0px;border-right-width:0px;border-style:solid;border-top-width:0px;padding:0.5rem;">£3.00</td></tr><tr><td style="background-color:var(--bs-table-bg);border-bottom-width:1px;border-color:inherit;border-left-width:0px;border-right-width:0px;border-style:solid;border-top-width:0px;padding:0.5rem;">Ultrasonic Range Finder</td><td style="background-color:var(--bs-table-bg);border-bottom-width:1px;border-color:inherit;border-left-width:0px;border-right-width:0px;border-style:solid;border-top-width:0px;padding:0.5rem;">HC-SR04 3.3v version</td><td style="background-color:var(--bs-table-bg);border-bottom-width:1px;border-color:inherit;border-left-width:0px;border-right-width:0px;border-style:solid;border-top-width:0px;padding:0.5rem;">1</td><td style="background-color:var(--bs-table-bg);border-bottom-width:1px;border-color:inherit;border-left-width:0px;border-right-width:0px;border-style:solid;border-top-width:0px;padding:0.5rem;">£2.00</td></tr><tr><td style="background-color:var(--bs-table-bg);border-bottom-width:1px;border-color:inherit;border-left-width:0px;border-right-width:0px;border-style:solid;border-top-width:0px;padding:0.5rem;">M2 Bolts</td><td style="background-color:var(--bs-table-bg);border-bottom-width:1px;border-color:inherit;border-left-width:0px;border-right-width:0px;border-style:solid;border-top-width:0px;padding:0.5rem;">Securely attach the Pico W and Ultrasonic Rangefinder using M2 Bolts</td><td style="background-color:var(--bs-table-bg);border-bottom-width:1px;border-color:inherit;border-left-width:0px;border-right-width:0px;border-style:solid;border-top-width:0px;padding:0.5rem;">8</td><td style="background-color:var(--bs-table-bg);border-bottom-width:1px;border-color:inherit;border-left-width:0px;border-right-width:0px;border-style:solid;border-top-width:0px;padding:0.5rem;">£0.80</td></tr><tr><td style="background-color:var(--bs-table-bg);border-bottom-width:1px;border-color:inherit;border-left-width:0px;border-right-width:0px;border-style:solid;border-top-width:0px;padding:0.5rem;">M3 Bolts and nuts</td><td style="background-color:var(--bs-table-bg);border-bottom-width:1px;border-color:inherit;border-left-width:0px;border-right-width:0px;border-style:solid;border-top-width:0px;padding:0.5rem;">Securely attach the top section to the bottom</td><td style="background-color:var(--bs-table-bg);border-bottom-width:1px;border-color:inherit;border-left-width:0px;border-right-width:0px;border-style:solid;border-top-width:0px;padding:0.5rem;">3</td><td style="background-color:var(--bs-table-bg);border-bottom-width:1px;border-color:inherit;border-left-width:0px;border-right-width:0px;border-style:solid;border-top-width:0px;padding:0.5rem;">£0.60</td></tr><tr><td style="background-color:var(--bs-table-bg);border-bottom-width:1px;border-color:inherit;border-left-width:0px;border-right-width:0px;border-style:solid;border-top-width:0px;padding:0.5rem;">Female to Female Dupont cables</td><td style="background-color:var(--bs-table-bg);border-bottom-width:1px;border-color:inherit;border-left-width:0px;border-right-width:0px;border-style:solid;border-top-width:0px;padding:0.5rem;">For attaching the Pico to the servo and Range finder</td><td style="background-color:var(--bs-table-bg);border-bottom-width:1px;border-color:inherit;border-left-width:0px;border-right-width:0px;border-style:solid;border-top-width:0px;padding:0.5rem;">4</td><td style="background-color:var(--bs-table-bg);border-bottom-width:1px;border-color:inherit;border-left-width:0px;border-right-width:0px;border-style:solid;border-top-width:0px;padding:0.5rem;">£1.00</td></tr><tr><td style="background-color:var(--bs-table-bg);border-bottom-width:1px;border-color:inherit;border-left-width:0px;border-right-width:0px;border-style:solid;border-top-width:0px;padding:0.5rem;">Male to Female Dupont cables</td><td style="background-color:var(--bs-table-bg);border-bottom-width:1px;border-color:inherit;border-left-width:0px;border-right-width:0px;border-style:solid;border-top-width:0px;padding:0.5rem;">For attaching the Pico to the servo and Range finder</td><td style="background-color:var(--bs-table-bg);border-bottom-width:1px;border-color:inherit;border-left-width:0px;border-right-width:0px;border-style:solid;border-top-width:0px;padding:0.5rem;">3</td><td style="background-color:var(--bs-table-bg);border-bottom-width:1px;border-color:inherit;border-left-width:0px;border-right-width:0px;border-style:solid;border-top-width:0px;padding:0.5rem;">£1.00</td></tr></tbody></table></figure><blockquote><p>Prices and availability may vary.</p></blockquote><p>MICROPYTHON CODE</p><p>Download or clone the code here: <a href="https://www.github.com/kevinmcaleer/bare_bones">https://www.github.com/kevinmcaleer/bare_bones</a></p><h3>RANGEFINDER.PY</h3><p>Below is a simple MicroPython class for measuring distance with a range finder:</p><pre><code class="language-plaintext"># Range finder from machine import Pin from time import sleep, sleep_us, ticks_us class RangeFinder(): def __init__(self,trigger_pin:int = 0, echo_pin:int = 1): self.trigger = Pin(trigger_pin, Pin.OUT) self.echo = Pin(echo_pin, Pin.IN) def distance(self): """ Returns the distance in cm """ # set the signal on & off times to zero signalon = 0 signaloff = 0 # reset the trigger self.trigger.low() sleep_us(2) self.trigger.high() sleep_us(5) self.trigger.low() while self.echo.value() == 0: signaloff = ticks_us() while self.echo.value() == 1: signalon = ticks_us() elapsed_microseconds = signalon - signaloff self.duration = elapsed_microseconds self.distance_to_object = (elapsed_microseconds * 0.343) / 2 return round(self.distance_to_object / 10 ,1) </code></pre><h3>BARE BONES - A SIMPLE SKELETON PROGRAM!</h3><p>Here is a simple program that detects the presence of a person and then triggers the scared stiff expression:</p><pre><code class="language-plaintext">""" This project uses the Pimoroni MicroPython build https://github.com/pimoroni/pimoroni-pico/releases """ # Scared # October 2022 # Kevin McAleer from servo import Servo from range_finder import RangeFinder from time import sleep MAX_ANGLE = 70 MIN_ANGLE = 10 SCARED_DISTANCE = 30.0 class BareBones(): rangefinder = RangeFinder() def __init__(self): self.servo = Servo(16) def scared_face(self): """ Open the Jaw and raise the eyebrows """ self.servo.value(MAX_ANGLE) print('I\'m scared!') def not_scared_face(self): """ Close the Jaw and lower the eyebrows """ self.servo.value(MIN_ANGLE) print('I\'m not scared anymore') def is_scared(self): if self.rangefinder.distance() <= SCARED_DISTANCE: return True else: return False # Main Program skeleton = BareBones() while True: if skeleton.is_scared(): skeleton.scared_face() else: skeleton.not_scared_face() sleep(0.25) </code></pre><p>ASSEMBLY</p><h3>BOTTOM SECTION</h3><p><a href="https://www.kevsrobots.com/assets/img/blog/spookyscaryskeleton/part01.png"><img class="image_resized" style="width:420.75px;" src="https://www.kevsrobots.com/assets/img/blog/spookyscaryskeleton/part01.png" alt="The Base"></a></p><p>The first part to start with is the <code>bottom</code> section.</p><h3>SERVO</h3><p><a href="https://www.kevsrobots.com/assets/img/blog/spookyscaryskeleton/part02.png"><img class="image_resized" style="width:420.75px;" src="https://www.kevsrobots.com/assets/img/blog/spookyscaryskeleton/part02.png" alt="The Servo"></a></p><p>Screw in the servo using 2 M2 bolts. The servo spindle should be towards the middle of the robot.</p><h3>COG</h3><p><a href="https://www.kevsrobots.com/assets/img/blog/spookyscaryskeleton/part03.png"><img class="image_resized" style="width:420.75px;" src="https://www.kevsrobots.com/assets/img/blog/spookyscaryskeleton/part03.png" alt="The Cog"></a></p><ol><li>Cut the <code>servo horn</code> with a pair of wire cutters so that it fits into the <code>cog</code></li><li>Push the <code>servo Horn</code> onto the <code>cog</code></li><li>Make sure the servo is at the minimum rotation position (turn it clockwise until it doesn’t turn any more)</li><li>Push the <code>cog</code> onto the <code>servo spindle</code>.</li><li>Ensure the cog can turn correctly and doesnt catch on any rough 3d printed parts</li></ol><h3>JAW</h3><p><a href="https://www.kevsrobots.com/assets/img/blog/spookyscaryskeleton/part04.png"><img class="image_resized" style="width:420.75px;" src="https://www.kevsrobots.com/assets/img/blog/spookyscaryskeleton/part04.png" alt="The Jaw"></a></p><ol><li>Slide the jaw into place under the cog - the jaw should be in the closed position</li></ol><h3>THE EYE BROWS</h3><p><a href="https://www.kevsrobots.com/assets/img/blog/spookyscaryskeleton/part05.png"><img class="image_resized" style="width:420.75px;" src="https://www.kevsrobots.com/assets/img/blog/spookyscaryskeleton/part05.png" alt="The Eye brows"></a></p><ol><li>Slide the Eyebrows into place under the cog - the eye brows should be in the closed position</li></ol><h3>THE GASKET</h3><p><a href="https://www.kevsrobots.com/assets/img/blog/spookyscaryskeleton/part06.png"><img class="image_resized" style="width:420.75px;" src="https://www.kevsrobots.com/assets/img/blog/spookyscaryskeleton/part06.png" alt="The Gasket"></a></p><ol><li>The gasket adds a little extra room for the cog without affecting the flat underneath of the top section</li><li>It means we can print out other sizes if this doesn’t work correctly</li></ol><h3>TOP SECTION</h3><p><a href="https://www.kevsrobots.com/assets/img/blog/spookyscaryskeleton/part07.png"><img class="image_resized" style="width:420.75px;" src="https://www.kevsrobots.com/assets/img/blog/spookyscaryskeleton/part07.png" alt="The Top section"></a></p><ol><li>Push the captive M3 nuts into the nut-holes on the bottom section. Use plyers to gently push them into place</li><li>Screw the 3 M3 bolts into place</li></ol><h3>THE RANGE FINDER</h3><p><a href="https://www.kevsrobots.com/assets/img/blog/spookyscaryskeleton/part08.png"><img class="image_resized" style="width:420.75px;" src="https://www.kevsrobots.com/assets/img/blog/spookyscaryskeleton/part08.png" alt="The Range Finder"></a></p><ol><li>Screw the Range finder into place using the M2 bolts - they wont go all the way in, which is expected</li></ol><h3>THE SKULL</h3><p><a href="https://www.kevsrobots.com/assets/img/blog/spookyscaryskeleton/part10.png"><img class="image_resized" style="width:420.75px;" src="https://www.kevsrobots.com/assets/img/blog/spookyscaryskeleton/part10.png" alt="The Skull"></a></p><ol><li>Glue the skull into place but applying superglue onto the raised box section - (adult supervison required!)</li><li>Wait for the glue to set before moving onto the next step (30 minutes for fast setting glue).</li></ol><h3>THE PICO</h3><p><a href="https://www.kevsrobots.com/assets/img/blog/spookyscaryskeleton/part11.png"><img class="image_resized" style="width:420.75px;" src="https://www.kevsrobots.com/assets/img/blog/spookyscaryskeleton/part11.png" alt="The Pico"></a></p><ol><li>Flip the robot over and attach the Pico using 4 M2 bolts</li></ol><p><strong>Well done</strong> - you’ve assembled the robot, next to wire it up</p><p>WIRING UP THE ROBOT - PLUG AND PLAY</p><p><a href="https://www.kevsrobots.com/assets/img/blog/spookyscaryskeleton/wiring.png"><img class="image_resized" style="width:420.75px;" src="https://www.kevsrobots.com/assets/img/blog/spookyscaryskeleton/wiring.png" alt="Wiring Diagram"></a></p><h3>CONNECT THE SERVO</h3><ol><li>Connect 3 male to femail Dupont cables from the <code>servo</code> to the <code>5v</code>, <code>GND</code> and the signal line to <code>GPIO15 pin</code> on the Pico</li><li>The middle wire is the <code>5v</code> line</li><li>The brown wire is the <code>GND</code> line</li><li>The orange wire is the <code>signal</code> line</li></ol><h3>CONNECTING THE HC-SR04 RANGE FINDER</h3><ol><li>Connect 4 male to male Dupont cables from the <code>range finder</code> to:<ul><li>the <code>VCC</code> to the <code>3v</code> on the Pico</li><li>the <code>GND</code> to a <code>GND</code> on the Pico (there are a few to choose from)</li><li>The <code>Trigger</code> to <code>GPIO00 pin</code> on the pico</li><li>The <code>Echo</code> to <code>GPIO01 pin</code> on the pico</li></ul></li></ol><p>THE STL FILES</p><h3>SKELETON</h3><p>There are a few parts to download and print:</p><ul><li><a href="https://www.kevsrobots.com/assets/stl/skeleton/top.stl"><code>top.stl</code></a> - the top section</li><li><a href="https://www.kevsrobots.com/assets/stl/skeleton/bottom.stl"><code>bottom.stl</code></a> - the bottom section</li><li><a href="https://www.kevsrobots.com/assets/stl/skeleton/skull.stl"><code>skull.stl</code></a> - the front skull</li><li><a href="https://www.kevsrobots.com/assets/stl/skeleton/cog.stl"><code>cog.stl</code></a> - the servo cog</li><li><a href="https://www.kevsrobots.com/assets/stl/skeleton/eyebrows_v2.stl"><code>eyebrows_v2.stl</code></a> - the eye brows</li><li><a href="https://www.kevsrobots.com/assets/stl/skeleton/jaw.stl"><code>jaw.stl</code></a> - the jaw</li><li><a href="https://www.kevsrobots.com/assets/stl/skeleton/gasket_v3.stl"><code>gasket_v3.stl</code></a> - the gasket</li></ul><p>If you want the Pumpkin version here are the STL files you’ll need (the electronics are exactly the same).</p><h3>PUMPKIN</h3><ul><li><a href="https://www.kevsrobots.com/assets/stl/skeleton/top.stl"><code>top.stl</code></a> - the top section</li><li><a href="https://www.kevsrobots.com/assets/stl/skeleton/bottom.stl"><code>bottom.stl</code></a> - the bottom section</li><li><a href="https://www.kevsrobots.com/assets/stl/skeleton/cog.stl"><code>cog.stl</code></a> - the servo cog</li><li><a href="https://www.kevsrobots.com/assets/stl/skeleton/gasket_v3.stl"><code>gasket_v3.stl</code></a> - the gasket (you may need x2 of these)</li><li><a href="https://www.kevsrobots.com/assets/stl/skeleton/eyebrows_v2.stl"><code>eyebrows_v2.stl</code></a> - the eye brows</li><li><a href="https://www.kevsrobots.com/assets/stl/skeleton/jaw.stl"><code>jaw.stl</code></a> - the jaw</li><li><a href="https://www.kevsrobots.com/assets/stl/skeleton/pumpkin.stl"><code>pumpkin.stl</code></a> - Pumpkin face</li><li><a href="https://www.kevsrobots.com/assets/stl/skeleton/eyemask.stl"><code>eyemask.stl</code></a> - Eye mask (goes behind the pumpkin face, best printed in Black PLA)</li></ul><p>If you enjoy these files, please consider <a href="https://www.kevsrobots.com/coffee">buying me a coffee</a> (it took a while to design these!)</p>
With this file you will be able to print Spooky Scary Skeleton Robot with your 3D printer. Click on the button and save the file on your computer to work, edit or customize your design. You can also find more 3D designs for printers on Spooky Scary Skeleton Robot.