Stackable
thingiverse
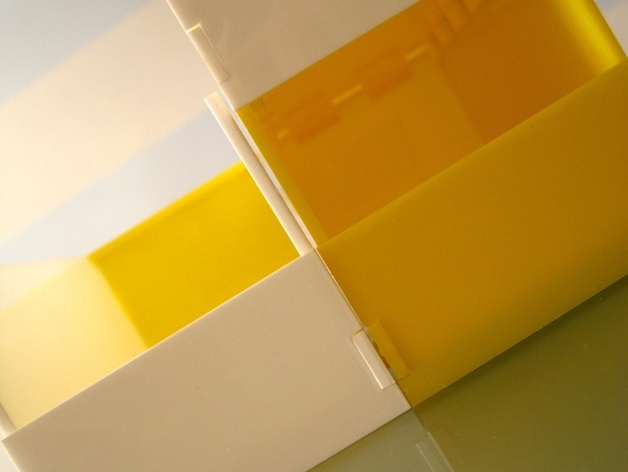
A few weeks ago, I searched for stackable bins for my work table in a small apartment living room/office. After hours of online browsing at Google, Amazon, Container Store, and eBay, I decided to design my own bins. These bins were designed specifically for storing small electronic components like resistors, capacitors, switches, LEDs, and pots, with easy stacking and rearranging capabilities. Each bin measures 3" x 3" x 6". To date, I have only created stackables using acrylic, but other materials of appropriate thickness and strength can be used. To create your own stackables, you'll need access to a laser cutter capable of cutting 1/8" acrylic sheets, two 12" x 12" pieces of different-colored acrylic (enough for two stackables), and acrylic cement along with an applicator and safety materials (rubber gloves). The steps are as follows: 1. Cut the material using the supplied SVG files (duplicate laser cut lines if making two stackables) 2. Assemble each stackable in this order: a. Attach side feet to bottom panel b. Attach bracket feet to bottom panel c. Attach back panel to bracket feet and bottom panel d. Attach side panels to side feet, bottom panel, and back panel e. Attach the top bracket to back and side panels f. Attach the front panel to side and bottom panels, and side feet
With this file you will be able to print Stackable with your 3D printer. Click on the button and save the file on your computer to work, edit or customize your design. You can also find more 3D designs for printers on Stackable.