Standalone Touch ID Module for Mac!
prusaprinters
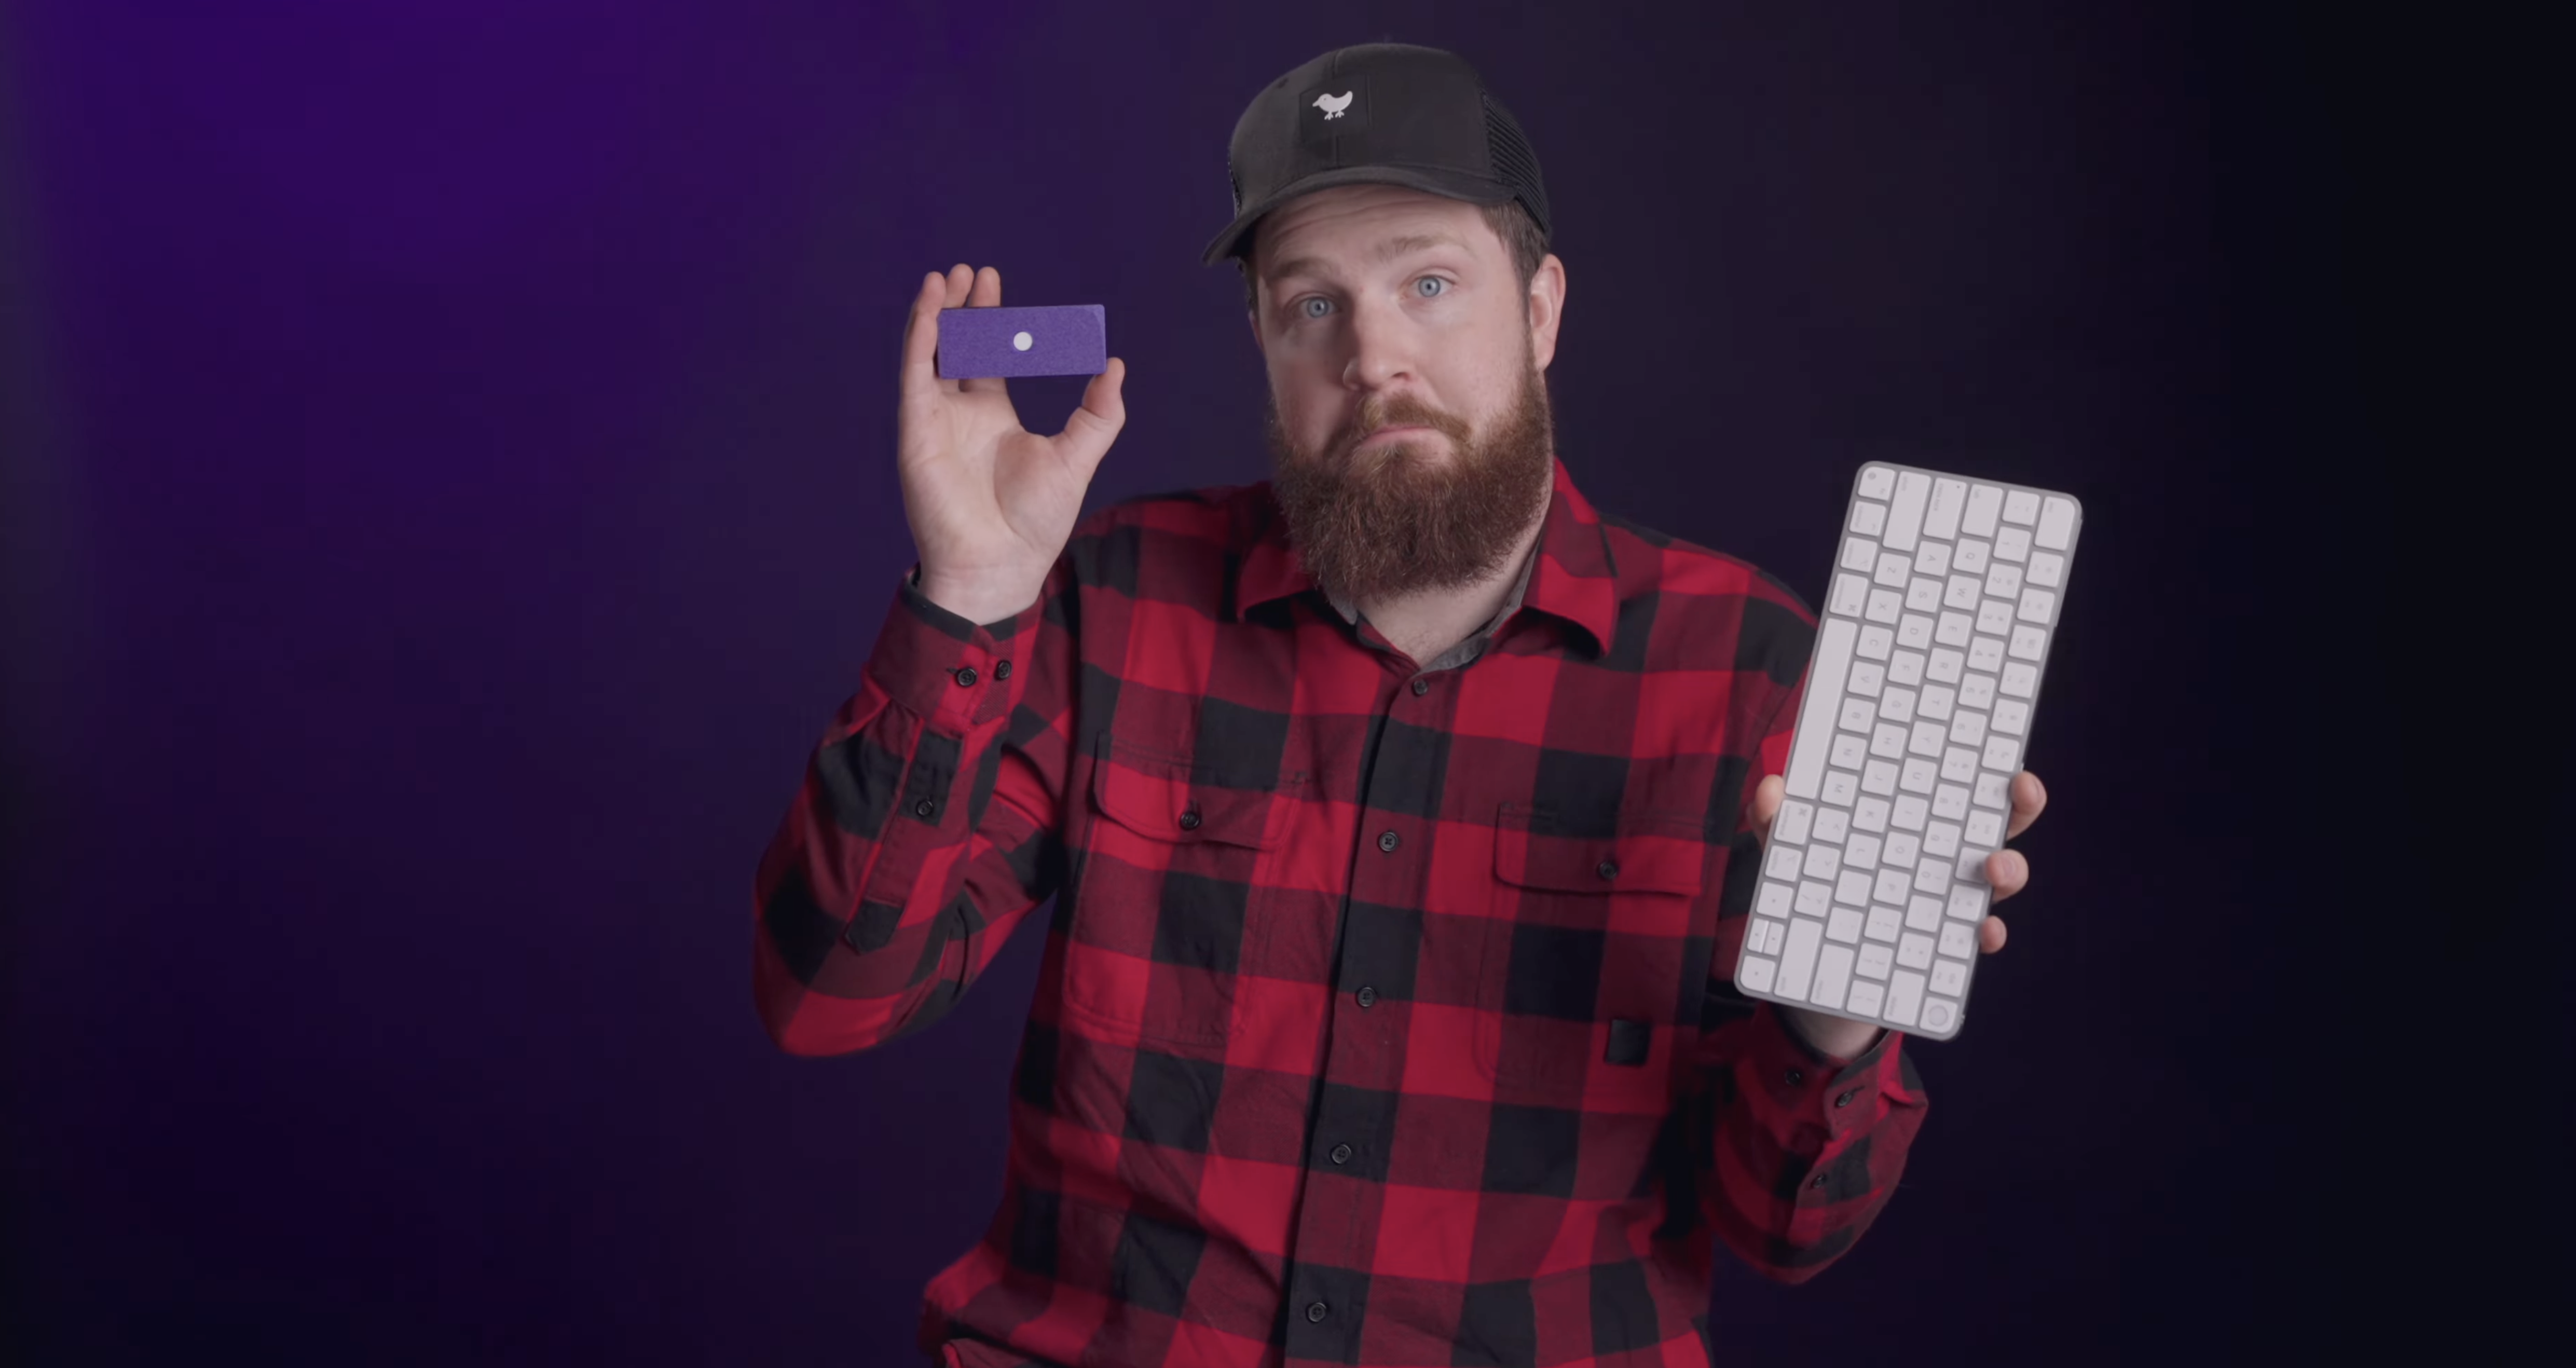
<p>Apple introduced the <a href="https://www.apple.com/shop/product/MK293LL/A/magic-keyboard-with-touch-id-for-mac-models-with-apple-silicon-us-english">Magic Keyboard with Touch ID</a> in 2021 for Apple Silicon computers rocking an M1, M2, etc. That's all well and good, but for those that preferred keyboards that are actually good, many resorted to taping Apple's keyboard under their desks. </p><figure class="image image-style-align-right image_resized" style="width:50%;"><img src="https://media.printables.com/media/prints/320000/rich_content/61e1e9f0-03f2-465e-a72f-1272396cfa21/screenshot-2022-11-18-at-114626-am.png#%7B%22uuid%22%3A%22c0270493-193c-40c8-9749-56c8e176419b%22%2C%22w%22%3A1126%2C%22h%22%3A1656%7D"></figure><p>I can't lie, it's pretty clever. And some people <a href="https://sixcolors.com/post/2022/07/touch-id-on-a-mac-desktop-deconstructed/">even went to the extent of using Karabiner </a>to disable all key input in case your leg bumped it or you found yourself fiddling around for the button. A great idea! But, a solution to, well, a keyboard velcroed under a desk.</p><p>I tried this, but fiddling around for the button and keeping the board charged was too much of a hassle. I wanted Touch ID where it was <i>designed to be</i>: next to my fingers on the keyboard.</p><p>After seeing <a href="https://twitter.com/khaost">@KhaosT</a> pull theirs apart, I figured I'd try to pull it off myself but with a 3D printed case that could be printed by all. Having never modeled anything before, I was a bit hesitant, but I ended up with something I'm pretty proud of.</p><p>There's three versions: (1) a wireless TKL for the standard size board, (2) a wired version of the same (smaller because you can omit the battery entirely), and, (3) a single version for the big-daddy 109-key variant. This model uses a longer logic board that extends past the battery so a single model works quite well. <strong>If you need help in the disassembly</strong>, <a href="https://gist.github.com/KhaosT/1406a6b6bea38f59e059c2afcb39d545">this guide by KhaosT works well.</a> In the end though, you're basically just pulling apart this board as far as you possibly can. It's not really possible to do non-destructively, so I suggest using a board you find on eBay that's got soda spilled on it or crumbs jamming certain keys for a good price. You only need the board, the sensor, and optionally, the battery.</p><p>I documented my story in the video down below and suggest you check it out if you're curious. I'm by no means a skilled modeler, so let's see those remixes! I know people are probably a lot more clever than I. Thanks, and print on!!</p><figure class="media"><oembed url="https://youtu.be/hz9Ek6fxX48"></oembed></figure><p><strong>Assembly Tip: </strong>use M2x2-4mm brass inserts in the cavities and M2x4mm screws to hold the board in. Dependent on thread pitch, you may need to use the screws to widen the board’s holes slightly, but there’s nothing to be wary of near any of the holes so it’s a safe bet. If you’re super worried about the board splitting, you could use a drill bit to widen the board holes slightly. </p>
With this file you will be able to print Standalone Touch ID Module for Mac! with your 3D printer. Click on the button and save the file on your computer to work, edit or customize your design. You can also find more 3D designs for printers on Standalone Touch ID Module for Mac!.