Star Trek Discovery Communicator Remix
thingiverse
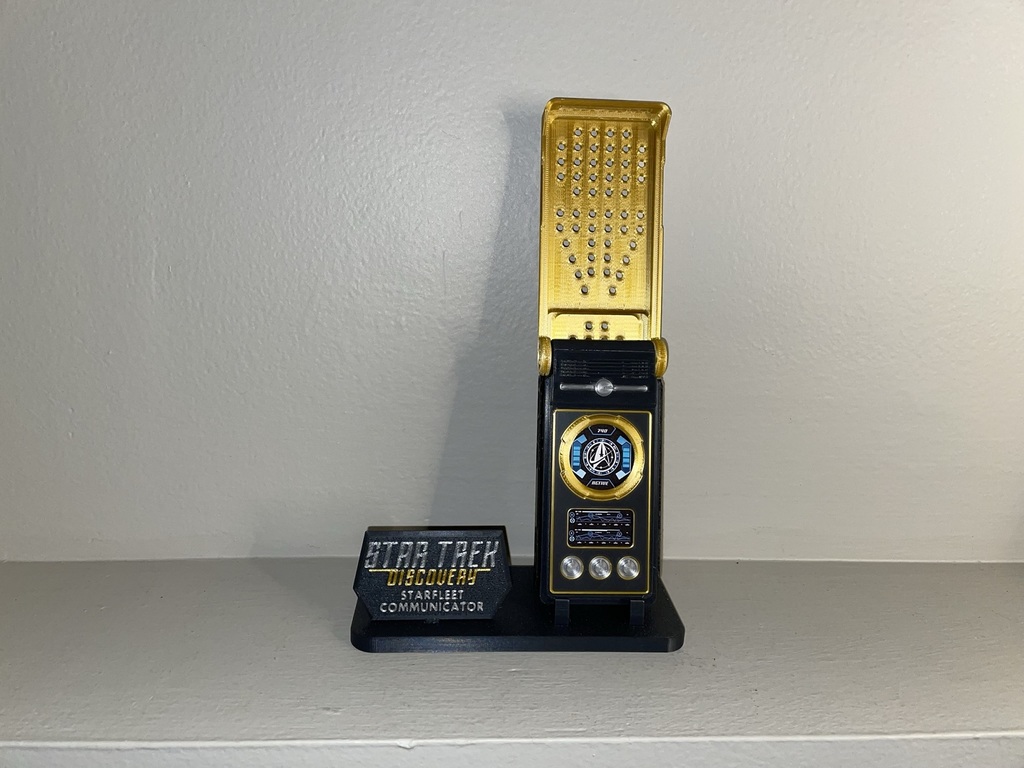
This has been moved to Prusaprinters.org Please go there to download this model. Their site is ad-free, 100% free downloads, and even has a reward program for using it. https://www.prusaprinters.org/prints/127916-star-trek-discovery-communicator Here is a remix of the awesome Discovery communicator kit designed by mooslug. I love how the model is accurate so I wanted to make it as a static prop without electronics. I solidified the body and made the flip-up hinge mechanism printable and no screws are needed. The lid was split up in layers so it can be printed flat without having unsightly under-sides from using supports. There are tiny little pegs that can be used to align the lid's layers--use a tweezer to insert them. The original unsplit lid is there too. I added pegs and notches to help align the face panels and trimmings. I printed the back cover upright. For the body I enabled a feature in prusaslicer called ironing that made the top layers much smoother than they would have been without it. The 'axle' has an R on it that should point toward the right side. Use a fine point to apply light amounts of glue to join the lid parts. The part called 'lid 2' has little removable adhesion discs on the tips to help prevent warping up from the bed. Use supports for axle, lid 1, delta, back, and maybe the body. You may have to use a razor blade or file to remove bumps to ensure smooth fits for everything. I made some graphics for this but they shouldn't be considered accurate, just whipped them up fast to look like the screen that someone had on their fan-made prop. Should fit the slots but you may need to scale up or down depending on your printer. Assembly instructions: Insert the axle with the 'R' pointing right (face up), and insert and glue the back of the clasps into the slots on the body once attached to the axel. Glue the 'lid 1' part's wheels to the axle in the correct orientation--the slots should line up with the axle like a flat head screwdriver does. Then use the tiny lid pegs to help align and glue the lid 2 part to lid 1. Align and glue the 'lid 3' part to the top. Attach the delta to the back then glue the back to the body using the delta's peg to help align it. The rest should be straightforward. Let me know if you have any questions. - update 9/9/21 added a stand-- base legs and tag.
With this file you will be able to print Star Trek Discovery Communicator Remix with your 3D printer. Click on the button and save the file on your computer to work, edit or customize your design. You can also find more 3D designs for printers on Star Trek Discovery Communicator Remix.