Star Wars X-Wing Miniatures Line Laser
thingiverse
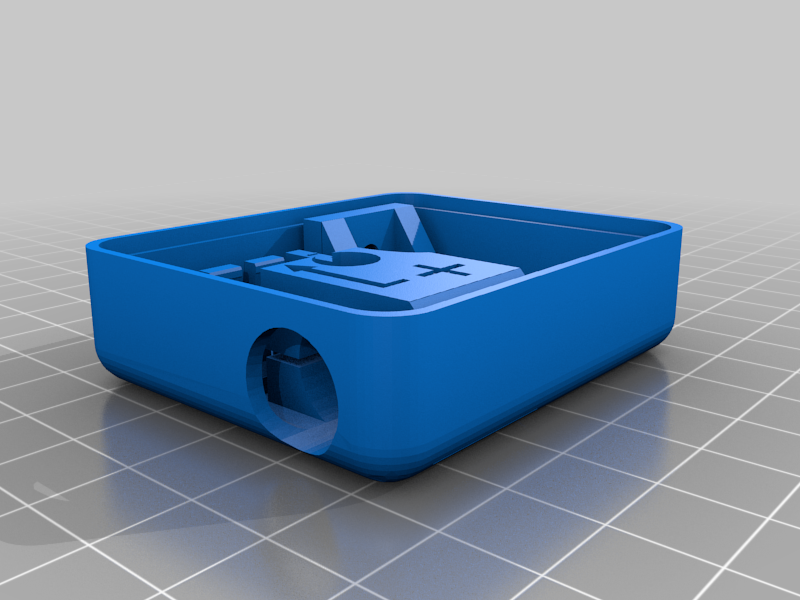
This is a laser line projector for use in the Star Wars X-Wing Miniatures table game. While I'm not a player and don't know much about the game, #1 Grandson assures me that having a laser line projector is a BIG DEAL, so here you go. The box is pretty compact, approximately 2-3/8" X 2" X 3/4", not counting the protruding laser lens. I adapted the battery holder feature from Thingiverse 2840674, "ATTiny85 and LR44 holder" by LindseyOwn, slightly modified to buttress the end plates and open the top of the clamping ears a little from the original configuration. Laser tubes are easily available on-line in dot, line and cross patterns. This one uses the line laser and as I understand it, is used to project a line on the game table to see if anything obstructs the proposed line of fire. Assembly will require soldering a few wires but is fairly easy. Battery Stack Contacts: Using approximately a 1/32" drill, drill through the four holes (two at each end) of the battery holder. These holes will necessarily be angled downward - that's OK. At each end of the battery holder, thread a 1-1/2" long piece of bare 26 ga. solid wire through the two holes from the inside of the battery holder. On the outside, bend the end of the lower part up against and then over the upper part. There will be enough length remaining on the upper end of the wire to solder the laser/switch wire to. Heat shrink the solder joints. Wiring: Red laser lead to one side of pushbutton Red from pushbutton to plus end of battery stack Black laser lead directly to minus end of battery stack The switch is held in place with the 3D printed Switch Brace; no glue needed, just set it in place once the pushbutton is in its hole. It's not going anywhere once the box cover is in place. Besides the three 3D printed parts, the following will be needed... 1 X laser tube 1 X 12 mm pushbutton (normally open), longer OK 2 X 3 mm flat washer 2 X 3 mm Nylock nut 1 X 3 mm X 12 mm Allen head cap screw (laser clamp screw) 1 X 3 mm X 16 mm Allen head cap screw (cover screw) 3 X LR44 button battery 2 X 1-1/2" pieces of 26 ga. solid copper wire 2 X pieces 1/16" heat shrink, approx. 3/4" long NOTES: 1 - Don't overtighten the laser clamp screw; the clamp may break on the side opposite the screw. Does this sound like the voice of experience? Tighten it just enough so the laser tube is held firmly. 2 - The M3 X 16 mm cover screw will need to be shortened about 0.5 mm by grinding or filing, otherwise it will protrude slightly from the bottom of the case. 3 - LASERS ARE POTENTIAL EYE HAZARDS. Duplicate the laser warning label, print a copy and affix it to the bottom of the case over the two Nylock nut pockets. You can't protect yourself from fools nor fools from themselves, but you can protect yourself from their attorneys. 4 - Install the batteries with the + ends facing opposite the pushbutton, as indicated by the notation on the top of the laser clamp. 5 - All three parts printed with PLA; no supports; 1.2 mm shell, 16% infill.
With this file you will be able to print Star Wars X-Wing Miniatures Line Laser with your 3D printer. Click on the button and save the file on your computer to work, edit or customize your design. You can also find more 3D designs for printers on Star Wars X-Wing Miniatures Line Laser.