static grass applicator
thingiverse
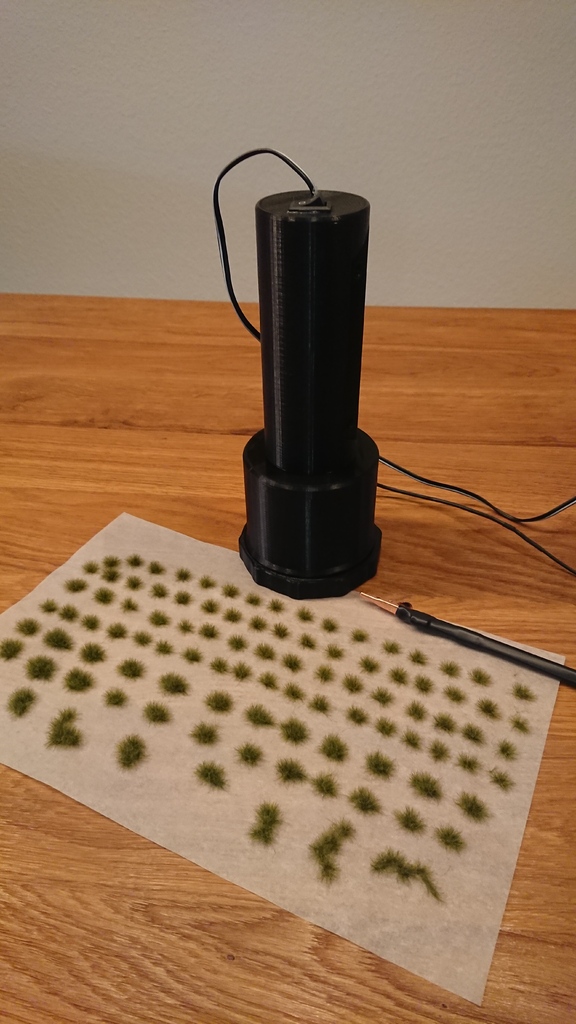
This is a dynamic tool for creating realistic grass scenes on model terrain. The applicator's sleek design makes it easy to print and assemble, and its functionality is impressive. The electronics are straightforward: you'll need a high-voltage generator (20 kV), a switch, a 12 V power supply, some wires, and connectors. Simply connect the power supply wire to the handle through the hole next to the switch, then link the power supply and switch to the small input wires of the generator. The thick output wires from the generator should be connected to the wire mesh (red) and ground (black). If you prefer, you can solder the positive output wire directly to the wire mesh; I opted for a crocodile clip instead, which allows me to clean the lid easily without obstruction. To assemble the applicator, you'll also need: * 5x hex socket head cap screws M5x12 with washers * 4x hex socket flat countersunk head screws M3x8 * Some small wire mesh (I used a kitchen sieve) * Two-part epoxy glue to attach the wire mesh A note on the screws: My printer often produces holes that are smaller than designed, so I modelled the holes for the M5 screws with an inside diameter of Ø5.0 mm. This gives me a printed hole with enough grip to firmly hold the screw without splitting the part. If this is not the case for your printer, you can adjust the diameters using the parasolid files included. When designing the applicator, I aimed for simplicity and ease of use. The design has few parts, prints without supports, and allows for quick access to the lid. While the lid does require a full revolution to open, it's still fairly comfortable to use. If I were to redesign it, I would try to improve this aspect.
With this file you will be able to print static grass applicator with your 3D printer. Click on the button and save the file on your computer to work, edit or customize your design. You can also find more 3D designs for printers on static grass applicator.