Stealthy's RetroPI case
thingiverse
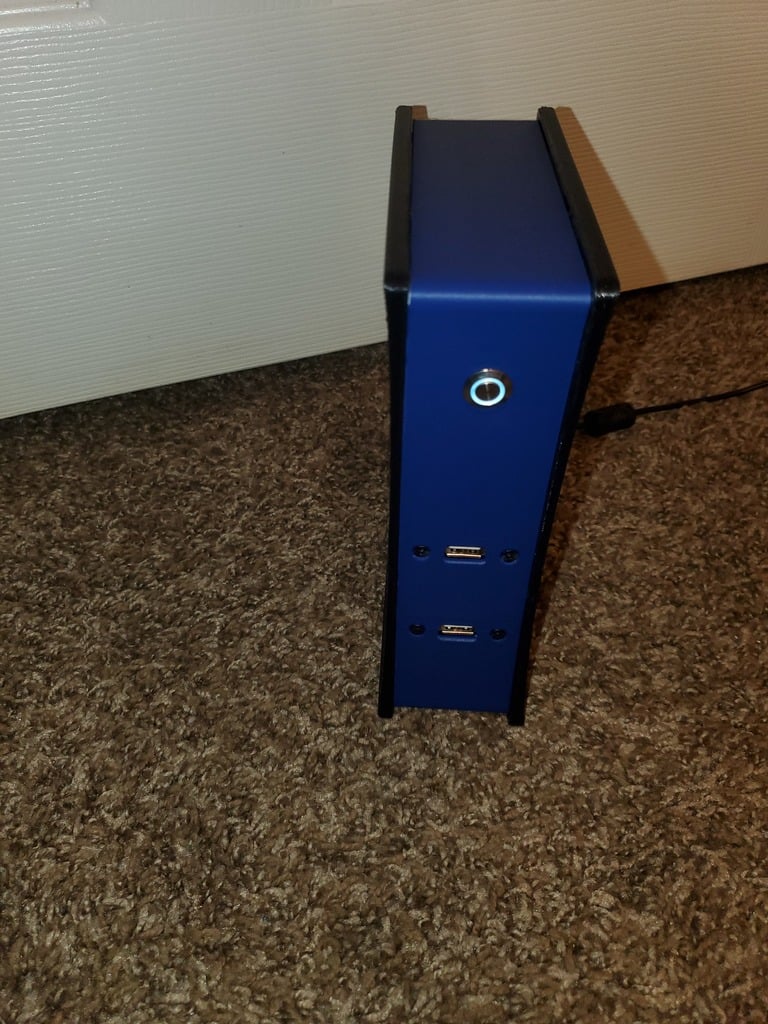
Hey Guys and Gals. Nothing to fancy to see here, just a simple RPI case that fits my needs as far as looks and use go. All the holes on the side covers are designed to fit standard M3 screws, so you could add different things inside with adapters if you wanted - for example an internal SSD or a controller holder on the outside. Your parts list is as follows: 1 - Main Body, 2 - Left side cover, 3 - Right side cover, 4 - Spacers, 5 - 30cm Usb Panel mount (30mm spacing between holes), 6 - 12mm momentary switch (I used a 12v version), 7 - 4 M3X16mm Steel Hex Socket Flat Head Cap Screws, 8 - 18 M3X8mm Steel Hex Socket Flat Head Cap Screws, 9 - Raspberry PI (I used a PI3 B+). I set up the button with led using these videos: Power Button config - https://www.youtube.com/watch?v=4nTuzIY0i3k, Led Config - https://www.youtube.com/watch?v=of2p-FHg6nY. If I forgot anything please let me know.
With this file you will be able to print Stealthy's RetroPI case with your 3D printer. Click on the button and save the file on your computer to work, edit or customize your design. You can also find more 3D designs for printers on Stealthy's RetroPI case.