Steampunk Couture: CNC Goggles
thingiverse
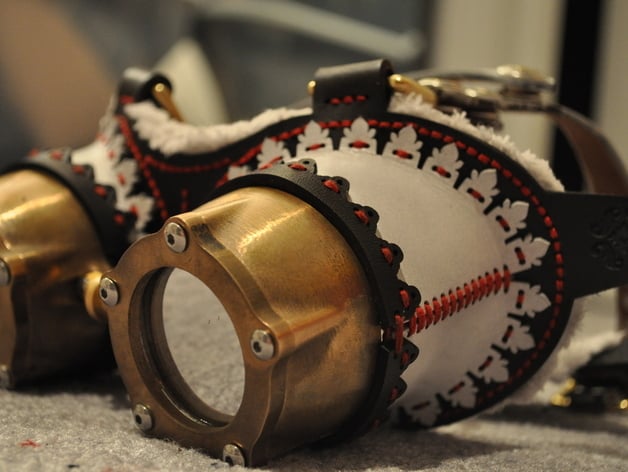
This project was initiated when I was teaching at TechShop, and I had the time, tools, and motivation to create something significant. Despite my mixed feelings about steampunk, as it can be both inspiring and debased with shoddy craftsmanship, I decided to demonstrate its potential through this highly engineered, labor-intensive goggle project. The intersection of math, metal, leather, and science in steampunk design can lead to cool results, and I encourage others to give it a try. You can view the full set of photos from the project on Flickr, learn about the metal components on the goggles, and explore the prototyping process on MakersMarket. To support my love for design and adventure, I sell digitally fabricated jewelry on Etsy, and you can contact me with ideas, advice, job offers, commissions, or cake. To create the leather parts of the goggles, I used 2.5mm thick natural leather from Ponoko, ensuring it was dyed, conditioned, and cut accurately. Snaps, buckles, and Dee rings were fastened in specific locations, as indicated in the provided PDF. Sewing embroidery floss was crucial for attaching eye cups to the mask, while 3D printed goggle hardware from Shapeways completed the assembly process. Finally, lenses made of 1.6" acrylic circles were added to complete the steampunk goggles.
With this file you will be able to print Steampunk Couture: CNC Goggles with your 3D printer. Click on the button and save the file on your computer to work, edit or customize your design. You can also find more 3D designs for printers on Steampunk Couture: CNC Goggles.