Steampunk Fidget Spinner
prusaprinters
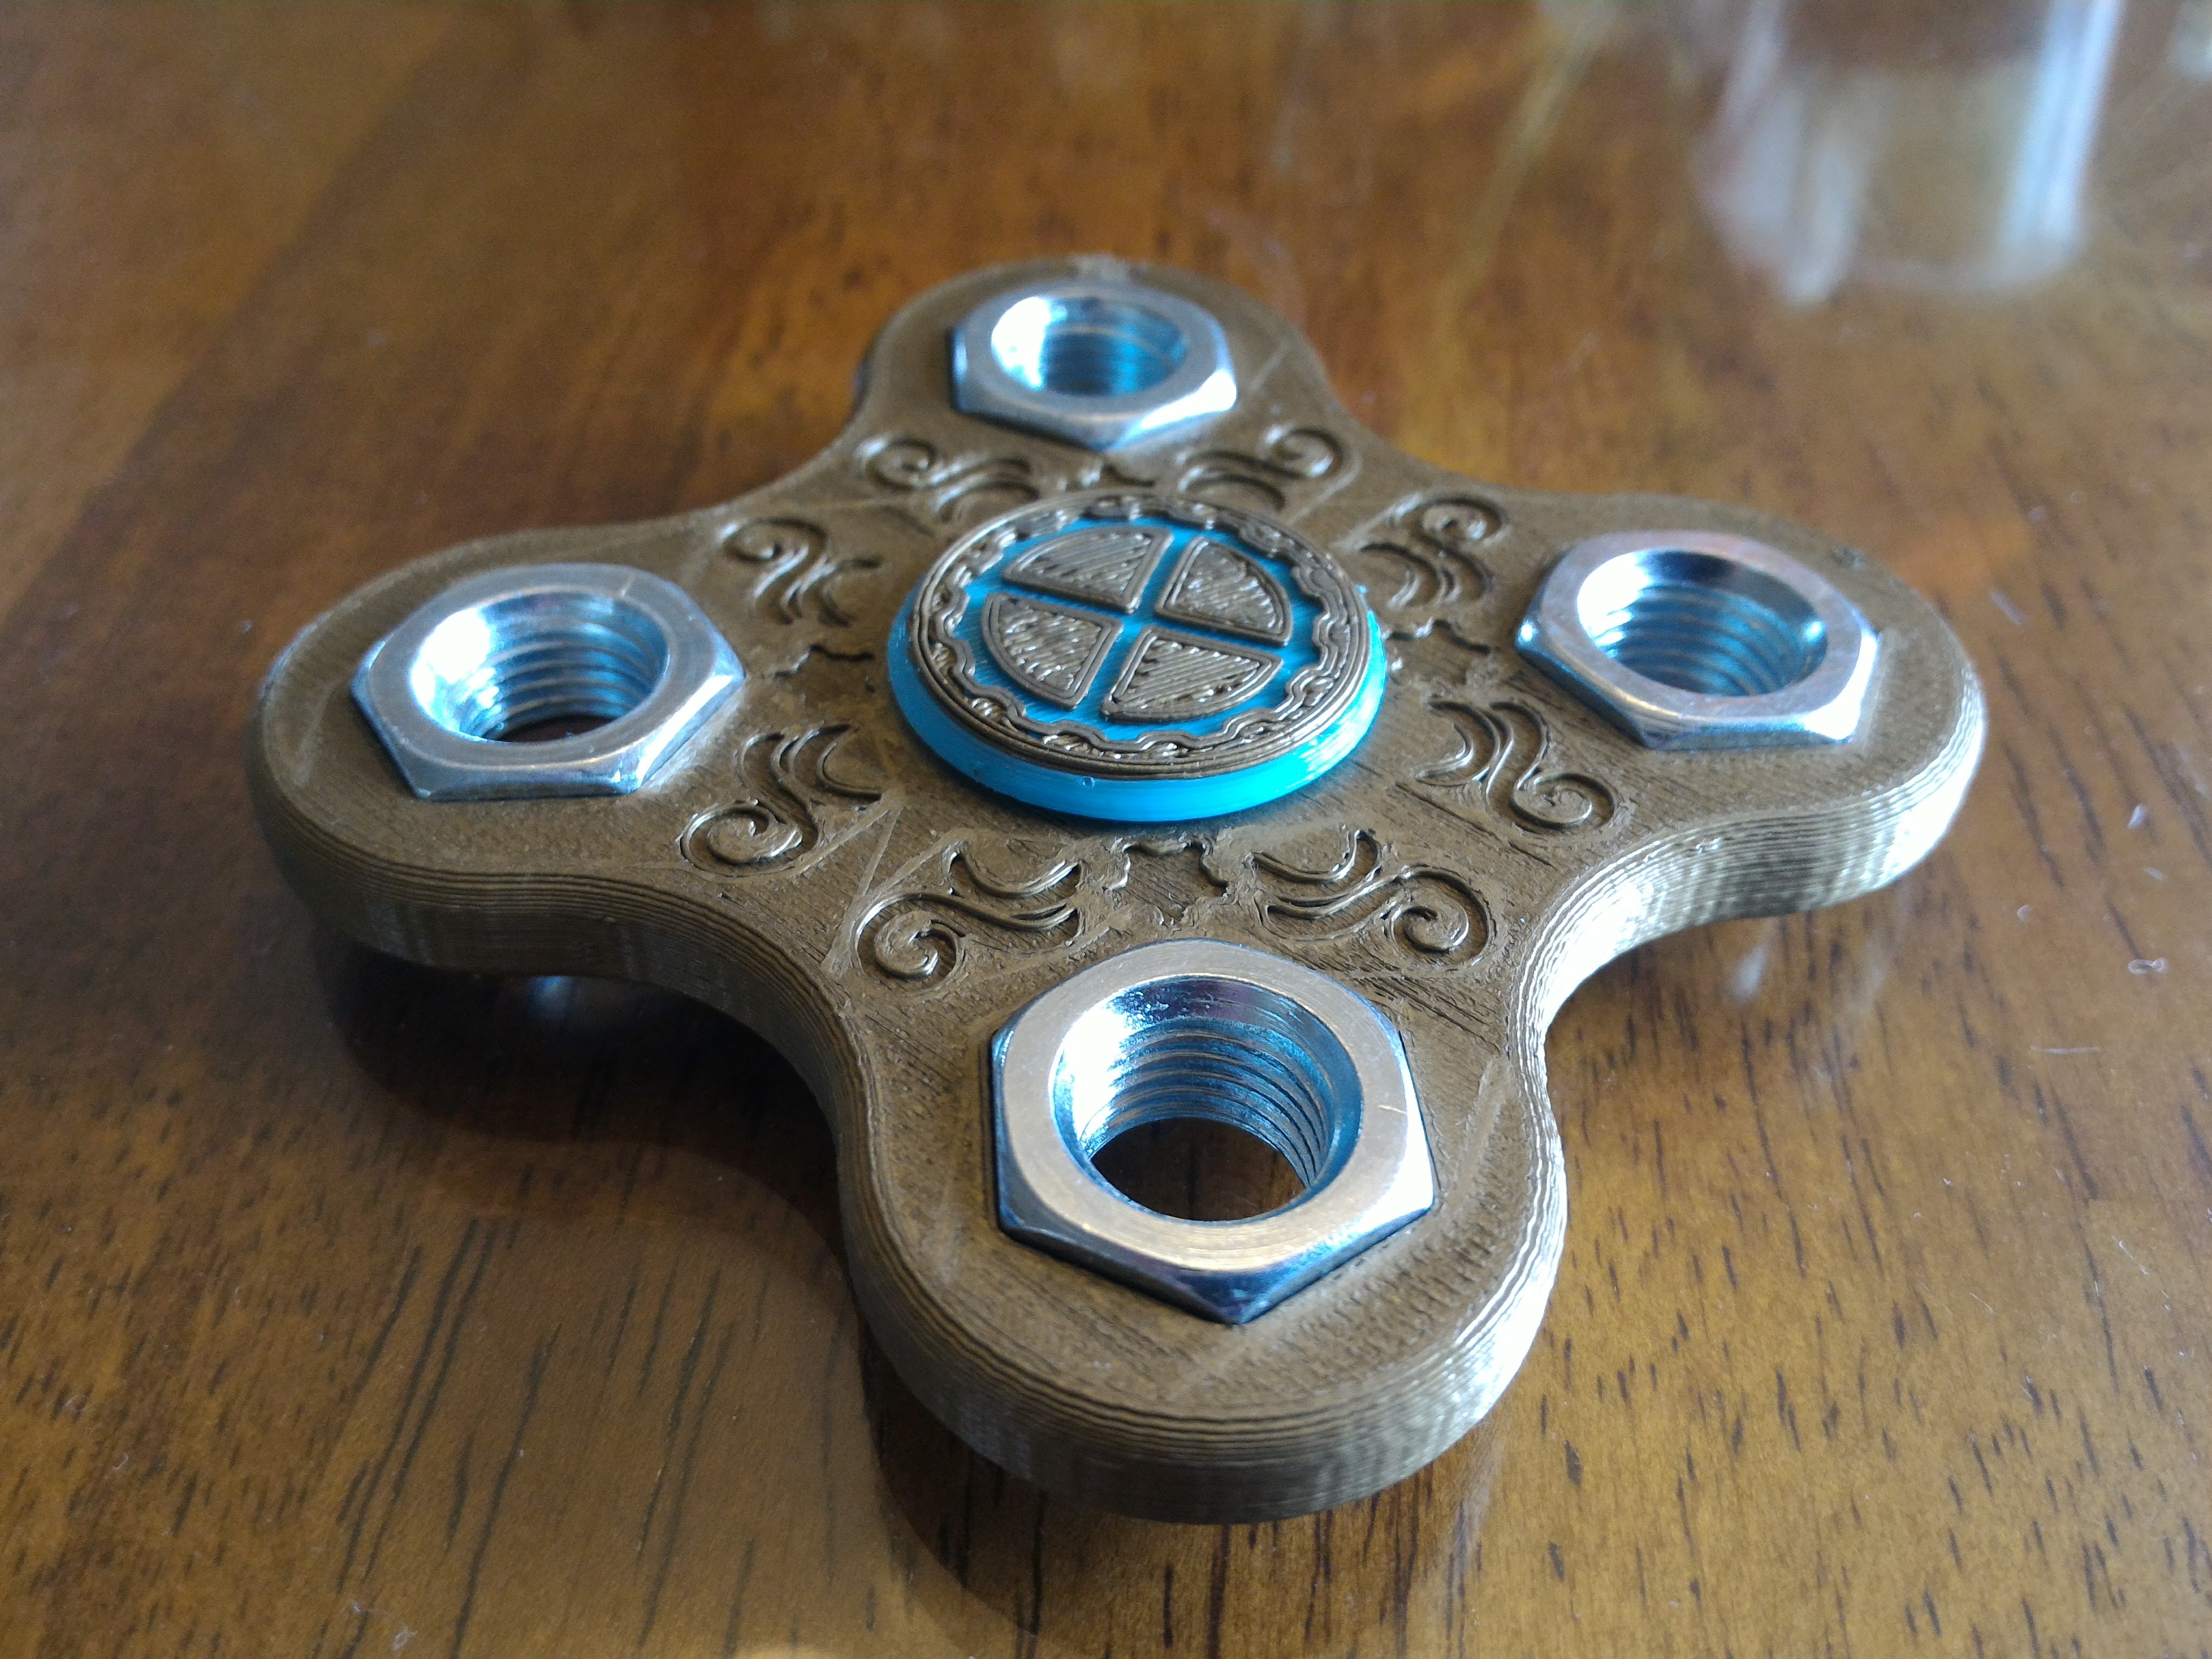
<h3>An exercise in fun</h3> <p>I've been designing spinners for my kids. It's been a fun experience and I enjoy exercising my creative side. After seeing the kids play with theirs for a while, I was bit with the bug - I wanted one!</p> <p>Initially, I designed a simple 4-nut spinner in translucent red filament (one of my favorite spools). Then, for my wife's and my anniversary, she bought me some FoxSmart bronze filament!</p> <p>The idea of a bronze spinner immediately popped into my head. Then, I thought to myself, "How can I logically combine the bronze with a hand spinner?"</p> <p>I knew what I must do...</p> <h3> Steampunk</h3> <p>In the right context, I really enjoy steampunk style. That mix of Victorian or sometimes Art Nouveau with elements of the industrial/steam age is a rather cool intersection of fantasy. It romanticizes the style of key points in history along with a "what if?" analysis of where "steam" energy might have taken us.</p> <p>The style has been generalized to include clockwork mechanisms with chunky gears and the like. I think this fits more into the latter category. While I would assume some steam power could really spin one of these rather fast, I truly wouldn't recommend it on a PLA or other plastic creation. Not only could it melt your cool creation, it's just kinda not smart.</p> <h3> Aw, nuts.</h3> <p>Before I got into trapped penny spinners, I thought the idea of a nut spinner might be a good one. Nuts, while not as cheap as pennies, are far cheaper than bearings, especially if you get plain old zinc-coated nuts.</p> <p>The nuts, in this case, are about 17.2mm in diameter, edge to edge. (That is, the diameter of the circle that inscribes the nut.) They give some heft without costing very much. The neat thing is they kind of fit with the whole steampunk theme. My nuts, according to my records, are 7/16" GR5 hex nuts from Home Depot and cost $0.17 each.</p> <p>An advantage of nuts over pennies is that it is generally much easier to create a balanced spinner using nuts rather than pennies due to the difference in makeup of the pennies over the years.</p> <h3> Tight fit!</h3> <p>I have my printer tuned in fairly well. The tolerance on the center bearing is only 0.1mm for the radius (0.2mm for the diameter). I have to actually tap my bearings in using a flat block of wood and a hammer but once they are in, they tend not to come out!</p> <p>Given the variance of printers I can't guarantee your printer will yield the same results as mine. Your bearing might be too loose. Mine is snug. All I can say is you might need to play with your scaling factors should things not work the way you expect. In fact, one of my nuts was just a little bit tight, causing the spinner to crack. I used some spare filament and a rotary tool to "weld" it shut, but it did result in a little bit of a scar. Nonetheless, I like the overall outcome.</p> <h3> DISCLAIMER</h3> <p>You know the drill. You are printing something on your printer. You are responsible for what you print. Don't give spinners to kids, adults or pets who have a tendency to pull apart things and place them in your mouth. Several components of a spinner would be rather nasty to your health should one try to ingest them. Don't throw a spinner at someone - it hurts.</p> <p>Use common sense. Be responsible. Have fun!</p> <h3>Print instructions</h3><h3>Category: Toys & Games Print Settings</h3> <p><strong>Printer:</strong> BobsCNC RP9 v2</p> <p><strong>Rafts:</strong> No</p> <p><strong>Supports:</strong> No</p> <p><strong>Resolution:</strong> 0.2mm</p> <p><strong>Infill:</strong> 30% or more</p> <p><strong>Notes:</strong></p> <p>If you plan on using a metal-fill filament (and I would recommend it for the best effect), you will likely need a higher infill and more top layers to ensure minimal pillowing. I used 4 top layers instead of the usual 3 to help minimize pillowing, but I still think I could have upped my infill a bit.</p> <h3> Post-Printing</h3> <p>For the caps, I had a happy accident clearing out my nozzle of bronze filament with some cyan scrap. When I pulled the filament out, it was coated with some bronze PLA and my mind immediately went to turquoise rock with flakes of copper and quartz. As such, that is what determined the two-tone combination of the two filaments.</p> <p>In addition, I used a rotary tool with some bronze filament to try and get the mottling effect on the edge of one of my caps. I wasn't entirely pleased with the results so I decided not to do it with the other.</p> <p>As far as the spinner itself, I did no post-printing finishing aside from welding a crack caused by putting in one of the nuts. I did not polish sand or otherwise finish the spinner's surface.</p> <h3> How I Designed This</h3> <p>Nothing fancy here. I just used Fusion 360, did some simple flourish designs for the embossing, and went with it!</p>
With this file you will be able to print Steampunk Fidget Spinner with your 3D printer. Click on the button and save the file on your computer to work, edit or customize your design. You can also find more 3D designs for printers on Steampunk Fidget Spinner.