Stop Motion Rig System
thingiverse
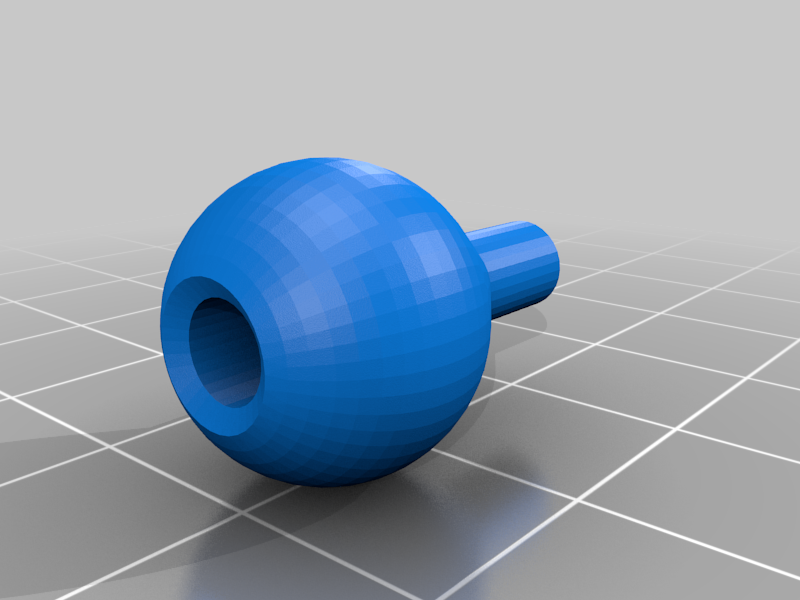
I recommend to print the parts with 100% infill since they have to withstand a lot of force for holding tight whatever you are animating. I printed these with a 0.8mm nozzle at 0.4 layer height and they work perfectly thanks to the added roughness. The "clamps" are best printed with the flat side facing and up adding a little support. The ball joints are reinforced with an M2 screw and can withstand a lot of forces with no problem. I recommend printing these with 4 or 5 perimeters for better bed adhesion and its better to print more that one at a time to allow the plastic to cool between layers. Hardware: M2x20 bolts and nuts: 2 per articulation. M6x25 bolts and nuts: 1 per articulation Standard metal straw or 5mm iner diameter tubes. Metal Straws: https://www.amazon.com/dp/B07D34ZNMH Hardware set with 310 hex nuts and bolts (M2x20 included) perfect for 3d printing projects: https://www.amazon.com/dp/B07W5HBRMP The M6 nuts & bolts are found on every hardware store. You can use some cyanoacrylate glue for added strength. This would look great with golden straws and a black filament.
With this file you will be able to print Stop Motion Rig System with your 3D printer. Click on the button and save the file on your computer to work, edit or customize your design. You can also find more 3D designs for printers on Stop Motion Rig System.