Stretching Cat
thingiverse
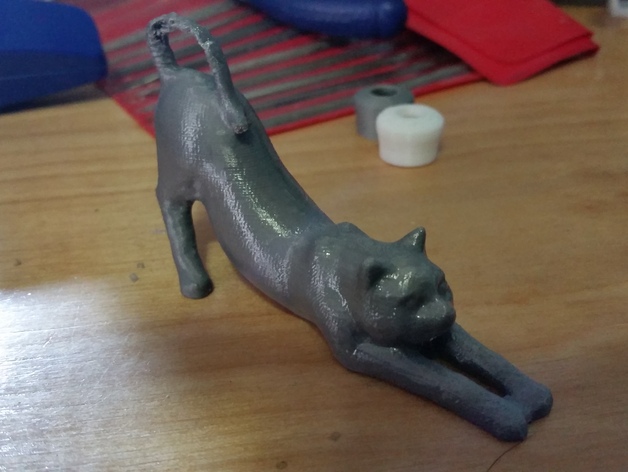
Designed after I 3D scanned a wooden cat model. Made in ABS. How I Designed This Step 1 Obtain materials Obtain wooden cat model Retrieve Projector Get noise pattern picture Procure camera Download VisualSFM Download Meshlab Download Meshmixer Step 2 Take a million pictures Project Noise pattern from projector onto wooden cat. Take 30-50 pictures of the cat in one orientation by using different angles of the camera. Turn cat, take another set of pictures and repeat until all sides are collected. Step 3 VisualSFM Magic Run each set of pictures through VisualSFM until all sets return a good 3D point cloud. This is some extreme math magic, do not attempt to understand. Step 4 Meshlab Magic Dump all of the 3D point clouds into Meshlab, repeat until meshlab stops crashing. Arrange all point clouds into a mostly aligned single cat. This will be difficult because picture scans always return different orientations and scales, and meshlab will constantly crash. Once all files are properly scaled and aligned, run a poisson surface reconstruction. Step 5 Meshmixer Smoothing Import model into meshmixer to reduce the amount of polygons as well as repairing any misses from the previous processes. Step 6 Print Forget to turn on supports, print cat, regret not using supports, make note in thingiverse comment section.
With this file you will be able to print Stretching Cat with your 3D printer. Click on the button and save the file on your computer to work, edit or customize your design. You can also find more 3D designs for printers on Stretching Cat.