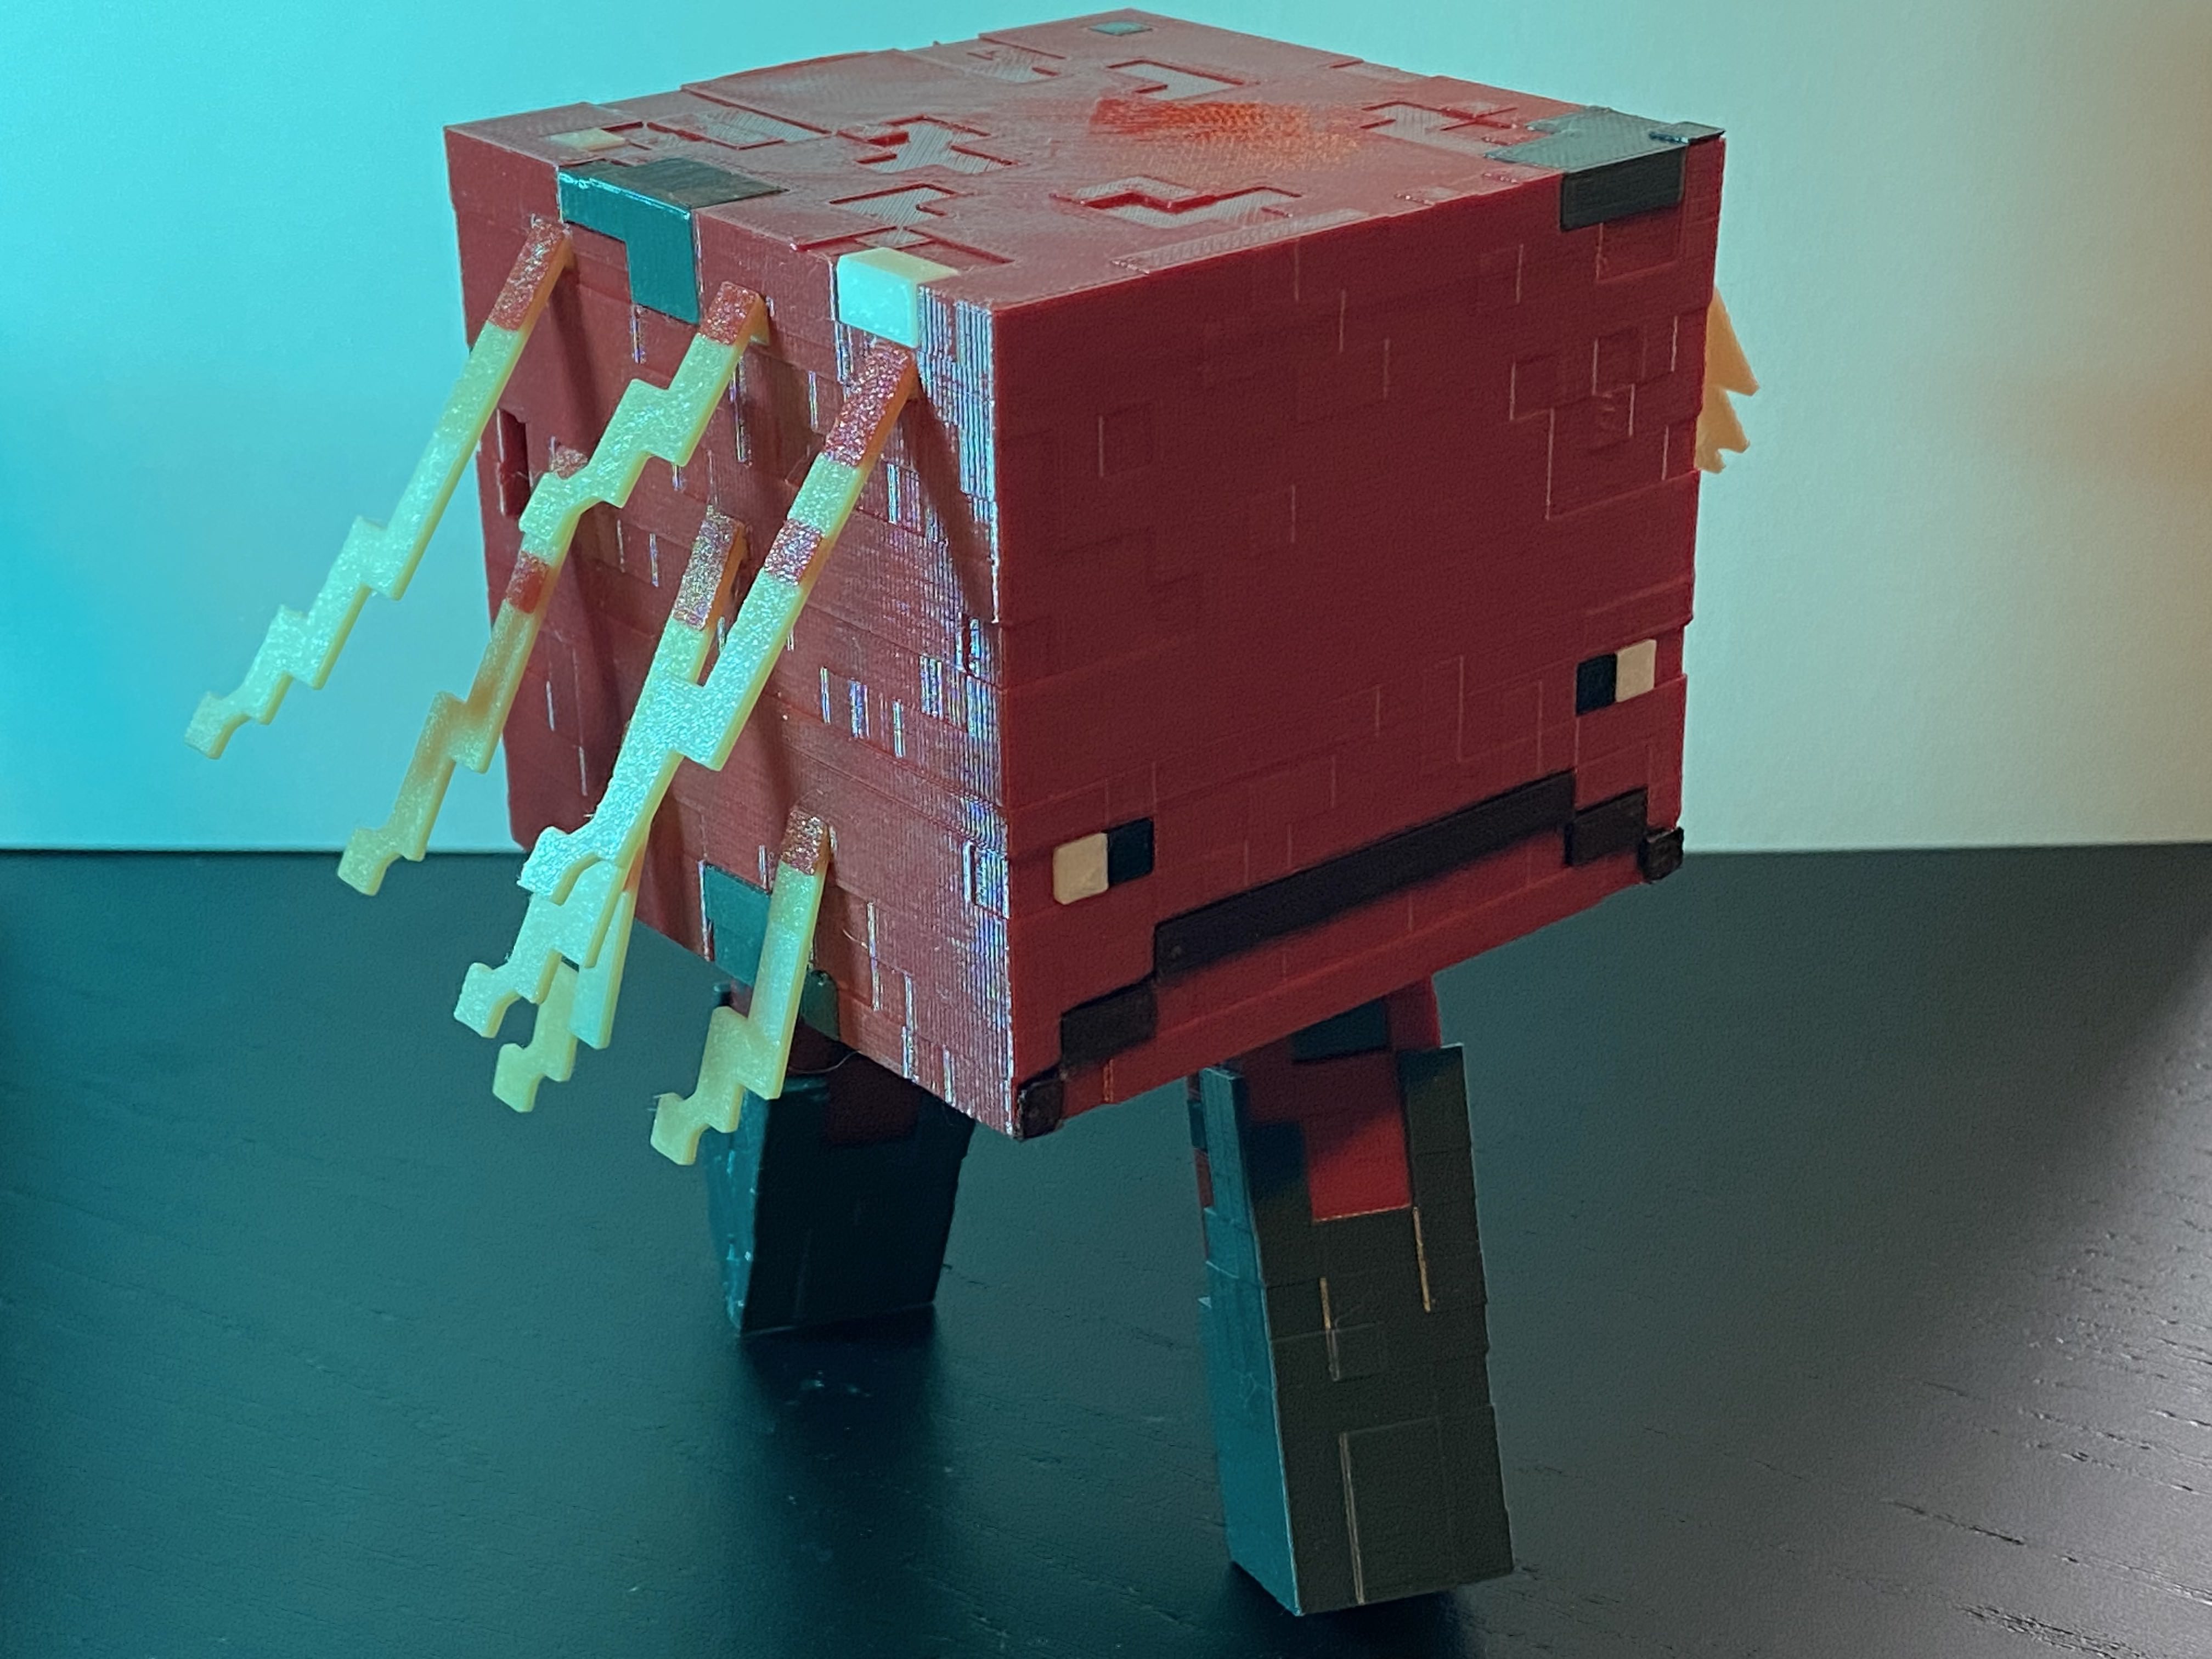
Strider (Minecraft)
prusaprinters
<p>An articulated minecraft strider with a nozzle box. Has optional magnet holes for the lid but otherwise no superglue or extra hardware required! Just print one color at a time.</p><p>You will need some 1.75mm filament for the Nozzle Box.</p><p><img src="https://media.printables.com/media/prints/161859/rich_content/800e1db9-5c23-42d5-bad5-57ca283cf6a6/img_4993.jpg#%7B%22uuid%22%3A%2227a59f6a-e051-47b3-a999-e1d485b2728d%22%2C%22w%22%3A4032%2C%22h%22%3A3024%7D"></p><p>Here are all of the Strider pieces:</p><figure class="image"><img src="https://media.printables.com/media/prints/161859/rich_content/56e667a7-a9ae-42c4-80fb-c8842140d1ef/img_4979.jpg#%7B%22uuid%22%3A%226de62d3f-35e7-4590-96f4-cb2555cd425b%22%2C%22w%22%3A4032%2C%22h%22%3A3024%7D"></figure><p> </p><h4>Printing</h4><p>This is not the easiest print, so only do this if you have lots of time lol</p><p>This print will definitely require supports for the following parts:</p><ul><li>Head</li><li>Mouth Corner L/R</li><li>TB2</li></ul><p>Any other parts I did not feel supports were necessary. But do note that I have drawn in supports on the Boots as well as the Head.</p><p>As far as object orientation goes, I have included all my 3mf files.</p><h4><i><strong>Detailed Strings</strong></i></h4><p>The hairs/strings are probably the most difficult part of the print if you choose to make the detailed strings. To achieve different colors on the first layer, I essentially had to lay down single layer pixels of different color filaments, and then print the main body of the strings directly on top.</p><p>I've heard of custom g-code that could make this easier, but the process I used is as follows:</p><ol><li>Load light/white color filoament</li><li>Print “Light String Details” </li><li>IMMEDIATELY unload the filament</li><li>Remove the filament at bottom left corner (looked up it's called the “Prime Line” lol)</li><li>Load Red</li><li>Print “Red String Details”</li><li>IMMEDIATELY unload the filament</li><li>Remove the filament at bottom left corner</li><li>Load tan/light brown filament</li><li>Print “Strings”</li></ol><p>Important Notes:</p><p>I didn't use a skirt on the string details to make removal easier.</p><p>The gist is that you don't let the bed cool to prevent loss of adhesion on the details.</p><h4>Nozzle Box Assembly</h4><p>Printing is straight-forward. You will need 2 pieces of filament each around 52.50mm long.</p><p>Print the base, two lids, and an optional lid holder to keep the box closed. I also included optional plates that display the nozzle size. I only have four different plates for now (0.2, 0.4, 0.6, 0.8), but if you want another one just ask! </p><p>If you need any adjustments for the nozzle holders, please let me know. I lost my only spare nozzle so I wasn't able to test it. I had to use a data sheet from E3D.</p><h4>Strider Assembly</h4><p>I like to assemble the mechanism first to make sure the Strider works, add details to the Primary/Red pieces, and then finally add the hairs/strings.</p><ol><li>Align holes of Legs with the holes of the Rotator</li><li>Insert the Axle to hold all 3 pieces together</li><li>Press the Rotator into the Head, and hold in place with the Rotator Stopper.</li><li>Add the details to the Legs, including the Boots</li><li>For the eyes, insert white and black pixels with black being closer to the middle of the face.</li><li>Insert the five Mouth pieces</li><li>Add the gray and tan details to the Head (the first letter is the color, the second color is the side (Front, Back, Left, Right)</li><li>Add the tan detail “TB2” to the Back Plate</li><li>Insert the Back Plate into the back of the Head. Use Locks L/R or two 8x3mm magnets to hold the Plate in place.</li><li>Add the Strings</li></ol><p>So easy!</p><h4>Confession</h4><p>This was not originally supposed to be a nozzle box I just wanted to make a Strider. But after realizing how much empty space the print had I decided to make a Nozzle Box for the Strider to hold. The Strider can actually hold two nozzle boxes if you want. </p><p> </p><p>:D</p>
With this file you will be able to print Strider (Minecraft) with your 3D printer. Click on the button and save the file on your computer to work, edit or customize your design. You can also find more 3D designs for printers on Strider (Minecraft).
