String trimmer spool winder for Black & Decker AFS
thingiverse
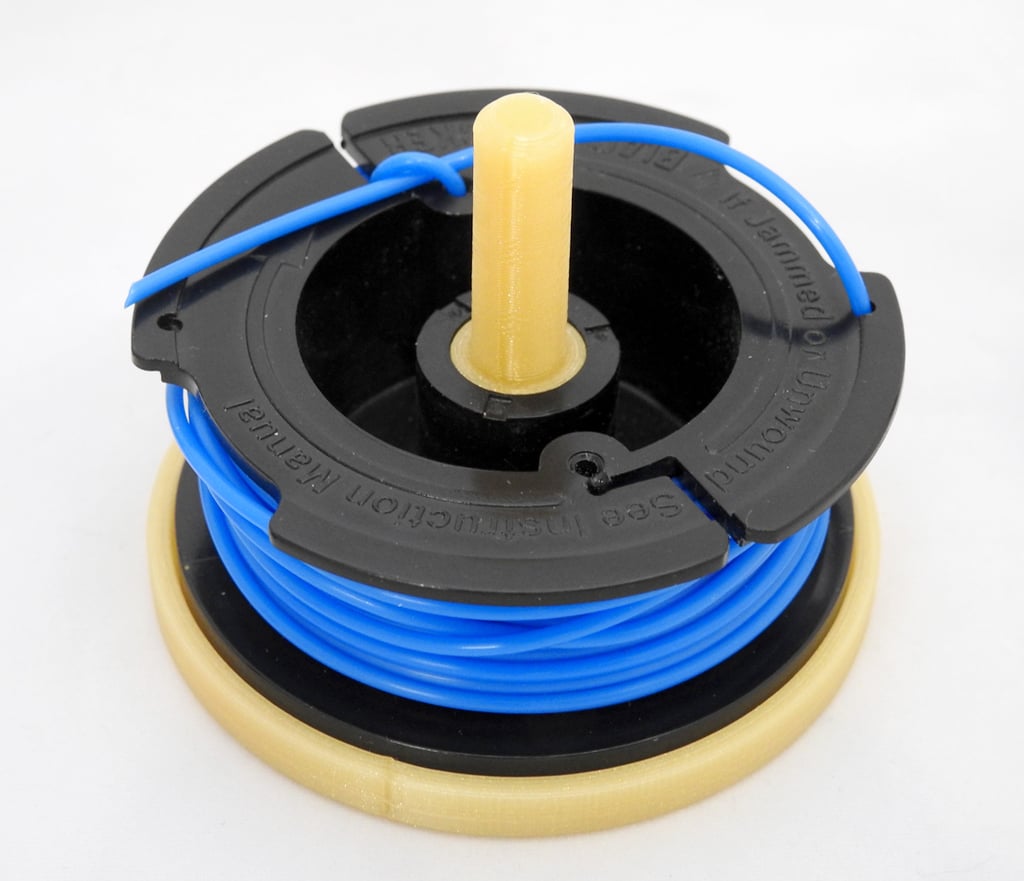
This is a "fixture" to hold a string trimmer spool in place while it's being re-wound on a drill/driver or dedicated electric screwdriver. It's designed to be used with spools that fit the Black and Decker Automatic Feed Spool [AFS] trimmers. I've included a picture of the spool showing the 8 shark-fin-shaped cogs on the bottom. I doubt it will work on other 8-tooth spools, but it doesn't take long to print and find out. Using it is pretty straightforward, but I'm going to go into detail anyway. Besides, it gives me the opportunity to play with some of "Markdown"'s features like "numbered list": 1. Slip the empty trimmer spool cog-side down over the shaft and onto the fixture; a slight twist will seat it securely. You may want to insert the string end into the spool's starting hole at this point and get it headed in the right direction - access to the starting hole is limited after the loaded fixture is placed in the drill. 2. Put the loaded fixture's shaft into the drill's chuck as far as it will go. You want the end of the chuck to hold the spool on the fixture. One of the pictures I've included shows the fixture's shaft almost all the way up to the drill chuck. This was for illustration; in use, the front of the chuck should be touching the fixture. 3. Tighten the chuck gently - you don't need a lot of pressure to hold the fixture in place. Please note: The jaws of a drill chuck are intended to tightly grip smooth, slippery steel drill bits against great torque. Your puny plastic shaft is no match for the power of the chuck. 4. If you haven't loaded the string into the starting hole of the spool, do it now. Make sure the string will wind in the direction indicated on the top of the spool. 5. Put the drill into its slow-speed screwdriver mode (if possible) and in reverse (required). It may also help if you set the clutch to its lightest setting. If it's light enough, you may be able to control the winding speed by how much drag you put on the string as it's winding. 6. Start the drill slowly and feed the filament onto the spool. It takes practice to get more than the first few layers to line up without cross-overs. I still don't have it down, yet, but this is so much better than winding by hand. I've put a hex-drive hole in the bottom of the fixture. You can use this with tools that only have a hex drive - like the B&D screwdriver, pictured. That little screwdriver is easier to handle than a big drill, so it's easier to control the winding. The spool is not clamped to the fixture, but it tends to stay in one place while you're winding. Note that when using this method to wind the spool, the driver needs to run in the forward direction. My design was inspired by the tool created by Ryan Colyer (rcolyer) for Ryobi trimmers [https://www.thingiverse.com/thing:3024616].
With this file you will be able to print String trimmer spool winder for Black & Decker AFS with your 3D printer. Click on the button and save the file on your computer to work, edit or customize your design. You can also find more 3D designs for printers on String trimmer spool winder for Black & Decker AFS.