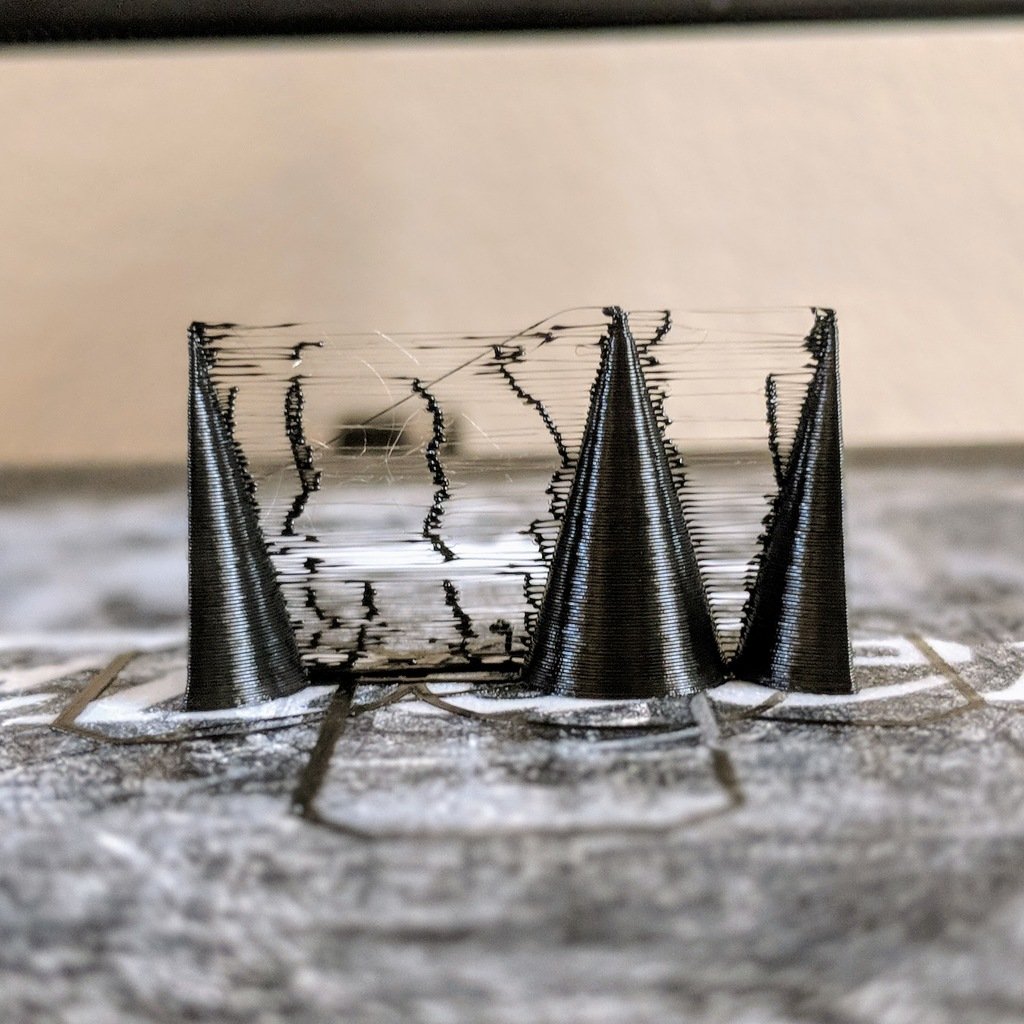
Stringing Test
thingiverse
You can find my full list of 3D Printing Troubleshooting Guides at http://blog.ansonbiggs.com/yet-another-test-suite/. This is the start of a bigger suite of test prints I'm creating that can be used to calibrate your 3D printer quickly and inexpensively. ## Summary Stringing, also known as Oozing, occurs when a print has small hairs or thick lines of filament between two print locations. Luckily, cleanup for stringing is usually simple if it's not extreme. If you have extreme stringing, this guide and the included test print will get you up and running in no time. This model is fully parameterized if you have Inventor. ## Contents This project includes a .stl file with 3 Cones in a line that tests every length from 0mm to 15mm by default. There's also a .ipt file if you have Inventor and want to make modifications to this. This model only uses one parameter: the longest distance you want stringing to be tested at, and it does the rest automatically. ## Goals of This Print The two main factors affecting stringing are **Retraction** and **Temperature**. If temperature is too high, it can cause other issues in your prints, so if you're mainly experiencing stringing, retraction is probably your issue. The included .stl tests stringing from 0mm to 15mm by default. Small strings often referred to as hairs are very common at small distances and are easy to clean up after the print has finished. If stringing is prominent on longer distances, I'd look into the troubleshooting steps. ### Retraction Most slicers have this ability, and it's likely your issue if stringing is a problem. Retraction causes your printer to pull some filament back when moving the print head between parts of your print. The two parameters for this setting are **Distance** and **Speed**. Distance is how much filament gets pulled back, and speed is how fast it pulls it back. Mileage varies greatly by printer, so search online for good baseline values to get started. My Ender 3 values are 6.20mm *Retraction Distance*, and 5100mm/min *Retraction Speed*. Don't set these values too high because you can strip your filament causing it not to feed to your extruder. ### Temperature If stringing is your only print issue, then temperature is probably fine. Too high of a temperature can make your filament really thin, meaning it can come out the extruder tip just from gravity. This is easily fixed by dropping your extruder temperature by 5ish degrees C. ### Clean-Up Small amounts of stringing are perfectly fine and easy to clean up after a print has finished. If there are only a few hairs, I've had good luck with rubbing them off with my finger. If you have a large amount, using a heat gun or hair dryer usually melts them away pretty quickly. Superfine sandpaper works great as well. Larger strings should be easy to fix with the above steps, but if you do end up with one, clipping it off with a pair of small diagonal wire cutters or some fingernail clippers will work great. Anything that can cut close to the walls of the print will work fine. ## Print Settings This model shouldn't require rafts or infill, but printing it at your normal settings may be beneficial to ensure everything is operating as it should. ## Download Get this file on my GitLab at http://bit.ly/stringingTest.
With this file you will be able to print Stringing Test with your 3D printer. Click on the button and save the file on your computer to work, edit or customize your design. You can also find more 3D designs for printers on Stringing Test.