Strip Light Bracket for Mini Mill
thingiverse
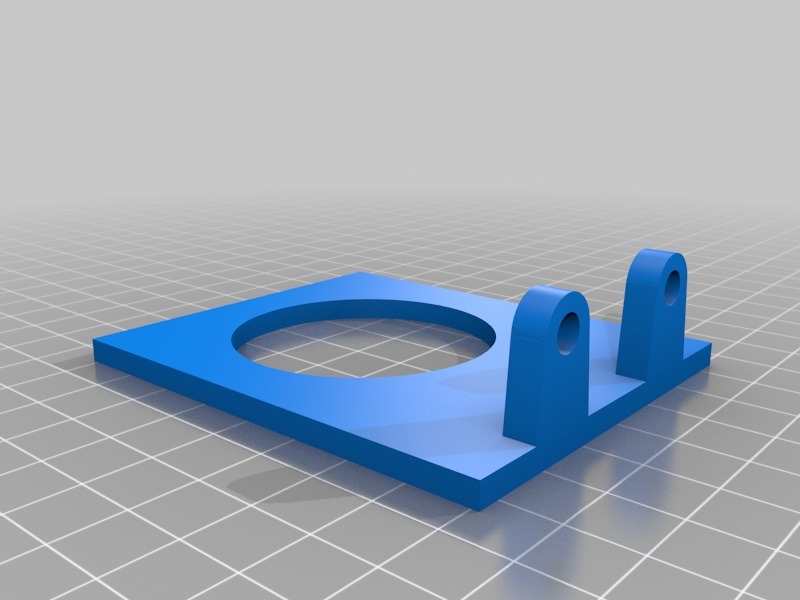
Bought a roll of 12 volt strip LED lights for another project and had a bunch left over. Decided to use 4 pieces for a work light on my Mini Mill. This is the holder I came up with. It mounts with the 5MM screws that hold the guard mount to the front of the head. I removed the guard and it's mount some time ago. If you want to keep the guard just use long screws and mount the guard on top of the light bracket. I cut 4 three light LED strips and placed them on the bottom of this bracket around the spindle hole using the sticky on the strips. I then joined all 4 strips with short wires soldered to the pads on the strips with a pig tail for power off the right rear joint. Found a 12 volt wall wart power supply in my junk and removed the guts from the housing. Without the housing it would fit inside the mill switch box. Wired the input AC across the mill's on light and ran the pigtail from the LED's through a hole in the bottom of the switch box to the output of the wall wart. This eliminates extra wires and the lights come on when the mill is turned on.
With this file you will be able to print Strip Light Bracket for Mini Mill with your 3D printer. Click on the button and save the file on your computer to work, edit or customize your design. You can also find more 3D designs for printers on Strip Light Bracket for Mini Mill.