Stylized Tensegrity Illusion Table with Adjustable Tension Base
thingiverse
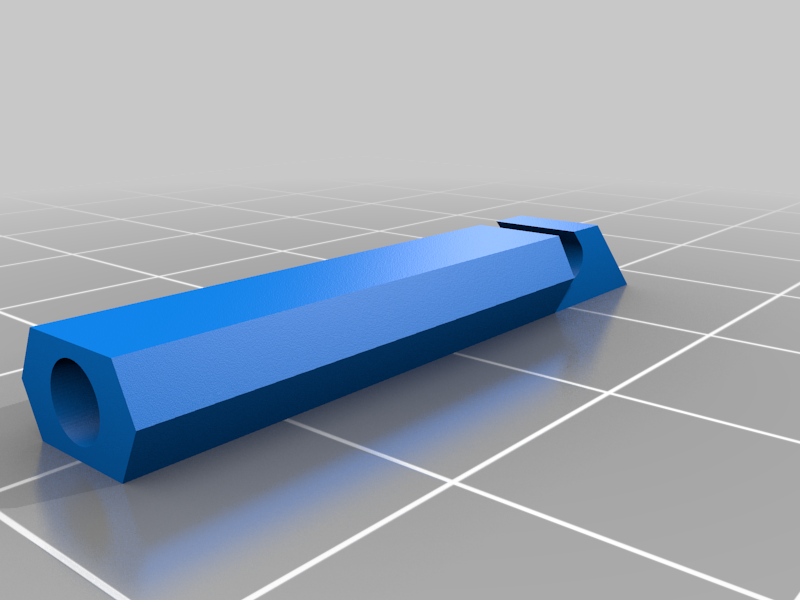
An original [tensegrity](https://en.wikipedia.org/wiki/Tensegrity) table design**. After seeing a bunch of these online I decided to try creating my own. This table has a very clean look. Fishing line ties into the table top, and routes through a small hole into the base. A slot and hook system in the base allows for precise adjustment and tightening of the table once assembled. You will need: * A thin nylon fishing line (e.g. 8 lb rated) * 3xM3 bolts, the longer the better (e.g. 20+mm) * Superglue Printing: * Print out the table top/bottom. Rotate the base so that the predominantly flat side is on the bed. * Print two spines flat on the bed. * Print two spine bases. These are the only parts requiring support material. * Print three sliders. Assembly: * Clean up the base support material. Superglue the spines into each base. * Superglue the completed spines into the top/bottom table parts. Be careful to think about alignment of the spines in order to achieve the desired look. * For the table base, the spine should face one of the screw holes (wider holes). * For the table top, the spine base should face one of the nylon holes. * Slide the sliders into each channel in the base. Insert a long M3 bolt and start threading the slider onto the bolt a few mm. * Prepare the nylon. * One short length needs to be cut for connecting the spines. * Three longer lengths should reach from the table top, through the base holes, and across the channel in the base. * Tie the center nylon. * Use something like a [clinch knot](https://www.animatedknots.com/improved-clinch-knot) at each end. The length is not critical - along the lines of the project photo. * Tie the three side nylons to the table top. Again use a clinch knot or similar. You may want to verify the strength of the knots before proceeding (nylon is slippery!) * Run the three side nylons through the holes in the base. Create a loop knot at the right length to hook onto each slider. * Tighten down each slider bolt until the table is under enough tension to hold it securely (it will still have some spring), and finely adjust to get the top of the table level. That's it! Slightly complex, but the end result is worth it! ** David statue not included. Print your own ;)
With this file you will be able to print Stylized Tensegrity Illusion Table with Adjustable Tension Base with your 3D printer. Click on the button and save the file on your computer to work, edit or customize your design. You can also find more 3D designs for printers on Stylized Tensegrity Illusion Table with Adjustable Tension Base.