Subaru Crosstrek Fog Light Bracket
thingiverse
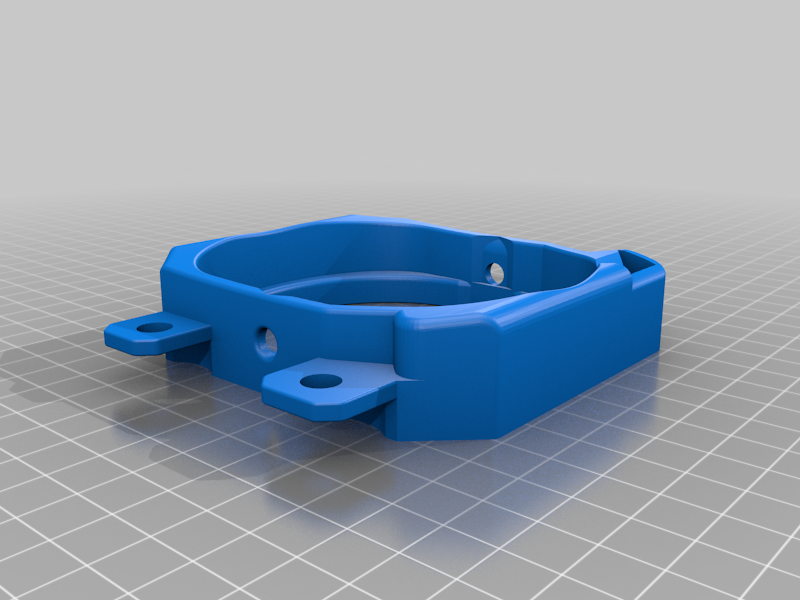
Has this ever happened to you? I hope not! Even though this "shredded" piece of plastic is all that broke, I would've had to replace the entire fog light. If I wanted to do that, I'd hope the entire fog light broke. So! I decided to replicate the original design and beef up what broke on the original. This fits on a 2023 Crosstrek Premium. I assume this will fit on other trims and model years as well, but I have included a tester bracket so you don't waste any plastic! I have included the following models: -Tester Bracket (Confirm it fits!) -Base Bracket -Adjustment Arm (Accepts the stock plastic adjustment screw) -Adjustment Arm Insert (In case you want to use the screw below) -Short and Long Fake Lights (Standard Globe, "Realistic", and "Stylized") You may need: -M5 x 70, .80 Pitch Screw (Replaces the stock adjustment screw, Adjustment Arm Insert required) Bracket Assembly (Not For Fake Lights): ***If you aren't sure if this will fit, print and place a tester bracket in the place of the previous fog light bracket. Continue if it fits.*** -Print desired 3D models, remove support structures, and follow Post-Processing steps as needed. -Insert the Adjustment Arm into the Base Bracket. This should be a snug fit. -(If using the M5 screw) Insert the Adjustment Arm Insert into the Adjustment Arm from the top. Do NOT insert it from the bottom. See fully assembled images for reference. -Remove old fog light(s), if not done yet. Remove 1 mounting screw and 1 body clip from each fog light. Rotate out of mounting area(s). -Place the fog light into the Base Bracket, squeezing the top and bottom of the Base Bracket lightly such that the fog light's left and right nubs can be inserted into the holes one at a time. -Install the fog light assembly into the fog light receptacle. Note that the bracket will need to be inserted into the outer-most body slots FIRST, then rotated in to the screw and clip mounting areas. -Install 1 mounting screw and 1 mounting clip for each fog light to secure into place. Done! The only supports *required* are on the Base Bracket model. "Support on build plate only" is suggested. PETG is suggested, no other materials have been tested. NOTE: The Adjustment Arm will require post processing in order to fit snugly. If you are NOT using the stock adjustment screw and opt to use the M5 screw, the Adjustment Arm Insert should spin *freely* within the Adjustment Arm, replacing the need for the stock plastic adjustment screw. The insert may need to be sanded down if it does not fit snugly! I have also included "Fake Lights" in the case that someone just wants to replace their fog lights altogether, but don't want a gaping hole. I have also included fog light plug holders on each fake light 3D model, so you don't have wires dangling around. There are two main types, shallow and long. Shallow leaves some space between the bumper and the fake light. Long should butt right up against the bumper and will be a tight fit. Post processing may be needed on the long ones in order to fit snugly!
With this file you will be able to print Subaru Crosstrek Fog Light Bracket with your 3D printer. Click on the button and save the file on your computer to work, edit or customize your design. You can also find more 3D designs for printers on Subaru Crosstrek Fog Light Bracket.