Super PiBoy 64 Retropie
thingiverse
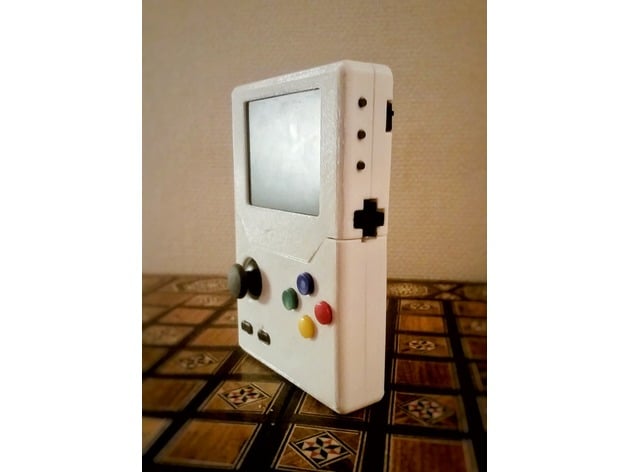
It appears that you have designed a custom gaming console case for a Raspberry Pi 3B, specifically for the Cupcade project. The case is designed to fit a small printer and includes various modifications and customizations. Here are some key points from your instructions: 1. **Design**: The case measures 106x98mm in size and has a height of 26.5mm. 2. **Printing**: You hope that the design can be printed on your printer, suggesting that you have designed it to fit within the capabilities of your printer. 3. **Software Installation**: You use RetroPie version 4.1 for the Raspberry Pi 3B and recommend using the Adafruit tutorial as a reference for installation. 4. **Wiring**: You wire the C buttons, Load/Save state button, and joystick click button directly to the GPIO pins on the Raspberry Pi 3B or use an alternative method with the Adafruit way for pin connections. 5. **Screen Wiring**: You solder wires to the screen and powerboost, leaving room for other connections. 6. **Hot Glue**: Hot glue is used extensively throughout the build process to secure various components, including the screen, buttons, battery, and PCBs. 7. **Files to Change**: You need to replace certain files on the Raspberry Pi using a FTP client like Filezilla, such as "retrogame.cfg," "retroarch.cfg," "InputAutoCfg.ini," and "mupen64plus.cfg." 8. **SSH Commands**: You use SSH commands like Putty to edit files like "carbon.xml" and change the font size for menu text in Retropie. 9. **Components Used**: Your build uses various components, including a cheap car screen, SNES Gamepad, Power boost 1000C, battery, Cupcade PCB, joystick, and more. Some potential issues or areas for improvement: * The instructions could be clarified in some sections, such as the wiring process. * Some steps require specific software or tools, which may not be readily available to all users. * There is a mention of an issue with mapping GPIO buttons for the Dreamcast, which is left unresolved. Overall, your custom gaming console case design appears well-documented and includes various creative modifications and customizations.
With this file you will be able to print Super PiBoy 64 Retropie with your 3D printer. Click on the button and save the file on your computer to work, edit or customize your design. You can also find more 3D designs for printers on Super PiBoy 64 Retropie.