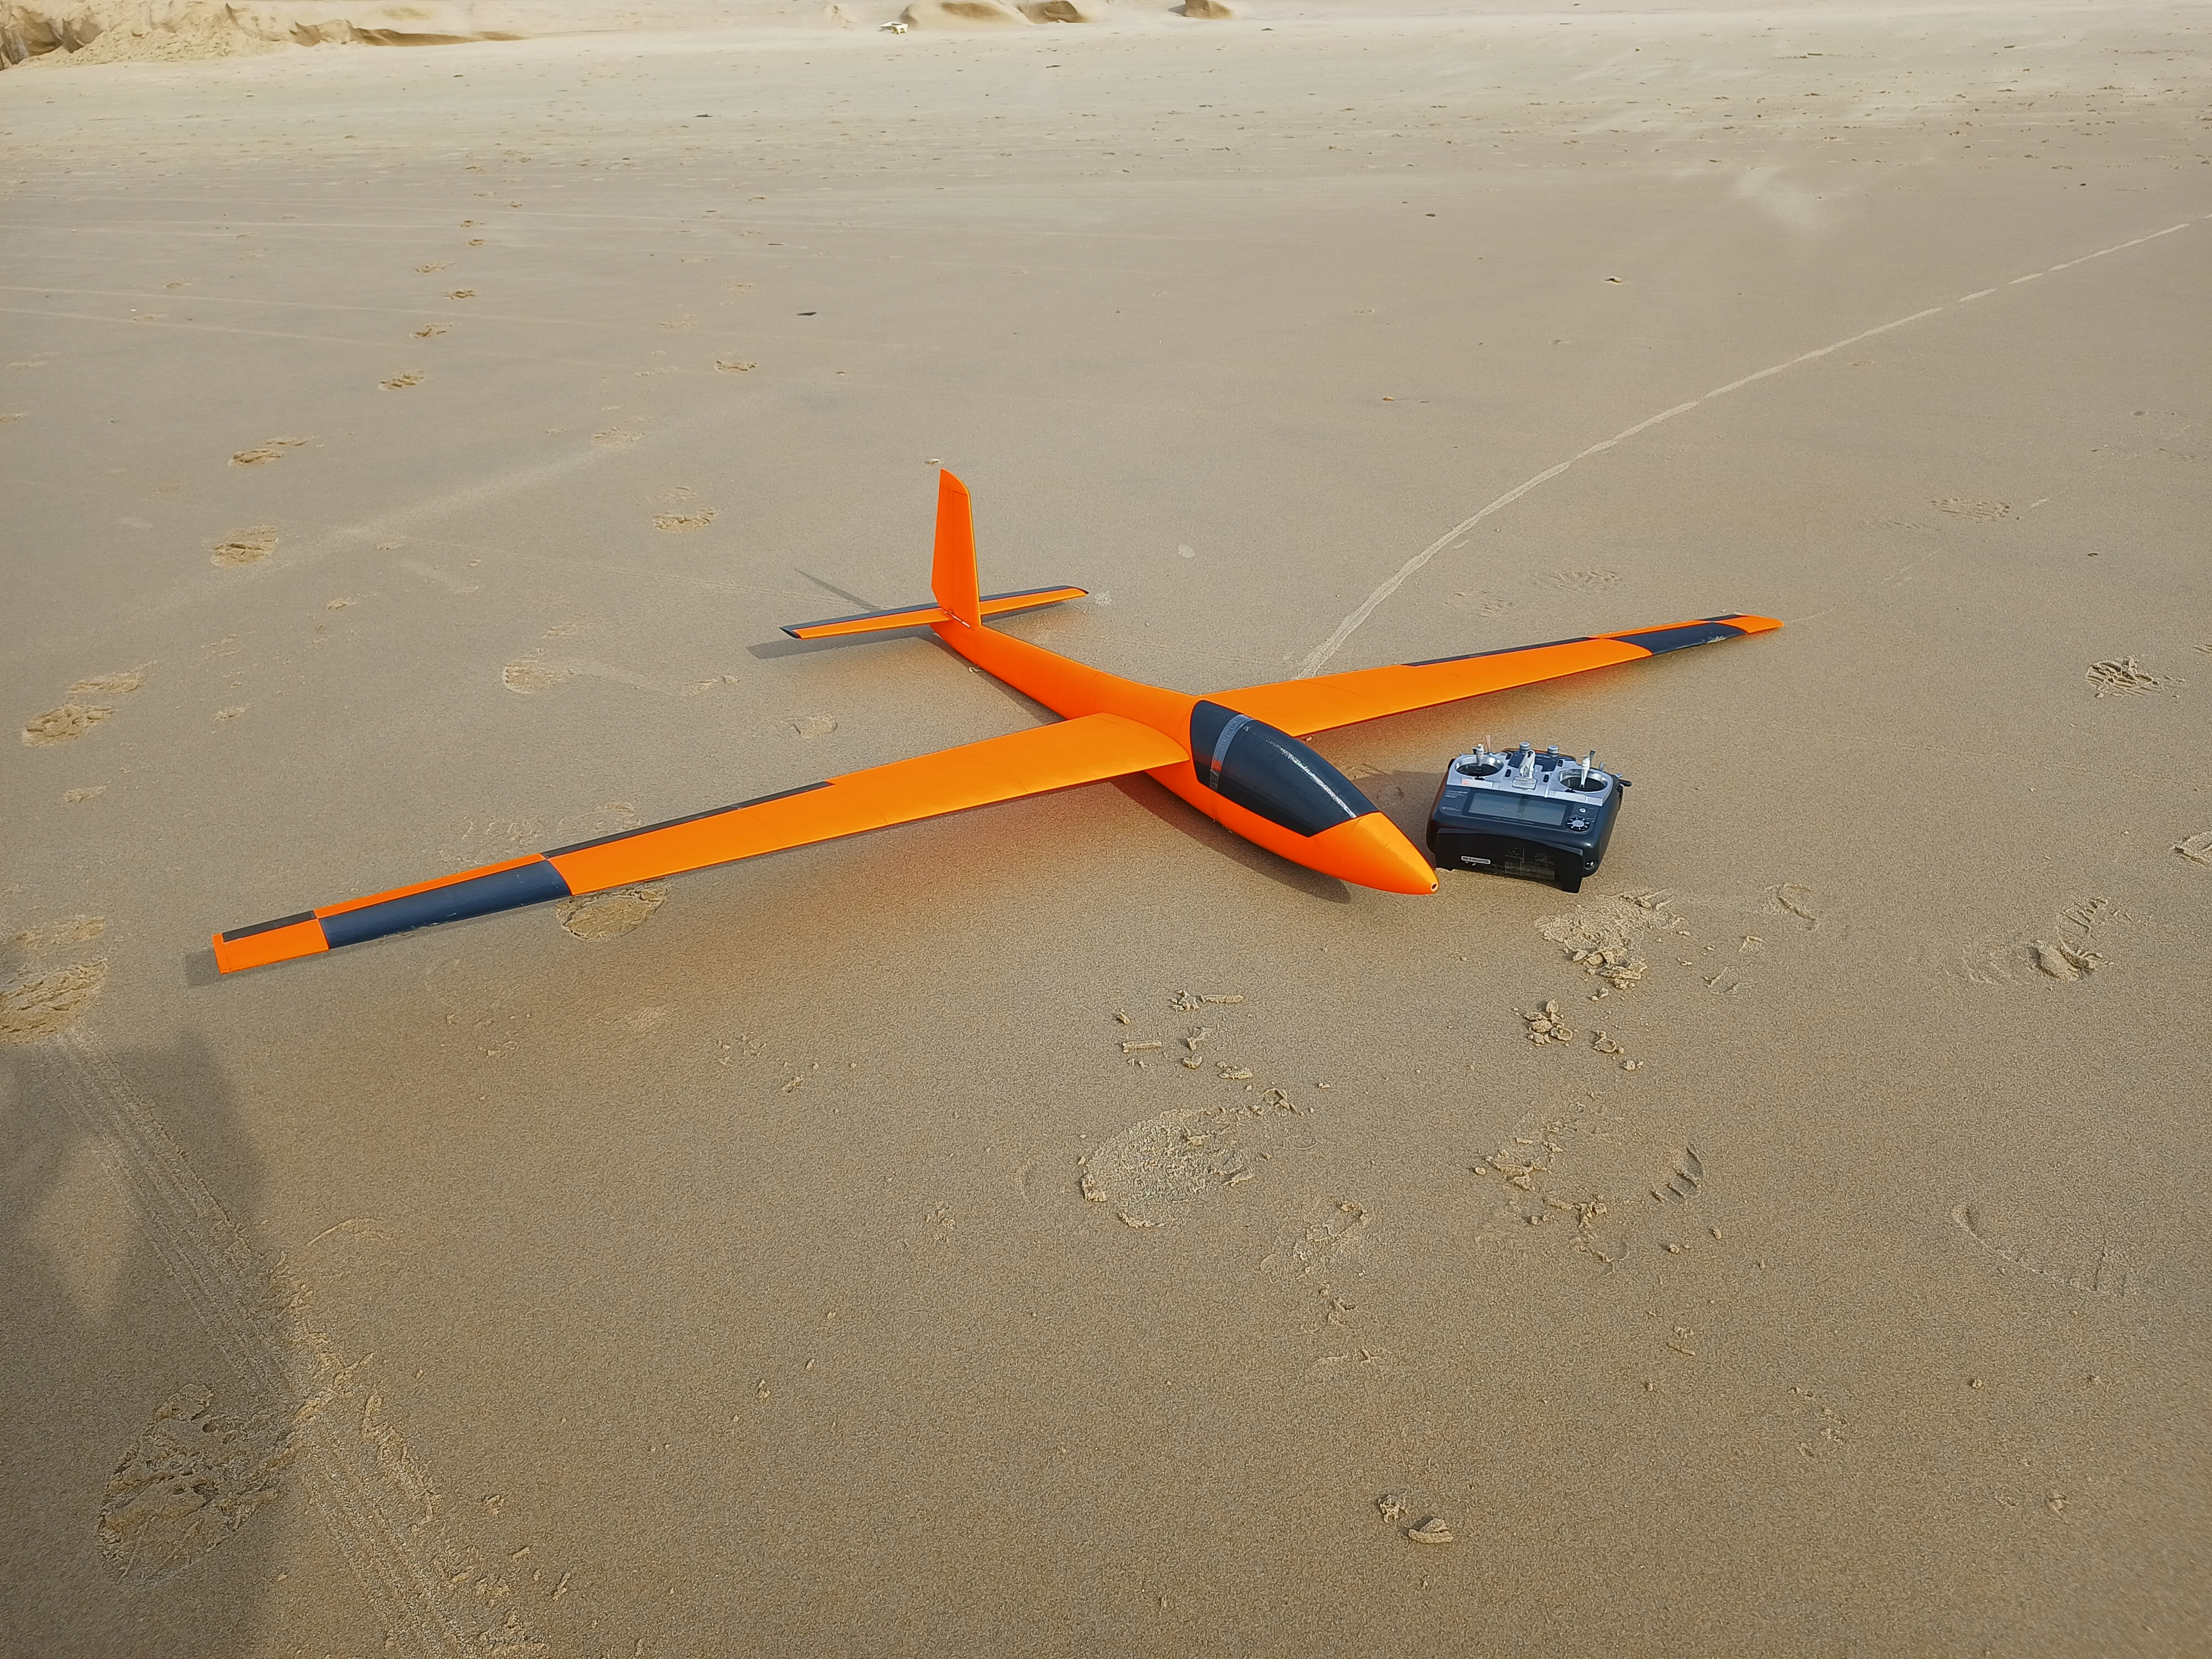
Swift S1
prusaprinters
<p>Hi all, </p><p>Here is my radio controlled model of the Swift S1 aerobatic glider. Wingspan is 2m and length 1.1m. </p><p>Here is a movie of it</p><p>https://www.facebook.com/559746714/videos/1843541272661195/</p><p>My prototype fuselage is printed in ASA, the wings and tail surfaces in PETG and the hinges to attach the control surfaces in flexifill 98A. Print time is around 260hrs.</p><p>To complete the model as shown, you'll need the following items:</p><ul><li>2 carbon rods of 1.8mm for the ailerons,</li><li>11 carbon rods of 2mm for the fuselage, wings and tail, </li><li>5 carbon tubes of 5mm for the wings and tail, </li><li>1 carbon tube of 6mm as aft wing joiner</li><li>2 carbon tube of 8mm for the fuselage and for the aft wing joiner</li><li>3 carbon tubes of 10mm as wing joiner and in the wing</li><li>2 carbon tubes of 12mm in the wings as outer casing for the wing joiners</li><li>3 Hitec HS-225mh servos for the elevator, rudder and tow hook</li><li>2 Hitec HS-125mg wing servos</li><li>2 control snakes</li><li>2 M5 x 25</li><li>2 M5 washers</li><li>2 M5 wing nuts</li><li>2 M4 x 20 hex socket bolts</li><li>2 M4 nuts</li><li>A tow hook if you want to tow it. (I used this one https://aerobertics.be/nl_be/topm05012)</li><li>A small piece of epoxy sheet to cut out rudder horns</li><li>A battery and radio system</li><li>Glue, I did mine entirely with 24hrs epoxy</li><li>Lead to balance the model</li><li>lots of patience :) </li></ul><p> </p><p>I used prusaslicer for all the parts. When there was infill needed, I used adaptive cubic. </p><p>The fuselage was printed in the standard prusaslicer 0.1 detail settings. </p><p>The wings and tail surfaces were printed with 0.15mm detail settings, adapted with 5% infill, 1 vertical perimeter, and only 2 bottom and 3 top layers. </p><p>I made special rubber hinges for all moving surfaces. They were printed in the 0.2 quality setting. For the tail, it worked perfectly. For the ailerons I couldn't get my hinges printed smooth enough. After wasting almost an entire day to get it right I gave up and printed a flat piece of rubber that I cut to length and glued in place with epoxy. If you get the aileron hinges working, please tell me how :)</p><p>Before you glue anything, dry fit all parts an make sure you have a working plan on how to add all carbon rods and tubes. </p><p>I started the fuselage from the nose and I worked to the rear, sliding one part at the time over all rods and the tube. Don't forget to add the control snakes when you glue it. </p><p>The wings were done from the root to the tip, with all rods and tubes except for the rear one. The rear tube is put through all pieces at the end, just before putting the tip on the wing. The ailerons were mounted after the wing dried, with the strip hinges. If you can get the wing hinges working, they have to be assembled together with the wing. </p><p>Stabilizer and elevator are constructed together, with the hinges and tubes all at once. (it sounds way more difficult than it is)</p><p>Mine turned out at 2080gram flying weight. Center of gravity is at 49mm from the nose of the wing. </p><p>If you complete it, please send me a couple of pictures :)</p><p>Enjoy it,</p><p>Tom</p><p> </p>
With this file you will be able to print Swift S1 with your 3D printer. Click on the button and save the file on your computer to work, edit or customize your design. You can also find more 3D designs for printers on Swift S1.
