Switch Case
thingiverse
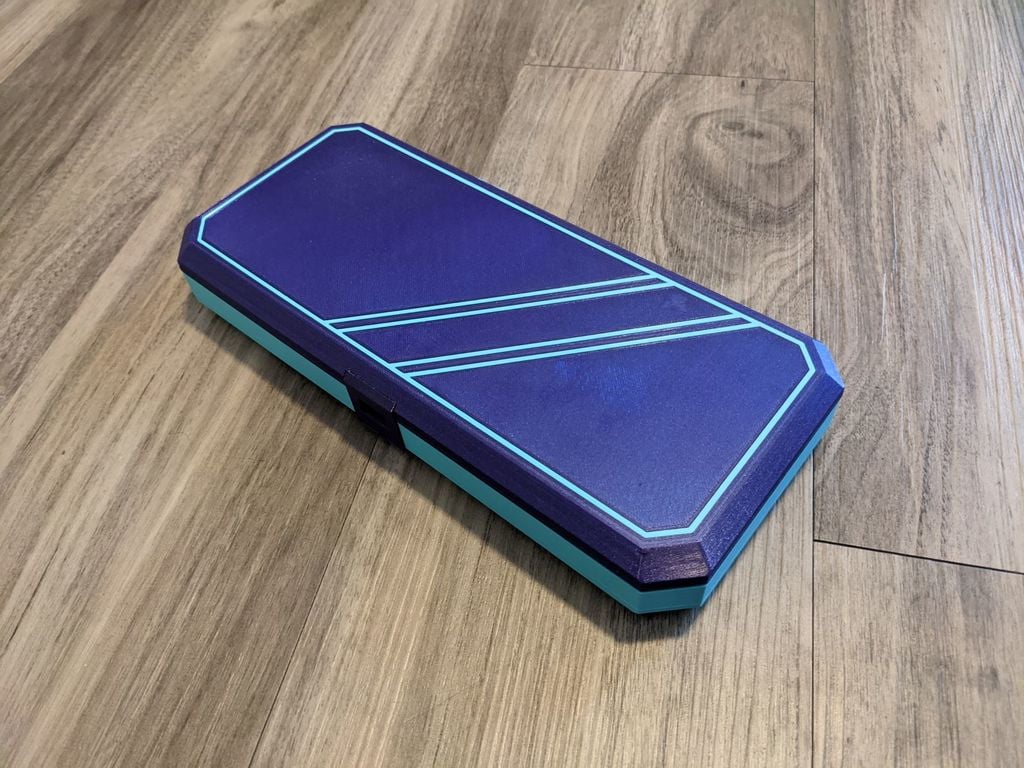
Also free on my patron: https://www.patreon.com/posts/53294839 This is the first switch case I am posting publicly, please give suggestions on how to improve it, and if there is demand for more designs I may make and upload more. This case is designed to fit the switch nearly perfectly without any added padding. Depending on demand, I may edit the case in the future so people can add more space for padding if desired. I’m not exactly sure what the tolerances are, but parts of this print may not work properly if your printer isn’t accurate enough. It is also designed to be 100% 3d printed, and only needs some glue for construction. (super glue has worked well for me) Print Instructions: Everything is printed with 0.2mm layer height. A print bed size of at least 246mm in x or y direction to print is required. Depending on demand, I may attempt to design an entirely different switch case for smaller printers. Bottom: May need supports for the latch in the front that catches the clip. Top & Design: For Multi-material printers you should be able to import both the top and design together the same way you would with any other multi-material print. For Non-multi-material The rectangles are there to help align both the top and design parts in the center of the build plate. It should be possible to print the design first, then print the top over it to get strong adhesion of the 2 parts. Make sure z-hop is turned on and has at least 0.4mm z-hop height, and for printers that use a pinda sensor you'll have to make sure that is left high enough to not catch on the design when printing the top. It should also work just to print the design and top completely separate then glue the design in after both have finished, though I have not tested that and your results may vary. Stand: No supports should be needed to print this part, though it may come out better or worse depending on how good your bridging settings are. Mine are not particularly good at the moment. Clip: There are 2 clip options, one has a hole to charge the switch through when the case is closed, the other does not. Axle: You'll need to print 2 of these. If you are having trouble getting the axle to stick to the build plate, try rotating it 10 degrees or so and printing it with supports. Though the axles may need some sanding if done that way. If you want to replace the axle with your own metal axle, they are 2.6mm in diameter, and 51mm long. Axle Cap: print 4 of these. Assembly Instructions: Put the top and bottom pieces together and attempt to put the 2 axles in the back. If it’s too hard to put the axles in or if the case creaks when opening it, take the axles back out and sand. Depending on the quality of the print the outside of the hinges may also need some sanding to eliminate all creaking. Once axles fit in and creaks are eliminated to your desire, glue the axle caps to either and of both hinges to prevent the axles from slipping out. With the axles in place, close the case and attempt to fit the clip into place, it should fit so there are no gaps in between the case and clip. If the clip doesn’t seem to fit properly, sand the standoff of the clip until it does, then glue into place.
With this file you will be able to print Switch Case with your 3D printer. Click on the button and save the file on your computer to work, edit or customize your design. You can also find more 3D designs for printers on Switch Case.