Switch Joycon Box (with embedded Magnets)
thingiverse
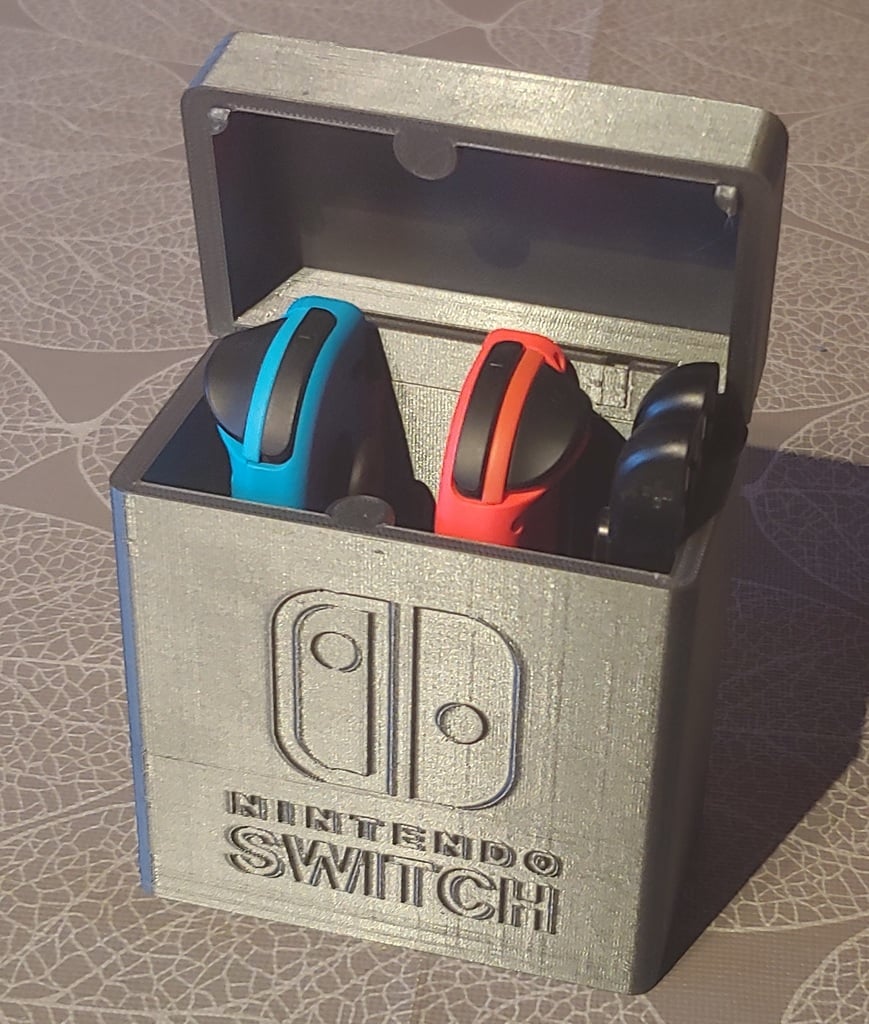
I've been on the hunt for a storage box for my Nintendo Switch Joycons, as I always have the switch docked and play with a Nintendo Pro controller. However, I couldn't find a box that I liked or had the locking mechanism I wanted. So, I made one myself. The box closes magnetically, and the magnets are embedded in the print and invisible after printing, so they won't fall out. To create this, you need to modify the gcode so that the printer stops and you can insert the magnets. The polarity of the magnets is very important here, as it's then no longer possible to turn them around. There are many ways to do this, but I think this is the easiest: - Slice the model and save the .gcode file - Go to https://blog.prusaprinters.org/color-print - Upload your .gcode file and make a color change - For the top @21.4 - For the bottom @87.6 - Download and print gcode I prefer to edit the Gcode manually. I add the following below the ;21.4 mark on the top, or 87.6 for the bottom: but be careful: change the gcode at your own risk! G1 X10,000 Y200,000 E0 M1 M105 Then the printer stops, the heatbed comes forward (making it easier to insert the magnets), and printing continues after a key is pressed. The following material is required for the complete box: - Filament - 2x hexnut M3 - 2x screw M3 (I used M3x16) - 2x magnet 8x3mm Fusion 360 file is available if you want to make any changes.
With this file you will be able to print Switch Joycon Box (with embedded Magnets) with your 3D printer. Click on the button and save the file on your computer to work, edit or customize your design. You can also find more 3D designs for printers on Switch Joycon Box (with embedded Magnets).