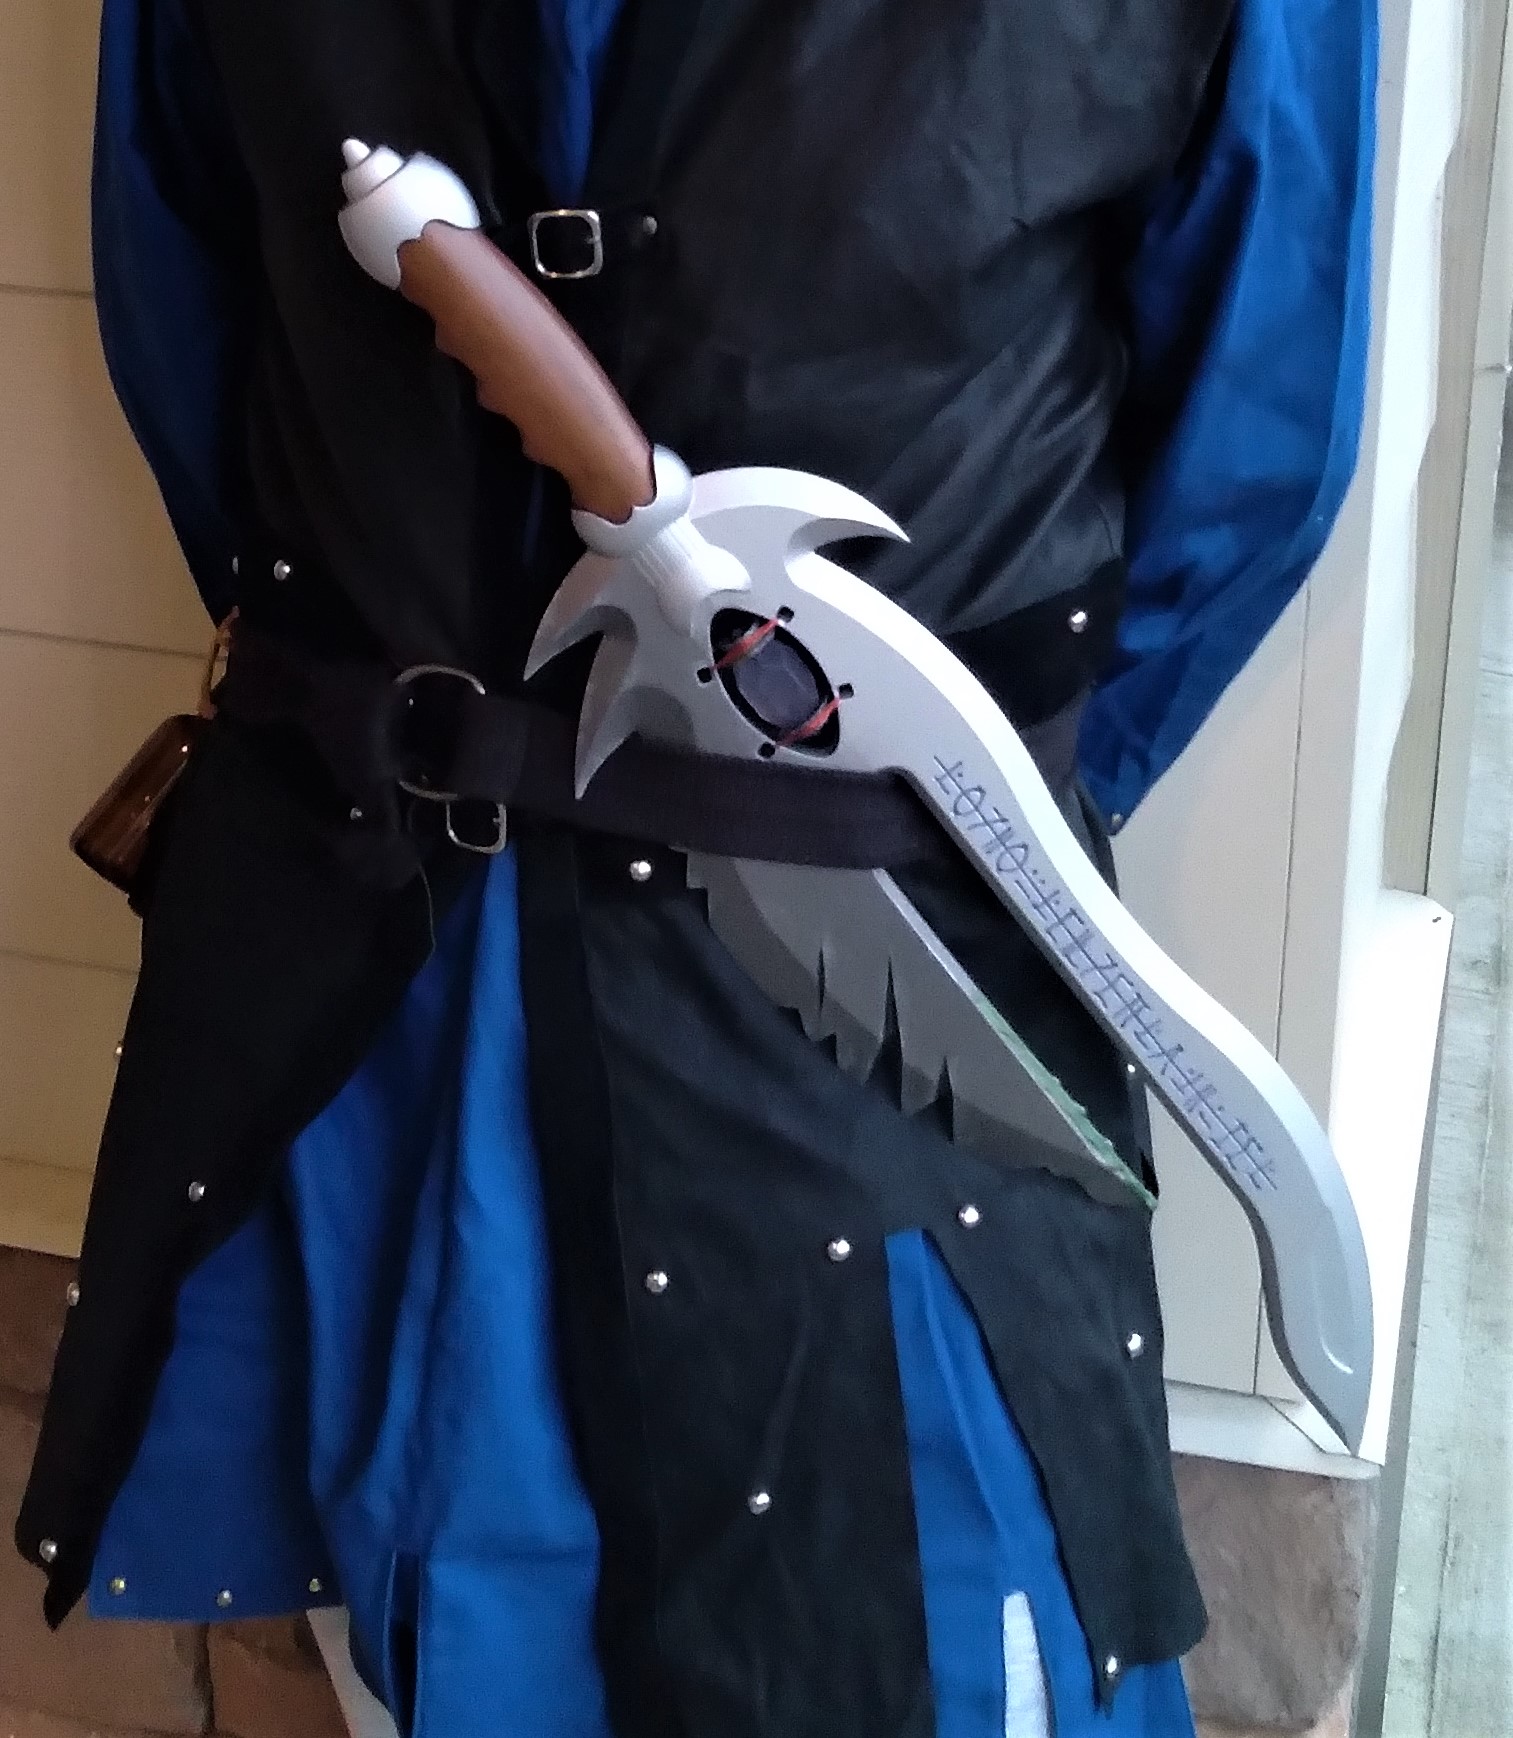
Sword of Secrets and Lies
prusaprinters
<p>This design falls more in the line of short sword/dagger then the other swords in the existing series but what could be better for house Dimir.</p><p>This sword measures 650mm in length when printed at full scale. This model is pre sectioned into fourteen parts so it can be printed on smaller machines. The eleven main pieces are held together by three 8mm dowels and nine 3mm pins.</p><h5>Additional parts</h5><ul><li>1x 8mm diameter 366mm long dowel</li><li>1x 8mm diameter 282mm long dowel</li><li>1x 8mm diameter 171mm long dowel</li><li>9x 3mm diameter 20mm long pins</li><li>Wire for attaching the gem</li></ul><p>For the dowels I used carbon fiber tubes, as they are straighter and lighter than wood.</p><h5>Assembly</h5><figure class="image"><img src="https://media.printables.com/media/prints/267256/rich_content/bbc23176-8c2d-462d-8833-50d55caf9c8e/01_unassembled.jpg#%7B%22uuid%22%3A%22426ce503-1ae5-4f8b-b18e-8988b9b74c32%22%2C%22w%22%3A4120%2C%22h%22%3A1108%7D"></figure><p>Glue the handle, pommel, secrets part1 and lies part1 together around the 171mm long dowel using one of the 20mm long pin between secrets part1 and lies part1 to align them. Next start gluing the secrets parts together down the 366mm dowel and the lies parts together around the 282mm long dowel using the 20mm long pins between parts. Keep in mind that secrets part2 and lies part2 also have a 20mm long pin between them to keep then straight, to get this installed you will need to glue these parts in at the same time along their respective dowels.</p><figure class="image"><img src="https://media.printables.com/media/prints/267256/rich_content/d1fb0f74-272b-49d6-b1d0-c04e05beda39/02_detailed.jpg#%7B%22uuid%22%3A%22b67b571e-1765-4411-9486-4ae1bb63ccfe%22%2C%22w%22%3A4079%2C%22h%22%3A1024%7D"></figure><p>After this main assembly I added some extra detail, I didn’t want to include in the base model. The gashes and chips in the lies side of the blade we cut in using a hobby saw and holes filled in with gap filling superglue. I used the same method to fill in any small gaps between the parts. I also used some epoxy to create drips along the inside of the blade.</p><h5>Painting</h5><p>Then I sprayed the full sword down with 3 coats of automotive filler primmer and sanded it smooth. This didn’t work as well at covering the printing layers as XTC-3D that I have used in the past but it was much faster.</p><figure class="image"><img src="https://media.printables.com/media/prints/267256/rich_content/5262d256-6f17-466c-8f3c-b47f3cc15ad6/03_painted_assembled.jpg#%7B%22uuid%22%3A%2258e3ffa9-4946-4b3b-96d1-f640ecf28726%22%2C%22w%22%3A2958%2C%22h%22%3A770%7D"></figure><p>After painting the sword, the last step was to wire the gem in place by using the two ring parts and some copper wire I had left over from another project. I took the extra step of creating a mold for the gem and casting it in clear resin.</p>
With this file you will be able to print Sword of Secrets and Lies with your 3D printer. Click on the button and save the file on your computer to work, edit or customize your design. You can also find more 3D designs for printers on Sword of Secrets and Lies.