Ball and Socket Joint
thingiverse
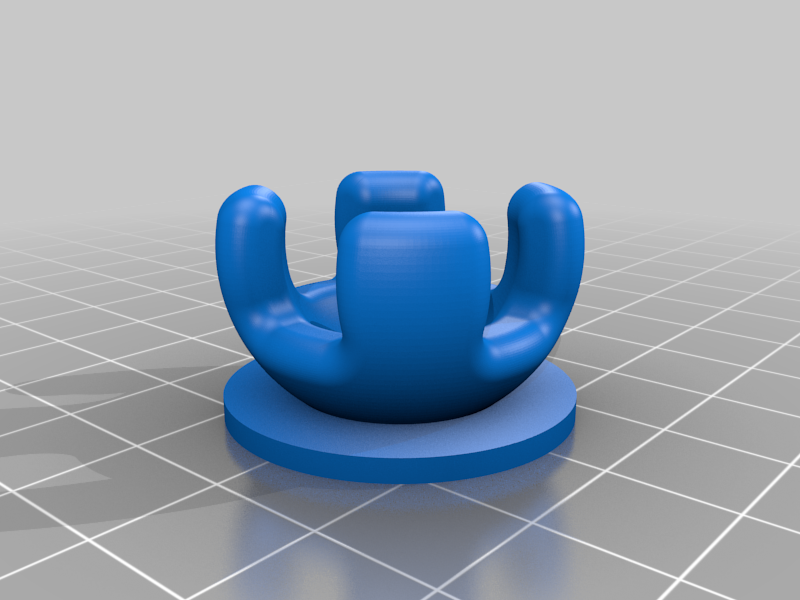
The headphone clamp wasn't sitting flush with my desk, so I designed this ball and socket joint that contours to the curvature when the headphone holder bends. Installation: Screw this new screw about halfway in, then line up the socket on the top of the holder (across from the ball). Keep screwing until it catches, then let go of the joint. Keep on screwing until the ball is a nice, snug fit in the socket. You can then unscrew as much as you need to slide the clamp onto your desk, and then tighten up as you normally would. -Important- I HIGHLY recommend printing at least the socket in PETG or another material that isn't as brittle as PLA. If you don't, it will likely snap either when inserting the ball into it, or when tightening the screw down.
With this file you will be able to print Ball and Socket Joint with your 3D printer. Click on the button and save the file on your computer to work, edit or customize your design. You can also find more 3D designs for printers on Ball and Socket Joint .