T6 / Y6 hexacopter
thingiverse
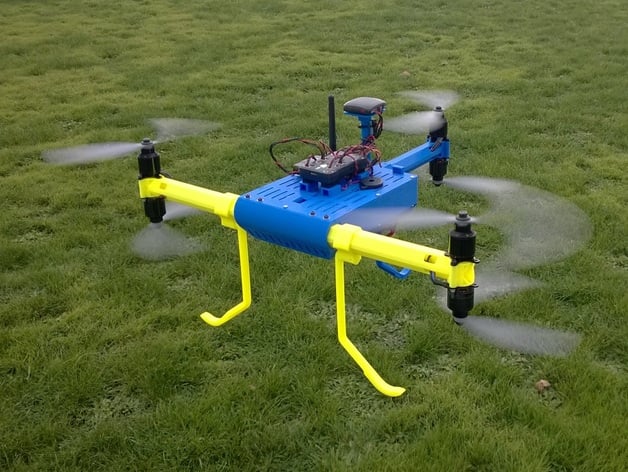
Discover the entire T copter family including the TX8 Octocopter, T6 Hexacopter, T4 Quadcopter (10" props), T4 Quadcopter Mini 315 (7-8" props), T4 Quadcopter Mini 250 (5" props), and Tubular Crossfire 2 quadcopter. A post discussing and enhancing these designs has been posted on the DIY Drones forum. This 3D printable copter family boasts features such as simple assembly, coaxial design for redundancy in case of ESC, motor, or prop failure, strong tube section arms with concealed motor wiring, and room for dual (3S) batteries. The frames are RF "invisible," made from a lightweight material that weighs approximately 300g. Flight times can range from 15 minutes to 17.5 minutes, depending on battery size and additional equipment loaded onto the quadcopter. Sketchup files are available for customization purposes. Keep an eye out for the T copter springy legs for alternative leg options, including a bent leg specially designed for this copter.
With this file you will be able to print T6 / Y6 hexacopter with your 3D printer. Click on the button and save the file on your computer to work, edit or customize your design. You can also find more 3D designs for printers on T6 / Y6 hexacopter.