Table Top Shock Mount Microphone Stand with Pop Filter
thingiverse
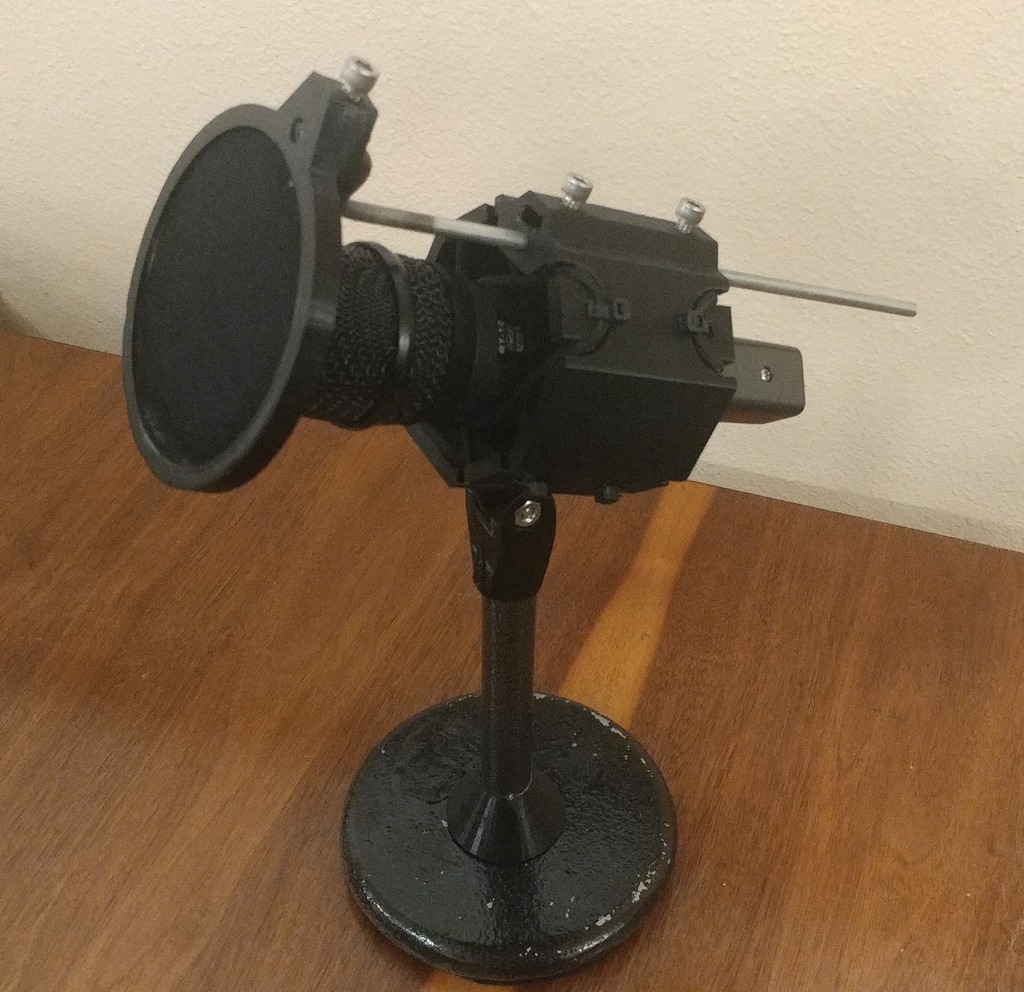
Last weekend, I constructed a pair of microphone stands using materials I gathered during my daily commute for an upcoming Dungeons & Dragons live play recording session. With more preparation time this month, I upgraded the design and created even sturdier mic stands. The base of the previous stand was made from a 2.5-pound disc weight, while the central tube came from a dollar store solar light. You can find detailed instructions on how to make these components in the link below. I will be writing an updated version for these new mic stands soon. To build one stand, you'll need to print two parts and gather the following materials: * 4 hair ties * 8 zip ties * 4 #10-24 machine screws * 4 #10-24 nuts * 1 finishing cap washer (optional) * 1 O-ring measuring 1/4" x 3/8" x 1/16" * A 12-inch long piece of 3/16" steel rod * 4 rare earth magnets, each 1/8" x 5/16" * A solar garden light * A 2.5-pound disc weight * Epoxy * Super Glue * Thin fabric (I used tights or pantyhose from the dollar store) Assemble the weight and solar light as described in the instructions, then print one of each part. Next, attach the four magnets to the magnet base using super glue. Then, secure the magnet base to one end of the tube with a few drops of super glue for added stability. Repeat this process on the other end of the tube. Hook the hair ties through the slots in the shock mount and secure them with zip ties. Trim any excess zip tie ends and smooth out any sharp edges with a file. Insert two nuts into the top slots of the shock mount, warming them up with a lighter if necessary. Be cautious not to overheat the nut. Stretch the fabric over the pop filter, then force the pop filter ring down onto it, securing it tightly. Trim the excess fabric close to the plastic and apply super glue to the exposed edge. Once dry, install a #10 nut into the slot in the pop filter. Bend the steel rod into a zig-zag shape with approximately 16mm on each side. Heat the rod carefully to achieve this bend, then insert the long end of the rod into the hole at the top of the shock mount and secure it with two screws. Hang the pop filter from the short end of the rod and tighten its set screw. Alternatively, you can use a metal coat hanger as the rod, eliminating the need for heat to bend it. Finally, sandwich the O-ring between the tilt base and the shock mount using the indentation to hold it in place while interlocking the two. Add the final nut, screw, and washer (if desired) and tighten until the mount stays in position when moved. Place your favorite cardioid mic on the assembly, and you're ready to record! We had great success with these stands in our last recording session, thanks to the pop filter and minimized table noise in the mics.
With this file you will be able to print Table Top Shock Mount Microphone Stand with Pop Filter with your 3D printer. Click on the button and save the file on your computer to work, edit or customize your design. You can also find more 3D designs for printers on Table Top Shock Mount Microphone Stand with Pop Filter.