Tactile Button Case
thingiverse
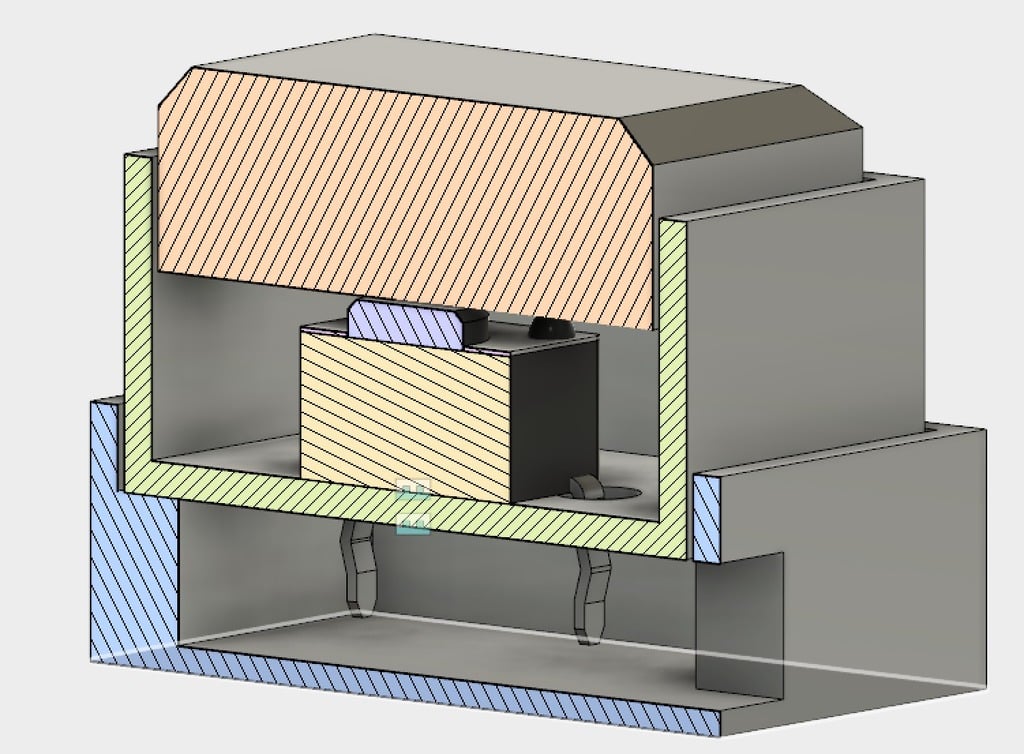
It consists of three essential components: Base, Case, and Button. To complete this setup, you will need several additional items: - A soldering iron and a spool of solder wire - Electronics glue, available on Amazon at [https://www.amazon.de/Pattex-1472319-Spezialkleber-Kunststoff-30G/dp/B004S1WE4M/ref=sr_1_1?s=diy&ie=UTF8&qid=1519562521&sr=1-1&keywords=pattex+plastic+glue](https://www.amazon.de/Pattex-1472319-Spezialkleber-Kunststoff-30G/dp/B004S1WE4M/ref=sr_1_1?s=diy&ie=UTF8&qid=1519562521&sr=1-1&keywords=pattex+plastic+glue) - A hot glue gun, which can be used optionally - 0.14mm2 red and black wire for connecting the button This setup is designed specifically for mounting tactile button switches that are 6x6x3mm in size. When assembling this project, you should first mount the switch into the case and bend two of its legs inwardly. Then, solder two wires to the button ends and push them through the base. Apply a drop of glue to the base edges and fit the case inside. Next, add a drop of glue on top of the button and insert the 3D printed button into the case. Optionally, you can apply hot glue around the wires for extra strength, though it is not strictly necessary.
With this file you will be able to print Tactile Button Case with your 3D printer. Click on the button and save the file on your computer to work, edit or customize your design. You can also find more 3D designs for printers on Tactile Button Case.