Tango 2 R9M Mod for ExpressLRS
thingiverse
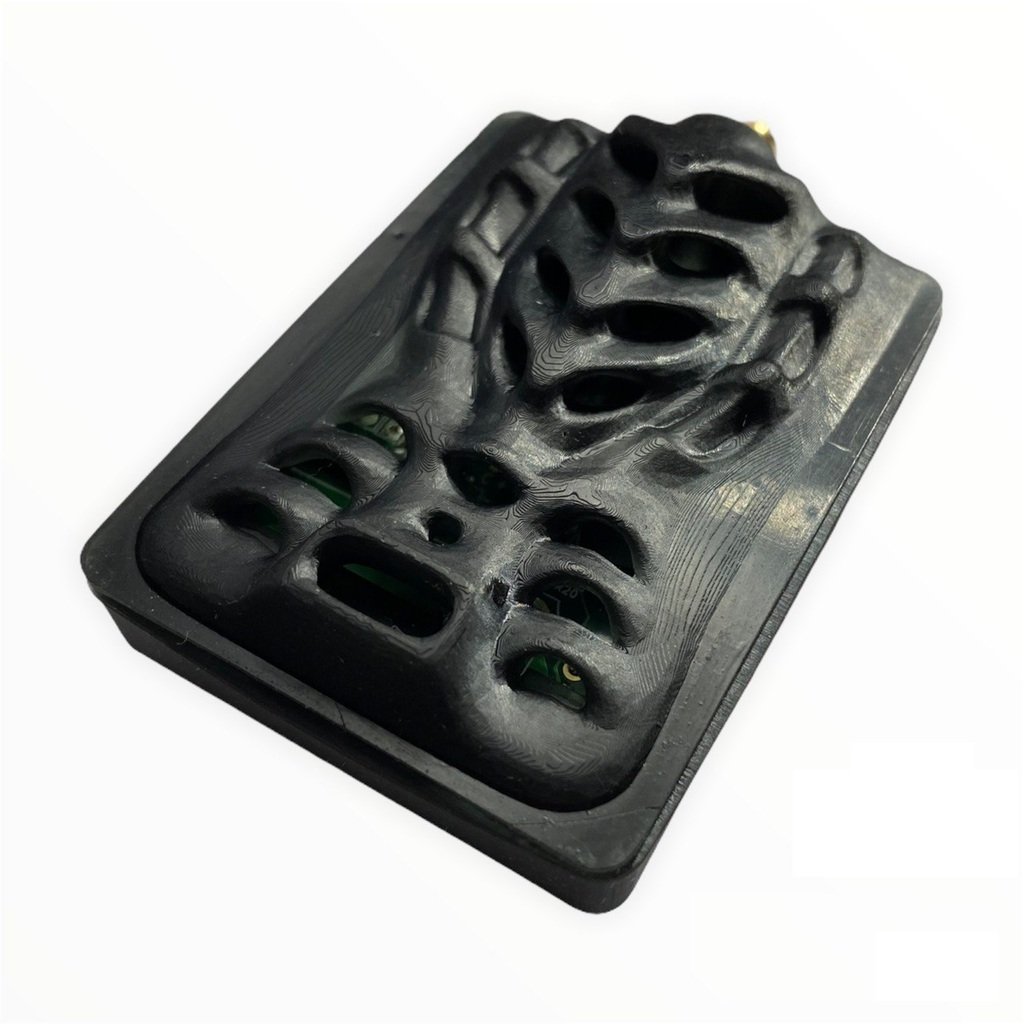
Este diseño está pensado para usar el módulo R9M en la emisora TBS Tango 2, así como cualquier otra emisora con el tipo de bahía Lite. El objetivo de este mod es poder usar el R9M con el firmware del ExpressLRS, el nuevo Hype del hobby: https://www.expresslrs.org/1.0/ Para flashear el módulo y rx (R9mm, R9mini, R9Slim o R9Slim+) necesitarás de una segunda emisora auxiliar en caso de que tu emisora principal sea la Tango, debido a que en esta no se pueden flashear módulos externos [Cosas de TBS ¯\_(ツ)_/¯] Los pasos para poder usar el módulo con el firmware ELRS son los siguientes: 1- En caso de usar emisora FrSky u otra distinta de la Tango 2, actualizar OpenTX a la versión 2.3.12 o posterior. 2- Descargar los siguientes archivos: 2.1· Configurador (programa que usaremos para descargar firmwares de TX y RX): https://github.com/ExpressLRS/ExpressLRS-Configurator/releases 2.2· Bootloader TX: https://github.com/ExpressLRS/ExpressLRS/blob/master/src/bootloader/r9m_elrs_bl.frk?raw=true 2.3· Bootloader RX (solamente el de nuestro modelo de receptor): 2.3A* R9mm/R9mini: 2.3A1> Receptor con el botón funcional: https://github.com/AlessandroAU/ExpressLRS/blob/master/src/bootloader/r9mm_elrs_bl.frk?raw=true 2.3A2> Receptor con el botón roto/estropeado/sin botón: https://github.com/ExpressLRS/ExpressLRS/raw/master/src/bootloader/r9mm_no_btn_elrs_bl.frk?raw=true 2.3B* R9mx: https://github.com/ExpressLRS/ExpressLRS/blob/master/src/bootloader/r9mx_elrs_bl.frk?raw=true 2.3C* R9Slim+ ACCST: https://github.com/ExpressLRS/ExpressLRS/blob/master/src/bootloader/r9slim_plus_elrs_bl.frk?raw=true 2.3D* R9Slim+ ACCESS/OTA: https://github.com/ExpressLRS/ExpressLRS/blob/master/src/bootloader/r9slim_plus_ota_elrs_bl.frk?raw=true 2.4· Lua Script: https://raw.githubusercontent.com/ExpressLRS/ExpressLRS/1.0.x-maintenance/src/lua/ELRS.lua Descargaremos el archivo y, este, lo meteremos en la TANGO 2 (ya no en nuestra emisora auxiliar como habiamos hecho con los anteriores). El archivo ELRS.lua lo añadiremos en la tarjeta de la tango dentro de la carpeta :/SCRIPTS, y dentro de esta, en la carpeta /TOOLS. Cuando mantengamos pulsado el botón menú de la emisora, nos deberia de aparecer ya automaticamente debajo del Script que usamos para configurar las opciones del Crossfire. 3- Flasehar Bootloader de Módulo y RX: el procedimiento es el mismo, añadimos dichos archivos (descargados en el paso anterior) en la tarjeta SD de nuestra emisora, en la carpeta :/FIRMWARE, y dentro de la misma crearemos otra llamada :/ELRS (simple organización para que no se nos mezclen con otros archivos). Una vez dentro, hacemos lo siguiente: 3.1· TX R9M: conectamos módulo CON ANTENA en la bahía JR trasera y nos vamos a la carpeta donde previamente habríamos introducido los bootloaders. Buscamos el del R9M, mantenemos pulsado el botón ENTER y seleccionamos la opción "Flash External Module". Una vez que nos aparezca el OK, simplemente lo desconectamos, nuestro TX está listo. 3.2· RX: al igual que con el TX, conectamos el receptor siguiendo el esquema siguiente y nos vamos a la carpeta donde previamente habríamos introducido los bootloaders. Buscamos el de nuestro receptor, mantenemos pulsado el botón ENTER y seleccionamos la opción "Flash External Module". Una vez que nos aparezca el OK, simplemente lo desconectamos, nuestro TX está listo. [Imagen 1] 4- Vamos ahora a actualizar el firmware del Módulo R9M usando el programa previamente descargado (paso 2.1), donde introduciremos la siguiente configuración y posteriormente le daremos a BUILD. Esto nos lo guardará en una carpeta de nuestro PC, desde donde copiaremos el archivo denominado firmware.elrs y lo pegaremos en la carpeta creada previamente en la SD de nuestra emisora para, siguiendo los pasos de antes, volver a flashear el módulo con el archivo firmware.elrs (Paso 3.1). Como antes, una vez que nos dé el OK, nuestro módulo está listo. Podremos comprobar que todo está OK abriendo el script ELRS instalado en el paso 2.4. [Imagen 2] 5- Es el momento ahora de preparar el módulo para conectarlo a nuestra Tango en su bahía esterior que deberemos comprar (https://www.team-blacksheep.com/products/prod:tango2_modbay). Para esto, debemos abrir la caja donde viene el R9M de serie y extraer la placa electrónica. A esta le podemos sacar diversos componentes que no necesitaremos (Marcados en rosa con un rectángulo en la imagen, como son el conector de bahía JR, los pines de Receptor y, en caso de no querer alimentar el módulo externamente, el XT30). Una vez tengamos la placa lista, es momento de imprimir los archivos 3D para adaptar el tamaño. Imprimiremos dichos STL y montaremos. Para las conexiones, usaremos un conector Shield de 8pines, de los cuales solo usaremos 5, y conectaremos siguiendo el esquema. Una vez todo montado y conectado, ponemos el módulo en la Tango y le ponemos la ANTENA para evitar quemar el TX. Ahora, vamos a la configuración del modelo y en modulo externo, seleccionamos CRSF. [Imagen 3] 6- Conectamos el RX al cual previamente ya le habiamos flasheado el Bootloader a nuestra controladora (con Betaflight o INAV), siguiendo la imagen a continuación. [Imagen 4] 7- Seleccionamos en Betaflight el puerto donde hemos conectado el RX en nuestra FC en el UART correspondiente (si conectamos a RX1 y TX1, marcamos Serial RX en el UART1). Además, debemos comprobar que en la pestaá de configuración, esté marcado en receiver el protocolo CRSF y la telemetría activa. Una vez esto listo, nos vamos al CLI y introducimos los siquientes comandos: 7.1· set serialrx_inverted=off 7.2· set serialrx_halfduplex=off 7.3· save 8- Vamos ahora a flashear el firmware del receptor usando el programa que habiamos usado antes para crear el firmware de R9M (paso 4). Para ello, preparamos la configuración seleccionando nuestro receptor en las pestañas desplegables y poniendo la siguiente configuración de la foto. Ahora, encendemos la emisora con el módulo y antena conectados. Una vez listo, conectamos nuestra FC por USB y le damos al botón de BUILD & FLASH, y en este momento empezará a instalarse. [Imagen 5] 9- Hemos terminado! Tu módulo y receptor con ExpressLRS está listo para usarse : ) PD. - Todas las imágenes están en el images.rar - Cualquier duda, podeis consultar la web oficial de ExpressLRS (https://www.expresslrs.org/1.0/) - Recomiendo usar resina para las piezas, el acabado es mucho mejor y más preciso -El diseño original de la carcasa de Alien pertenece a @Arkimedes64 *ENGLISH* This design is intended for using the R9M module in the TBS Tango 2 transmitter, as well as any other transmitter with the Lite bay type. The purpose of this mod is to be able to use the R9M with the ExpressLRS firmware, the new Hype of the hobby: https://www.expresslrs.org/1.0/ To flash the module and rx (R9mm, R9mini, R9Slim or R9Slim+) you will need a second auxiliary transmitter in case your main transmitter is the Tango, because you can't flash external modules on it [TBS things ¯\_(ツ)_/¯]. The steps to be able to use the module with the ELRS firmware are the following: 1- In case of using FrSky or other than Tango 2 transmitter, update OpenTX to version 2.3.12 or later. 2- Download the following files: 2.1- Configurator (program that we will use to download TX and RX firmwares): https://github.com/ExpressLRS/ExpressLRS-Configurator/releases 2.2- TX Bootloader: https://github.com/ExpressLRS/ExpressLRS/blob/master/src/bootloader/r9m_elrs_bl.frk?raw=true 2.3- Bootloader RX (only the one for our receiver model): 2.3A* R9mm/R9mini: 2.3A1> Receiver with functional button: https://github.com/AlessandroAU/ExpressLRS/blob/master/src/bootloader/r9mm_elrs_bl.frk?raw=true 2.3A2> Receiver with broken/broken/no button: https://github.com/ExpressLRS/ExpressLRS/raw/master/src/bootloader/r9mm_no_btn_elrs_bl.frk?raw=true 2.3B* R9mx: https://github.com/ExpressLRS/ExpressLRS/blob/master/src/bootloader/r9mx_elrs_bl.frk?raw=true 2.3C* R9Slim+ ACCST: https://github.com/ExpressLRS/ExpressLRS/blob/master/src/bootloader/r9slim_plus_elrs_bl.frk?raw=true 2.3D* R9Slim+ ACCESS/OTA: https://github.com/ExpressLRS/ExpressLRS/blob/master/src/bootloader/r9slim_plus_ota_elrs_bl.frk?raw=true 2.4- Lua Script: https://raw.githubusercontent.com/ExpressLRS/ExpressLRS/1.0.x-maintenance/src/lua/ELRS.lua We will download the file and we will put it in the TANGO 2 (not in our auxiliary transmitter as we had done with the previous ones). The ELRS.lua file will be added to the tango card in the folder :/SCRIPTS, and inside this, in the folder /TOOLS. When we keep pressed the menu button of the transmitter, it should appear automatically under the Script that we use to configure the Crossfire options. 3- Flasehar Bootloader of Module and RX: the procedure is the same, we add these files (downloaded in the previous step) in the SD card of our transmitter, in the folder :/FIRMWARE, and inside it we will create another one called :/ELRS (simple organization so that they are not mixed with other files). Once inside, we do the following: 3.1- TX R9M: we connect module WITH ANTENNA in the rear JR bay and we go to the folder where previously we would have introduced the bootloaders. Look for the R9M bootloader, press and hold the ENTER button and select the "Flash External Module" option. Once we see the OK, simply disconnect it, our TX is ready. 3.2- RX: as with the TX, we connect the receiver following the scheme below and we go to the folder where we had previously introduced the bootloaders. Look for the one of our receiver, press and hold the ENTER button and select the "Flash External Module" option. Once the OK appears, simply disconnect it, our TX is ready. [Image 1] 4- We are now going to update the firmware of the R9M Module using the previously downloaded program (step 2.1), where we will introduce the following configuration and then we will press BUILD. This will save it in a folder on our PC, from where we will copy the file named firmware.elrs and paste it in the folder previously created in the SD of our transmitter to, following the steps above, re-flash the module with the firmware.elrs file (Step 3.1). As before, once we get the OK, our module is ready. We will be able to check that everything is OK by opening the ELRS script installed in step 2.4. [Image 2] 5- Now it is time to prepare the module to connect it to our Tango in its external bay that we will have to buy (https://www.team-blacksheep.com/products/prod:tango2_modbay). To do this, we must open the box where the R9M comes standard and remove the electronic board. We can remove several components that we will not need (marked in pink with a rectangle in the image, such as the JR bay connector, the Receiver pins and, in case we do not want to power the module externally, the XT30). Once we have the board ready, it is time to print the 3D files to adapt the size. We will print these STL and assemble. For the connections, we will use an 8-pin Shield connector, of which we will only use 5, and we will connect following the schematic. Once everything is mounted and connected, we put the module in the Tango and put the ANTENNA to avoid burning the TX. Now, we go to the model configuration and in external module, we select CRSF. [Image 3] 6- We connect the RX to which we have previously flashed the Bootloader to our controller (with Betaflight or INAV), following the image below. Image 4] 7- We select in Betaflight the port where we have connected the RX in our FC in the corresponding UART (if we connect to RX1 and TX1, we mark Serial RX in the UART1). In addition, we must verify that in the configuration tab, CRSF protocol and telemetry active are marked in receiver. Once this is ready, we go to the CLI and enter the following commands: 7.1- set serialrx_inverted=off 7.2- set serialrx_halfduplex=off 7.3- save 8- We are now going to flash the receiver firmware using the program we used before to create the R9M firmware (step 4). To do this, we prepare the configuration by selecting our receiver in the drop down tabs and putting the following configuration from the picture. Now, we turn on the transmitter with the module and antenna connected. Once ready, we connect our FC via USB and hit the BUILD & FLASH button, and at this point it will start installing. [Image 5] [Image 5 9- We are done! Your module and receiver with ExpressLRS is ready to use : ) PS. - All the images are in the images.rar - Any doubt, you can consult the official website of ExpressLRS (https://www.expresslrs.org/1.0/) - I recommend using resin for the parts, the finish is much better and more accurate. -The original Alien Case was done by @Arkimedes64
With this file you will be able to print Tango 2 R9M Mod for ExpressLRS with your 3D printer. Click on the button and save the file on your computer to work, edit or customize your design. You can also find more 3D designs for printers on Tango 2 R9M Mod for ExpressLRS.