Tangrams in a Box
thingiverse
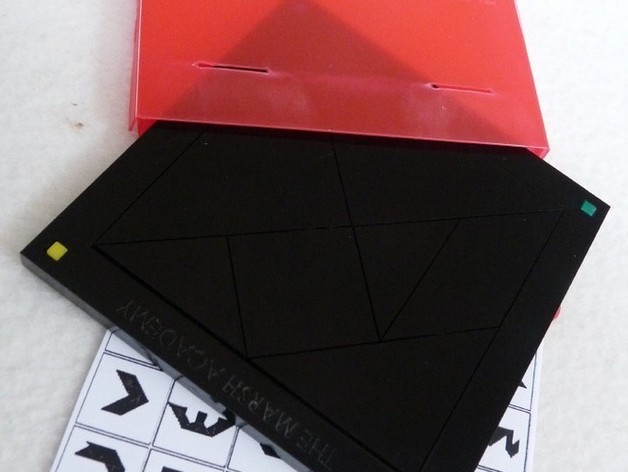
Create a Tangram set with swivel top or without using 3.2mm acrylic sheets measuring 100mm x 100mm. The swivel version consists of two layers of 3mm and one layer of 2mm acrylic, while the non-swivel version uses four square dowels. To assemble, measure your stock material's thickness, match hole size to the aluminum registration pin or dowel, cut the acrylic layers, and secure the surround onto the base with pins or dowels. Apply acrylic cement between layers and fit the clear cover. For the swivel top version, insert an M3 lock-nut and fastener through the surround and cover, allowing for easy swiveling motion. Assemble a PolyPropylene box if desired, using a tabbed design and testing settings for hinge depth and edge curl.
With this file you will be able to print Tangrams in a Box with your 3D printer. Click on the button and save the file on your computer to work, edit or customize your design. You can also find more 3D designs for printers on Tangrams in a Box.