Teach Sound with 3D Printed Passive Speaker/Amplifier
thingiverse
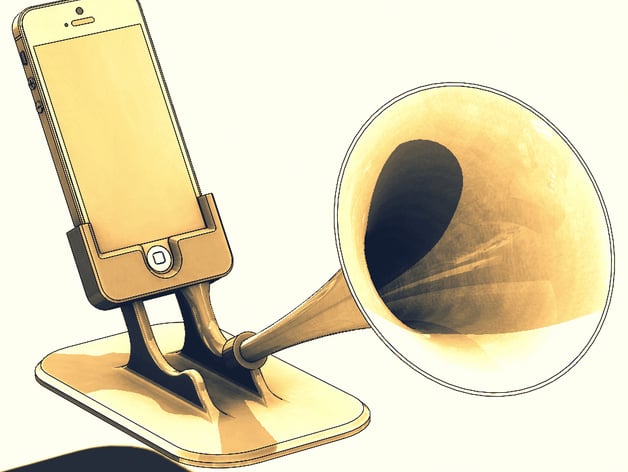
Here is part one of a two-part lesson on the characteristics of sound. In part one, students will use premade passive speaker systems. The first part will cover the different aspects of sound, vibration, echo, reverb, and decibels. These topics will connect the characteristics of sound to 3D design and 3D printing. Several examples of passive speakers can be printed to demonstrate that sound is a vibration and that it can be amplified. Most of them can be found on this website by searching "phone speaker" or "phone amp," which is where I found most of my samples. Part two will discuss having students make their own speaker design: http://www.thingiverse.com/thing:1724824 Print Settings: Printer Brand: MakerBot Printer: MakerBot Replicator (5th Generation) Rafts: Yes Supports: Yes Resolution: 0.3mm Infill: 10% Notes: There are different speaker samples with different print times and support requirements. Please look at each model individually and choose the settings that are best for each model. The Gramophone takes the longest to print, and you have to print each part separately for a total of about 7 hours. The other samples are easier. Standards: NGSS Overview and Background: Teach Sound with 3D Printed Passive Phone Speaker/Amplifier Do you remember when you used two cans and a string in school to learn about sound? This is that project but way cooler. Students get to use passive speakers and then design their own while learning the properties of sound. Learning about sound This project involves teaching students the properties of sound, mainly demonstrating sound's physical properties and how it can be manipulated. In part two, students take this knowledge and design their own speaker/amplifier. Objectives: Students will be able to: Explain the properties of sound Define vibration, echo, reverb, and decibel Explain decibels and understand why we measure them Audiences: This project is intended for 3-5th graders in its basic form but can easily be adopted for higher-grade students. Subjects: The most obvious subject is physics, being sound is a vibration. It also touches on design principles and basic math while using the decibel meter. Skills Learned (Standards): Next-generation Science Standards: 1-PS4-1: Plan and conduct investigations to provide evidence that vibrating materials can make sound and that sound can make materials vibrate. 1-PS4-2: Make observations to construct an evidence-based account that objects can be seen only when illuminated. 1-PS4-4: Use tools and materials to design and build a device that uses light or sound to solve the problem of communicating over a distance. Lesson Plan and Activity: Mini Lesson http://www.thingiverse.com/thing:1048524 Using the above 3D printed telephone system, you can demonstrate to students how sound can travel on a physical object. The link talks about using filament but I just used plain string and tied it into several knots. Lesson The heart of the lesson is printing various speaker designs and testing them with a decibel meter. Start a conversation with students about designing a speaker for their cell phone, then have the students observe the differences in sound output of the samples. Have them consider why certain speakers sound better or louder than others. Discuss why or why not. Materials Needed: Materials needed: * 3D printer * Filament * String (from the dollar store is fine) * Various cell phones for testing * Decibel meter (I used https://www.amazon.com/Leaton%C2%AE-Professional-Digital-30-130dB-Included/dp/B01CCD6CNG/ref=sr_1_5?ie=UTF8&qid=1471459431&sr=8-5&keywords=decibel+meter) Skills Learned 1-PS4-1, 1-PS4-2, 1-PS4-4 Duration of Lesson This lesson will take about three classes to complete after the mini-lesson is done. The mini-lesson should take one class period. Preparation Take a poll of what type of cell phones your students own and consider the cases' dimensions while taking note of their phones.
With this file you will be able to print Teach Sound with 3D Printed Passive Speaker/Amplifier with your 3D printer. Click on the button and save the file on your computer to work, edit or customize your design. You can also find more 3D designs for printers on Teach Sound with 3D Printed Passive Speaker/Amplifier.