Teach Sound with 3D Printed Passive Speaker/Amplifier Part 2
thingiverse
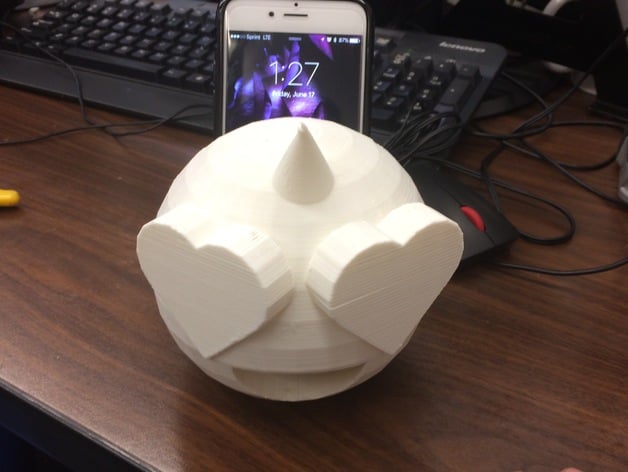
This is part two of this lesson, continuing from where we left off in part one. Part one covered the initial use of 3D printed passive speakers/amplifiers, characteristics of sound, and how to measure sound. You can find a great example project on Thingiverse: http://www.thingiverse.com/thing:1724605. In this lesson, we will focus on how students can apply what they learned in part one to design their own speakers. I'll provide examples of student work and discuss some common problems that arose during the process. Print Settings: * Printer Brand: MakerBot * Printer Model: MakerBot Replicator (5th Generation) * Rafts: Doesn't Matter * Supports: Doesn't Matter * Resolution: 0.3 * Infill: 10% * Notes: Print times vary depending on the style of passive speaker, ranging from an hour to three hours. I recommend printing with at least 10% infill and adjusting it for further experimentation. Overview and Background: It's essential that students complete part one before moving on to this lesson, as they'll need a solid understanding of sound principles and measurement techniques. They will use digital calipers or rulers to measure their cell phones' dimensions and apply those measurements to design their own speakers. Objectives: * Students will demonstrate their knowledge of sound properties by designing and printing their own passive speaker. * This lesson is designed for 3rd-5th grade students, but can be adapted for higher grades with modifications. Subjects: * Design principles * Measurement Skills Learned (Standards): * Using NY State STEM Standards: + Standard 1: Students will use mathematical analysis, scientific inquiry, and engineering design to pose questions, seek answers, and develop solutions. + Standard 5: Students will apply technological knowledge and skills to design, construct, use, and evaluate products and systems to satisfy human and environmental needs. + Standard 6: Students will understand the relationships and common themes that connect mathematics, science, and technology, and apply those themes to other areas of learning. Lesson Plan and Activity: 1. Have students measure their cell phones with cases on (if desired) and note where the sound output is located. 2. Once they have the dimensions and sound output information, instruct them to start with a base design from some examples and adapt it to their phone's specifications. 3. Ensure that the sound output on the phone rests flush against the input of the passive speaker. 4. Remind students to provide enough space in the sound chamber for the sound to expand. 5. Encourage creativity and individuality, as one group of students successfully incorporated a handle into their design last year. 6. Lastly, ensure that there is only one input but multiple outputs. Project: Designing Your Own 3D Printed Passive Speaker/Amplifier Now that your students have learned about sound and passive speakers, it's time to put them to the test! You can hold a contest to see who produces the loudest phone passive speaker. Using their own cell phones will surely get them excited. For younger grades, consider group projects, while older grades can work individually. Once they've completed their designs, let them keep the speakers as a reward for their hard work and creativity.
With this file you will be able to print Teach Sound with 3D Printed Passive Speaker/Amplifier Part 2 with your 3D printer. Click on the button and save the file on your computer to work, edit or customize your design. You can also find more 3D designs for printers on Teach Sound with 3D Printed Passive Speaker/Amplifier Part 2.