Tennis Tutor to Pickleball Tutor Conversion Kit
thingiverse
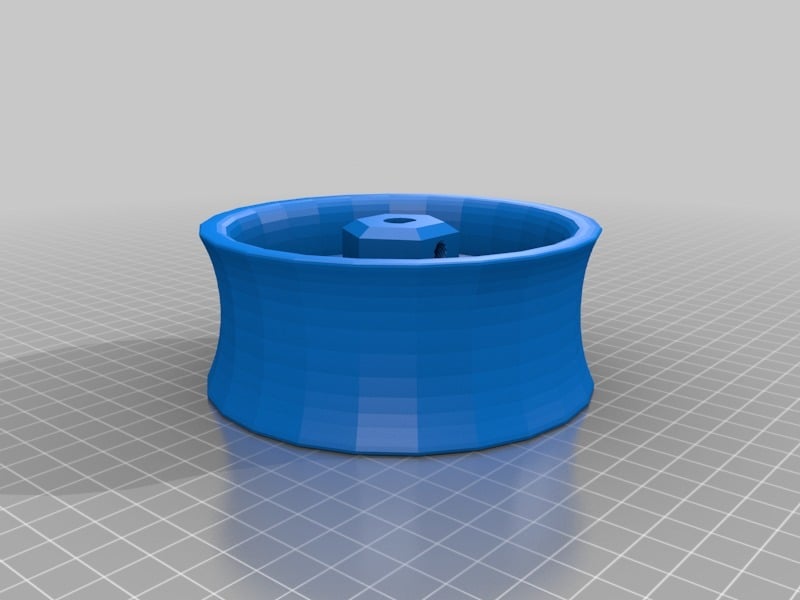
I own a Tennis Tutor and I couldn't believe that the Pickleball Tutor is over $1,000 and it is the exact same machine minus a few features and with slightly smaller wheels. I decided to create these smaller wheels and modify a few things. It works great and most importantly, it can be converted back to a Tennis Tutor within about 5 minutes. And if you stumbled upon this page and know nothing of 3D printing or don't own a machine, don't worry. I think there are links on this page to pay to have these files printed and mailed to you. I made a YouTube video tutorial for this project which I'll link at the bottom. You can also check my "Make" pictures on here for a reference point. Just take the top off the tennis tutor and remove the existing wheels by loosening the 1/4"-28 hex head set screw in the side of each wheel hub. I've made two versions of my replacement wheel. One is already threaded with a 1/4"-28 set screw hole at the same angle so you can just move the set screw over. The other is in case you want to make the threads a little sturdier, you can order a $30 helicoil thread repair kit on amazon and use that to give metal threads. Either way, you'll need to buy #82 rubber bands (amazon) to create a double layer of rubber bands on the wheel. I used some spray adhesive to hold all the rubber bands together too. I also included a spacer which you'll want to print 4 of these. This will allow you to move the ball hopper spring and cover up to accommodate the wider pickleball and allow it room to slide under the cover and drop into the chute. The other two spacers are for the tube chute. I found that the chute was a little too low and that the ball was contacting the bottom wheel first. Use two more spacers to lift the chute up slightly. With all these spacers, you'll want to run to Lowe's or Home Depot and pick on some longer bolts. The bolts you'll need with be 4 x #8-32 x 1" 2 x #10-32 x 0.5" 1 x #10-32 Wingnut The big thing is to use #82 rubber bands to make a few full flat layers of rubber on the surface of each wheel. Use a little spray glue to hold all the rubber bands together nicely so that the centrifugal force of the wheel doesn't make the want to lift off the wheel. Build up your layers until you are getting a nice squeeze between the wheels when the pickleball is pushed through. A couple of extra tips that I'd like to add which helped me greatly increase the consistency of the feed: I took a drimmel and just slightly sanded out the drop hole where the pickleball enters the chute because every 10th ball or so would get pinched in the hole and I'd have to walk over and push it through. Widening this hole shouldn't affect converting it back to a tennis ball machine which was an important consideration for me. It's also unnoticeable. Second, I took velcro and used it to keep the top of the rubber ball chute fixed to the metal drop hole and that REALLY helped reduce the bad feeds. I guess the rubber chute was flexing and creating random entry points for the pickleball on the wheel. I get almost no bad feeds anymore since doing this. Please feel free to improve on this project and please message me if you have any suggestions. YouTube Tutorial: https://youtu.be/84-hZMmlD7M This thing was made with Tinkercad. Edit it online https://www.tinkercad.com/things/5jX5WIY12Fu Update: I found a better solution than the Helicoil threads is the EZ-Lok 1/4"-28 thread inserts so I changed my drawing to those threads and linked that product on amazon. They lock the wheel down super well which makes the machine quieter and more consistent. I am using EZ-Loks on both sides of each hub for better weight balance and better stability. I linked to more set screws too if you want to do this. I also made a "tire edition" of the wheel which is what I'm using now but it's not really a big improvement like I thought it would be. What you need to know about the tire edition is that I've made the hub 3 mm larger than the tire so you need to print the wheel with PLA or a hard plastic of your choice but you have to print the tire with a rubber TPU like NinjaFlex. This prints at a higher temp around 250 C. I also used nearly 100% infill on the TPU so it wasn't too squishy. The idea is that I wouldn't have to wrap the wheel in rubber bands anymore with the NinjaFlex but it turned out that the TPU was still too slippery and I ended up doing 3 layers of rubber bands anyways. The rubber bands eventually break down and you have to re-wrap but it's not a huge deal. The other learning point not included in the video is that the ball was barely catching the right side of the opening occasionally which sent the ball off course. I used a Drimmel to shave off an 1/8" on the opening to solve this issue. I think Pickleballs are just a little larger than tennis balls which is why it's barely clipping sometimes.
With this file you will be able to print Tennis Tutor to Pickleball Tutor Conversion Kit with your 3D printer. Click on the button and save the file on your computer to work, edit or customize your design. You can also find more 3D designs for printers on Tennis Tutor to Pickleball Tutor Conversion Kit.