Terminal Block to integrate into 3D prints
thingiverse
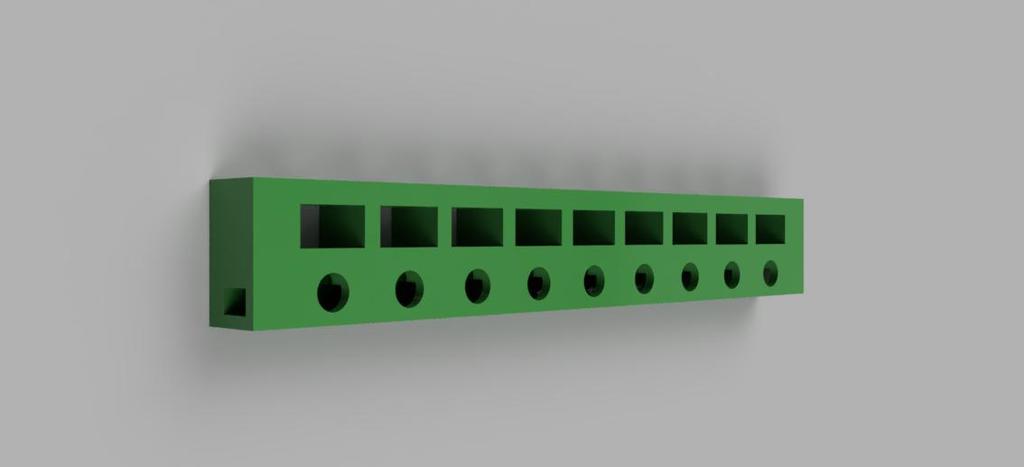
I suck at soldering so I whipped up this terminal block thingy that anyone can add to their own models. I personally used it to construct DIY perks studio lights. I'll post my variation with the terminal blocks as well. Materials: M3x10-ish bolt M3 square or regular hex nut 20 AWG wire (max size, I don't know how much smaller I would go) Instructions: 1) insert 20awg wire through one end of the bottom square hole running the entire length of the block and push it clear to the other side, this will be the wire connecting all of the other wires together. 2) pull the wire out the other side a decent amount. 3) measure the length of the terminal block and strip that much off of the end of the wire. 4) pull the length of wire back through the terminal block from the opposite side. 5) only pull it out enough to where you can see the stripped wire in every station. 6) insert a bolt to pinch the wire in the correct place. 7) strip, twist, and insert a new wire you wish to connect to a station in one of the circular holes on the face of the terminal block. 8) insert an M3 nut into the rectangular hole above the circular hole 9) bolt it down from the top and be careful not to tighten it so much that the wires start to excessively twist, just firm enough to ensure proper contact
With this file you will be able to print Terminal Block to integrate into 3D prints with your 3D printer. Click on the button and save the file on your computer to work, edit or customize your design. You can also find more 3D designs for printers on Terminal Block to integrate into 3D prints.