Termomix distillation screw TM6
thingiverse
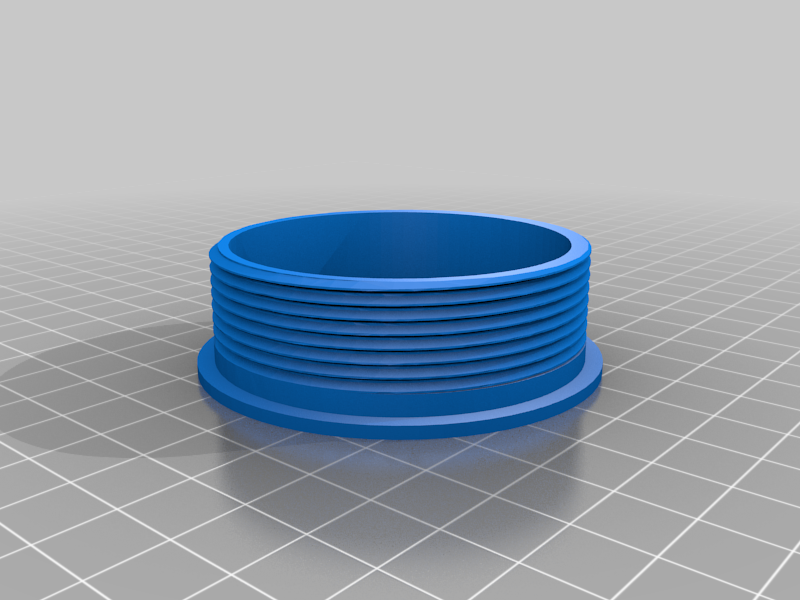
Hello! Today, I'm excited to share with you my experience using the Thermomix distillation screw for TM6. If you're not familiar with it, this handy tool helps extract essential oils and flavors from herbs, fruits, and other ingredients, making your cooking and baking even more delicious. Before using the Thermomix distillation screw, it's important to follow instructions carefully. After printing the screw, you should put it in the oven at 80C for 15 minutes to ensure it's properly sterilized. And when using it, make sure to seal it with suitable plumbing tape to prevent leaks and ensure a tight fit. I tried a recipe that required a temperature of 95C for 90 minutes. The results were amazing! The flavors were intensified and the aroma was heavenly. I can't wait to experiment with more recipes and ingredients using this tool. Thank you for joining me on this journey. I hope my experience and tips are helpful to you, and I look forward to sharing more of my culinary adventures with you.
With this file you will be able to print Termomix distillation screw TM6 with your 3D printer. Click on the button and save the file on your computer to work, edit or customize your design. You can also find more 3D designs for printers on Termomix distillation screw TM6.