Test tube peg rack (customizable)
prusaprinters
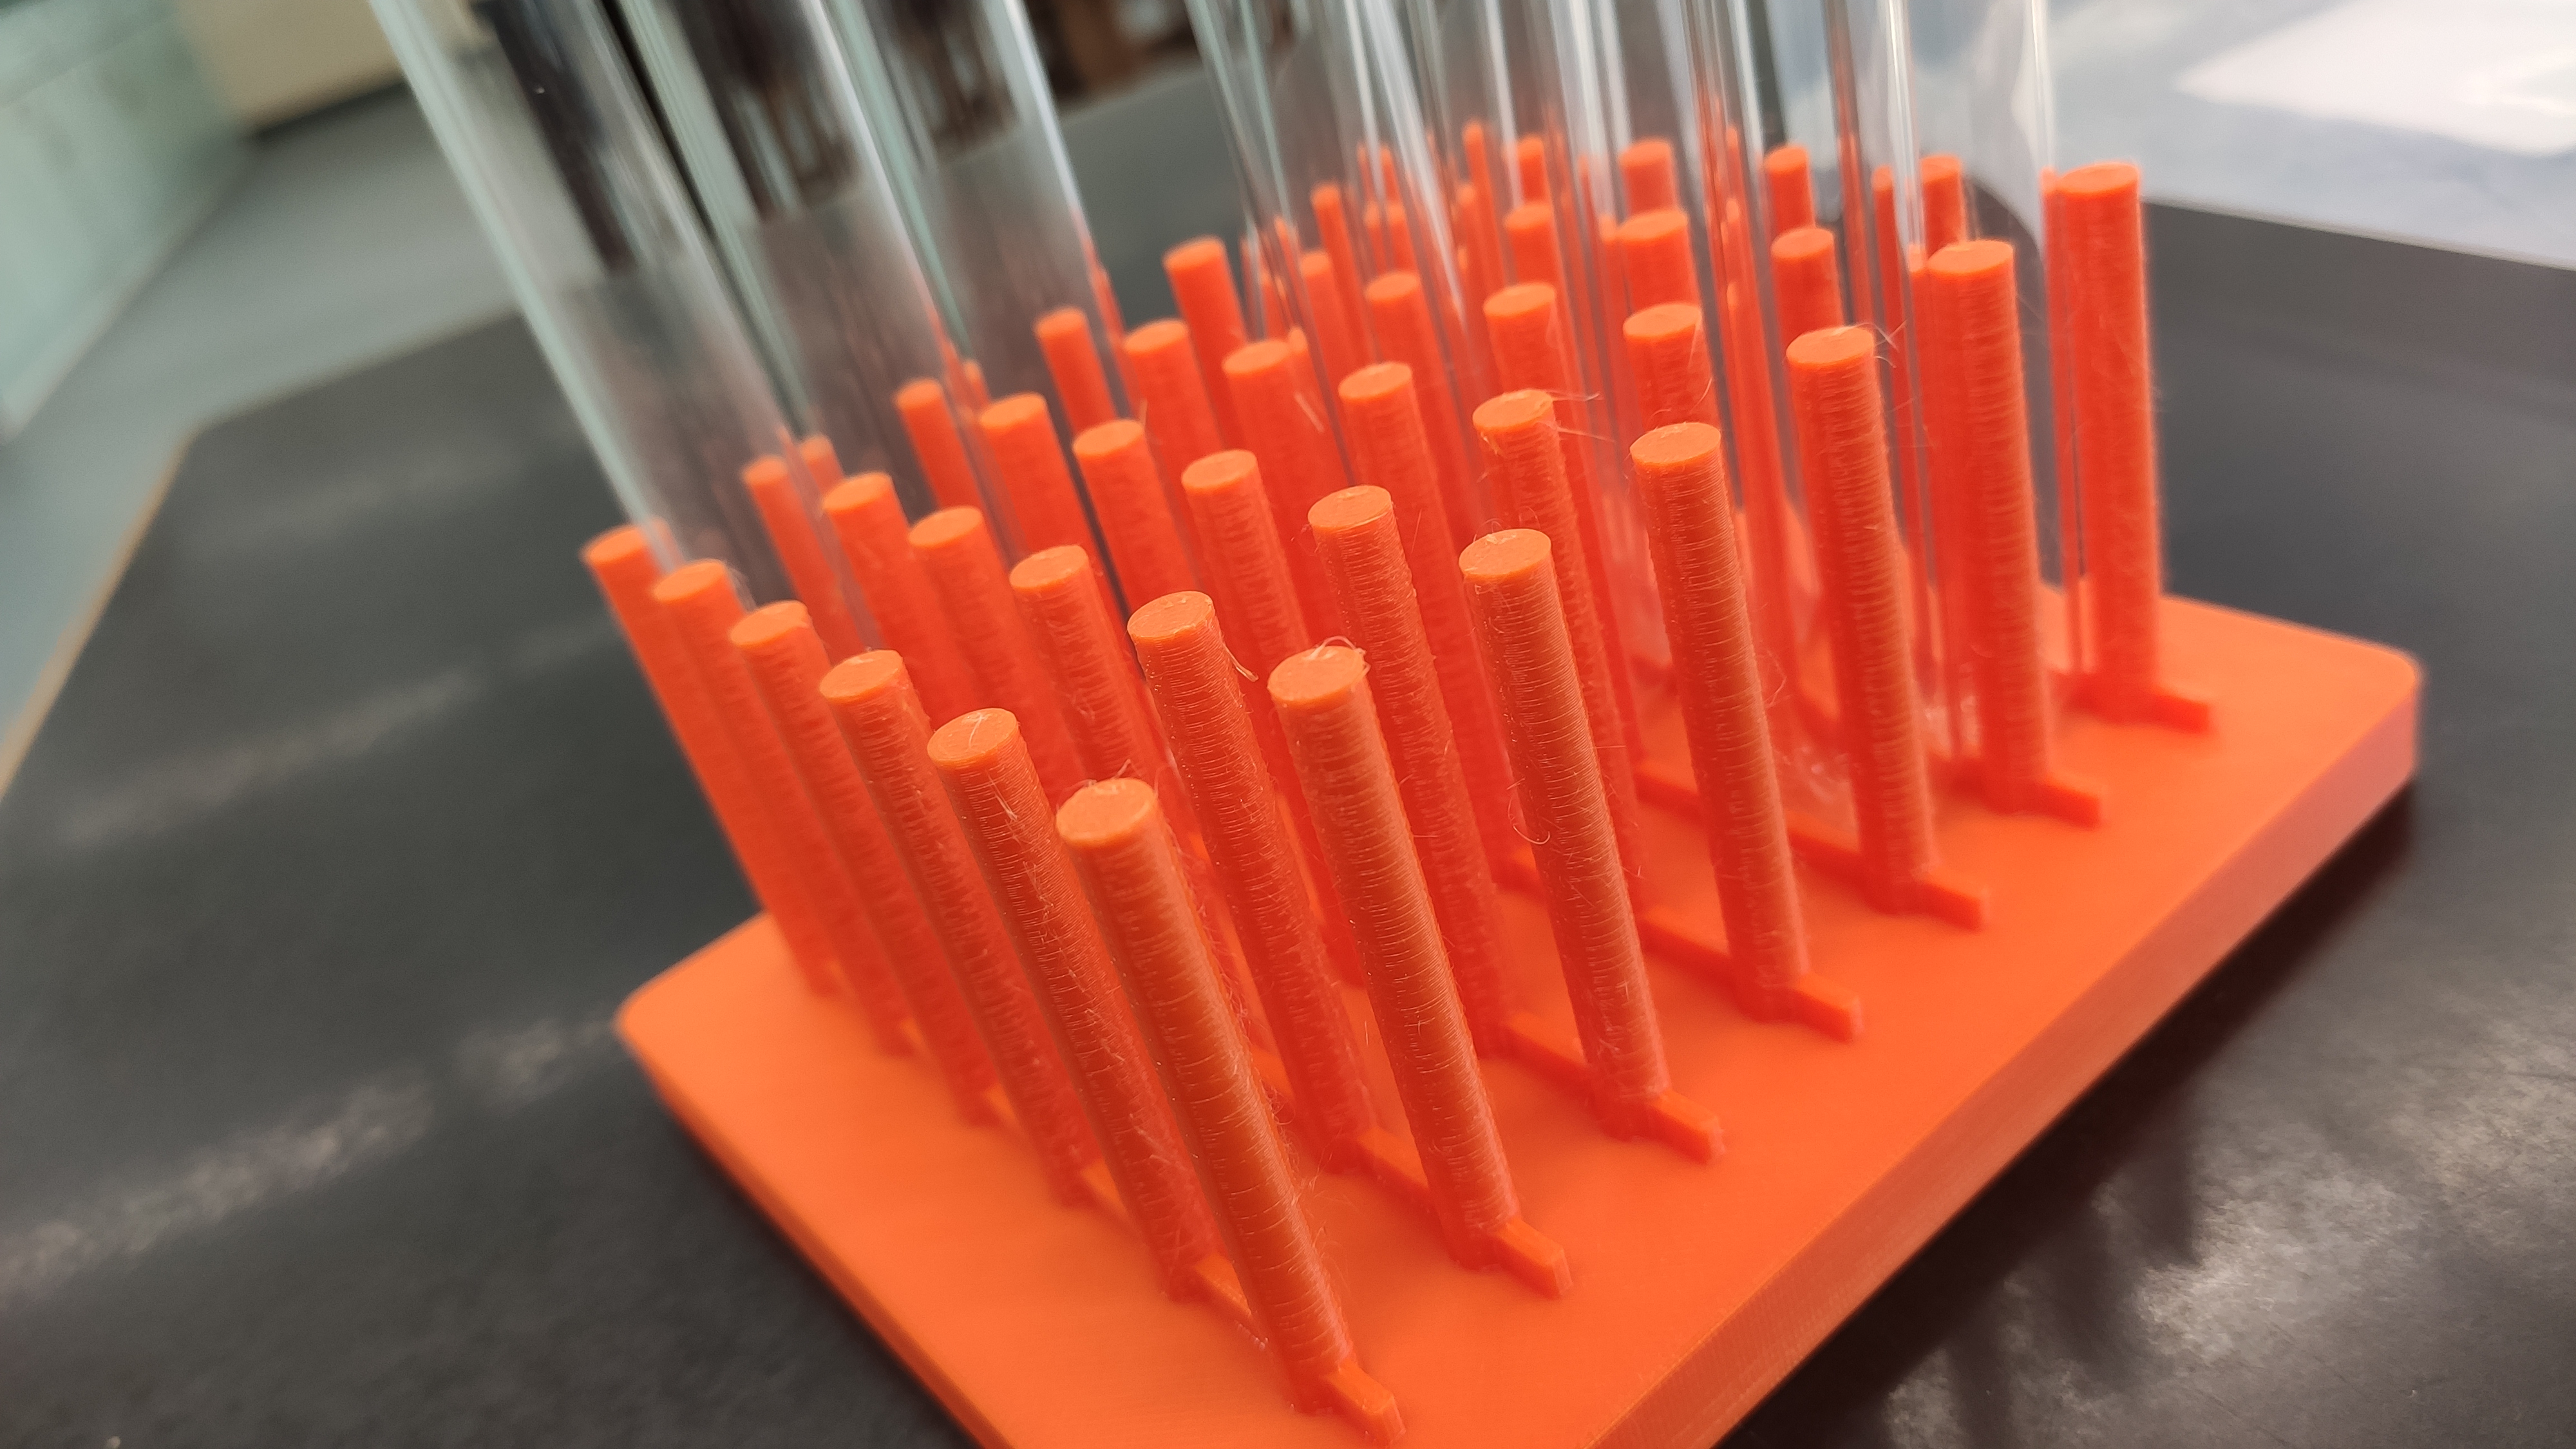
<h4>What is a test tube peg rack?</h4><p>The test tube peg rack can serve a number of purpose like, normal test tube rack, tube drying rack and glass plate rack (SDS-PAGE?). It is compact comparing to usual test tube rack design. Essential for people who often need to wash a air-dry boatloads of test tubes.</p><h4>Why print it yourself?</h4><ul><li>Tailor-made for your <strong>tube sizes</strong> and <strong>capacity per rack</strong></li><li>Optional feature: text label</li><li>Optional feature: bottom ribs, to elevate/tilt inverted test tubes, for water vapor to escape</li><li>Save from the rip-off price offered by science vendors</li><li>Minimum order restriction, bureaucracy, etc.</li></ul><h4>Included files</h4><ul><li><strong>Test tube rack peg 4x6.stl</strong>: for 24x tubes of 15~17mm diameter (rim doesn't matter). Most people should use this.</li><li><strong>Test tube rack peg 10x26.stl</strong>: for 260x tubes of 15~17mm diameter (rim doesn't matter)</li><li><strong>Test tube rack peg.scad</strong>: OpenSCAD file for you to customize your rack</li></ul><h4>How to customize?</h4><ol><li>Download and install OpenSCAD</li><li>Use OpenSCAD to open the SCAD file</li><li>on the right hand side, there should be a “customizer panel”, expand the tabs and tweak settings</li><li>Press F5 to preview</li><li>If looks okay, press F6 to render… wait for finish</li><li>Press F7 to export as STL</li></ol><h4>Parameter details</h4><ul><li><strong>Tube diameter</strong>: set this to your largest tube's diameter PLUS one</li><li><strong>Capacity tube row</strong>: number of slots across a row. Max 26 slots (labelled as A~Z)</li><li><strong>Capacity tube column</strong>: number of slots down a column. Max 10 slots (labelled as 0~9)</li><li>Pillar diameter: Leave default if using rimless tubes. For rimmed tubes, this value should be larger than (rim diameter-tube diameter. A maximum of 10mm should be sufficient for any test tube/boiling tube</li><li>Pillar height: measurement counting from the bottom of the base. Usually 5~6cm for commercial products.</li><li>Edge margin: enlarge the base to add stability. This is a fixed amount, not percentage</li><li>Base height: Height of base plate. Default is 5mm. For even better stability, turn it up to 10mm should be sufficient</li><li>Has rib: add elevated strip along the bottom of pillars. This is used to tilt the inverted tubes slightly so that water vapor can escape.</li><li>Rib thickness: 1~2mm should be sufficient</li><li>Draw label: Add column and row headings to indicate the location of slots. (A~Z, 0~9)</li><li>Font size: label size</li></ul><h4>Recommended print settings:</h4><ul><li>Material: PETG</li><li>Layer height: 0.2mm</li><li>Speed: Fast</li><li>Infill: 20~50%</li></ul><p> </p><p> </p>
With this file you will be able to print Test tube peg rack (customizable) with your 3D printer. Click on the button and save the file on your computer to work, edit or customize your design. You can also find more 3D designs for printers on Test tube peg rack (customizable).