Texture Painting an Ax Exercise
sketchfab
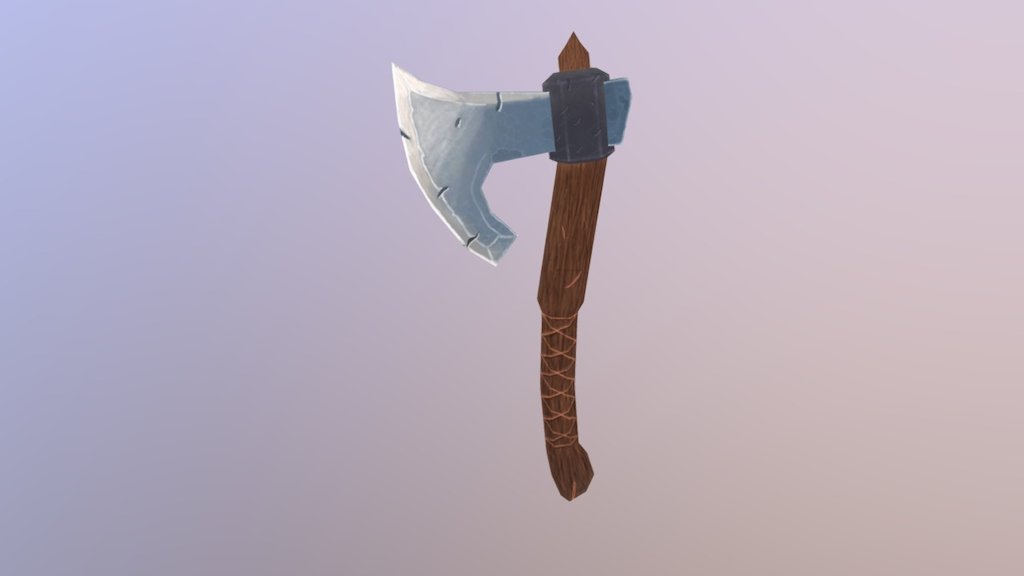
Modeling an axe for a texture painting exercise requires a good understanding of 3D modeling and texturing techniques. The goal is to create a realistic axe that captures the nuances of its surface, including the intricate patterns on the handle and the ruggedness of the blade. To begin with, start by creating a basic shape for the axe using a combination of spheres, cylinders, and planes. This will provide a solid foundation for adding more details later on. Next, focus on creating the handle of the axe. Use a mixture of curved and angled surfaces to give it a natural, organic feel. Pay attention to the texture and pattern of the wood grain, as this will greatly impact the overall look of the axe. Moving on to the blade, use a combination of sharp edges and smooth curves to create a sense of depth and dimensionality. Add some subtle imperfections to give it a worn, battle-hardened appearance. Finally, add some finishing touches to the axe, such as a handle wrapping or a metal ferrule. This will help to complete the look and make it feel more realistic. With these steps in mind, you'll be well on your way to creating a highly detailed and realistic axe model for your texture painting exercise.
With this file you will be able to print Texture Painting an Ax Exercise with your 3D printer. Click on the button and save the file on your computer to work, edit or customize your design. You can also find more 3D designs for printers on Texture Painting an Ax Exercise.