TH3D EZNeo RGB LED Mount for FlashForge Creator Pro
thingiverse
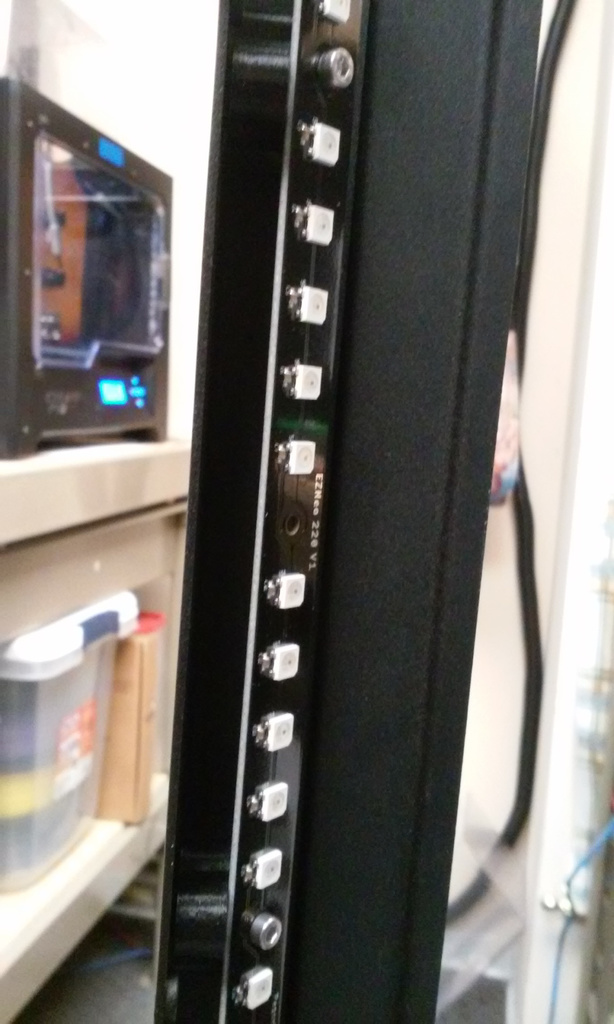
This is a set of replacement mounts to mount the [TH3D EZNeo RGB LED strip](https://www.th3dstudio.com/product/ezneo220-rgb-printer-lighting-strip/) in place of the stock RGB LED light strip on the FFCP 2016 printer. It may work on other variants of the FFCP and similar clones, but I can only verify it on the 2016 model that I have. I am in the process of rebuilding my FFCP printer to use a BTT Octopus v1.1 board. But the Octopus board uses the newer NeoPixel output signal rather than the discrete RGB driver output of the original FFCP Light strip, and I didn't want to build an adapter PCB to drive the old LED strip, plus the NeoPixel strips are more functional anyway. I found the TH3D EZNeo RGB kit to be the perfect part for my rebuild, only it doesn't quite work with the original mounts on the FFCP. The mounting centers on the FFCP light strip are 130mm, whereas the TH3D is 140mm (for the outer two holes, 70mm if you count the extra mounting hole in its center). And the original FFCP strip had a smaller 10mm width at the mounting point locations rather than a through-hole, whereas the TH3D board is 15mm wide all the way across and uses through-holes for mounting screws. So, I created this set of mounts in OpenSCAD to replace the similar stock two-piece mounts on the FFCP. To use this, simply print one of each of the left and right mounts. I have rendered both STL files, but they are mirror images and could simply be mirrored in the slicer. I used ABS, but the material shouldn't matter much. In addition to these mounts and the EZNeo strip, you'll need the following: 2 : M3-0.5 Short Heat Set inserts by Initeq (available on eBay and Amazon) 4 : M3x6mm Socket Cap Head Screws 2 : M3x12mm Socket Cap Head Screws 1 : Soldering iron and appropriate tip to install the Heat Set inserts After printing, use a soldering iron to install the heat set inserts in the hole on the sloped face of each mount. And attach them to the printer using one M3x6 and one M3x12 screw per mount. The original FFCP two-piece mounts used M3x16 screws, which need to be replaced by these shorter ones due to differences in the mount design needed to accommodate the wider TH3D PCB. Then, attach the EZNeo board to the mounts using the remaining two M3x6 screws and connect the wiring harness. I have also provided my OpenSCAD source file in case you want to do any modifications, but it's a fairly simple and straightforward design.
With this file you will be able to print TH3D EZNeo RGB LED Mount for FlashForge Creator Pro with your 3D printer. Click on the button and save the file on your computer to work, edit or customize your design. You can also find more 3D designs for printers on TH3D EZNeo RGB LED Mount for FlashForge Creator Pro.