Thanhlon Mags v2.1
thingiverse
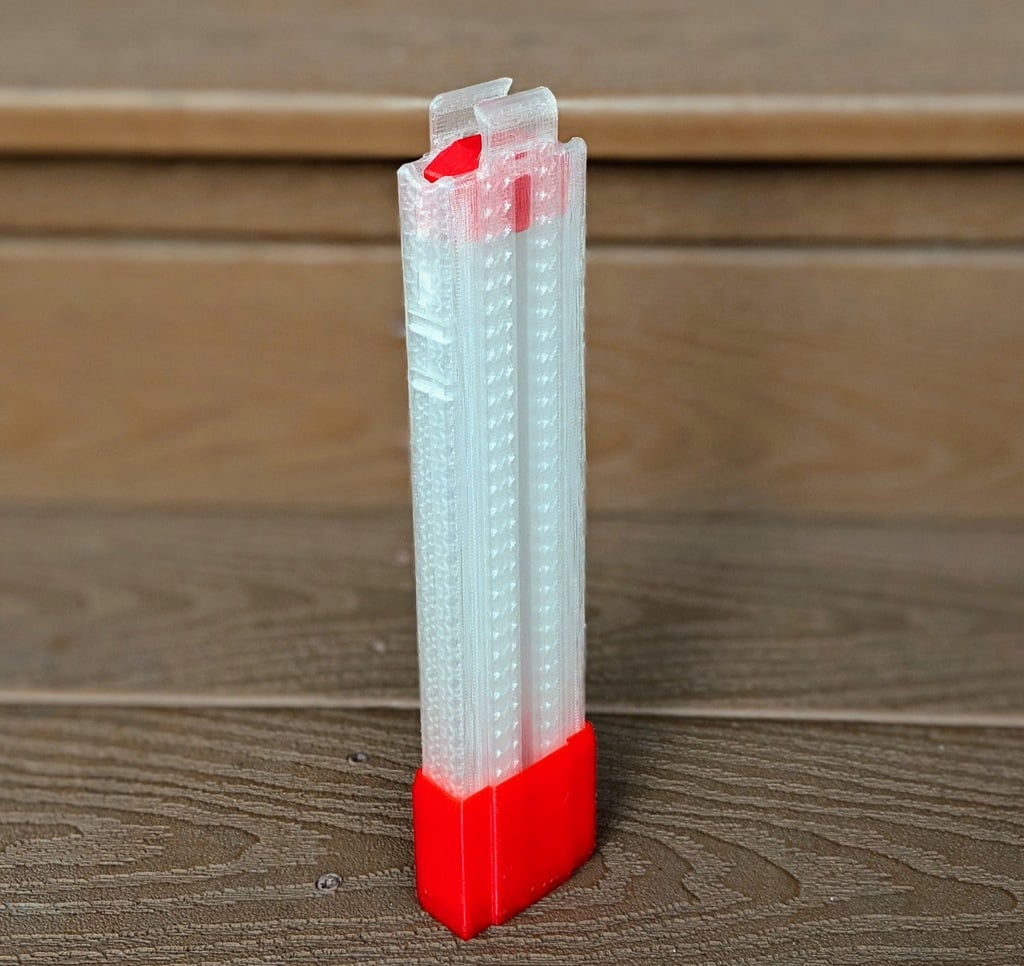
A solution for printable & higher capacity half mags, under the Worker Talon platform. They are modular, disassemblable, screwless, glueless, tooless, and effortless to assemble. Designed with the intent to far exceed worker's 17rnd capacity, even for small build-area printers. It utilizes a FoamBlast drum spring, like my previous iteration of KaThanha mags. If you found this to be helpful to our community, please give me a like, it helps a bunch. Thanks! ASSEMBLY: - 2x ThanhlonBody - 1x ThanhlonFollower - 1x ThanhlonSleeve - 1x [FoamBlast Drum Spring](https://foamblastshop.com/product/nerf-replacement-drum-spring/) ^To expand capacity (optional): - 2x ThanhlonExtensionBody - 1x ThanhlonExtensionSleeve SUPPORTS: Yes, only from build plate. And only for the mag body sides QUALITY SETTINGS: <.25mm Layer height. .4 to .5 Line width. Play around with your layer/line settings by adding/subtracting increments of .01 until you see the knurls render. It should be one layer of lines, just like the slicer image shown NOTABLE FEATURES: * *"Knurling":* These mags feature a type of pseudo knurling/guide-rail pattern on the inside walls to help smoothen feeding. The biggest reason friction builds up from inserting too many darts is because they rub on the inside walls; changing the grain orientation on the surface that makes contact with the darts into being parallel with the movement of the darts seems to make a profound difference. Thus, these tiny lines tricks your slicer into making the print grain parallel to dart travel. This way I can force the top wall into correct orientation on a multitude of printer setups without having to manually mess with wall orientation settings. * *Antisheering Dovetails:* Locking tabs now feature friction fitting concave and convex grooves along the sides to help lock in the dove tails and protect against sheering motion. * *Second mag catch slot:* Much like KaThanhas, there is a secondary lower mag slot that's in-line with Hasbro's mag release position. You can just shorten your blaster and ditch the adapter. * *Jungling:* You can stick the mags end-to-end and "jungle" them through the ExtensionSleeve. TROUBLESHOOTING TIPS: * *If sleeve too tight:* It's likely sagging from the area the supports were holding (at the bottom of the mag). Simply sand or melt with a lighter and press in a bit at that region. Or, supports were not sufficiently removed. * *Overinsertion into adapter:* Sometimes the insertion stops on some adapters are a bit too small. It's optional to take off the supports on one side of the mag to mimic the dimensions of actual talons; you can leave a bit at the top to guarantee stopage * *Expanded capacity jams:* When using the extension sleeves to increase capacity, manually inspect inside wall of the mag to make sure there are no burs (especially the interface edge where mag bodies contact each other), and that your lines are smooth. If they're somehow rough from extrusion error, some quick high grit sandpaper aught to do the trick * *Dovetails Too Loose* If the dovetails are too loose, you can use a lighter to melt the sides downward; this will force them to make more contact. * *Bottom base sleeve too loose* Boil the sleeve for 10 seconds; your print will contract by a few microns in the xy * *Fitting spring in* Sometimes drum springs will be concave outward and the sharp edge will catch against the walls, resulting in difficulty fitting them into the spring rest. You can easily just [crease the tab inward](https://cdn.thingiverse.com/renders/e4/0e/61/42/52/1e1d87da5fbd83abce3830f8f90251eb_preview_featured.jpg) so it doesn't catch against the back wall In case the spring rest sags too much during the bridging, such that you can't insert the tab of the spring throgyh; you can gently melt that bridge with a lighter and press it up with a toothpick. * *Overhangs* Maximize cooling when doing overhangs to ensure they don't fuse to your supports. Make sure there's less than 3 layers of separation so as to not have your overhangs bulge (which may cause tightness). * *Mag Too Tight* Z height approximation is always rounded to the nearest layer height, hence why I recommend going <.25 to best capture the 20mm thickness of the mag. Printed magwells are also generally tighter than Worker's. You can shrink it by ~2% Z as you see fit or print in fine layers.
With this file you will be able to print Thanhlon Mags v2.1 with your 3D printer. Click on the button and save the file on your computer to work, edit or customize your design. You can also find more 3D designs for printers on Thanhlon Mags v2.1.