The ArduClock DIY digital clock
thingiverse
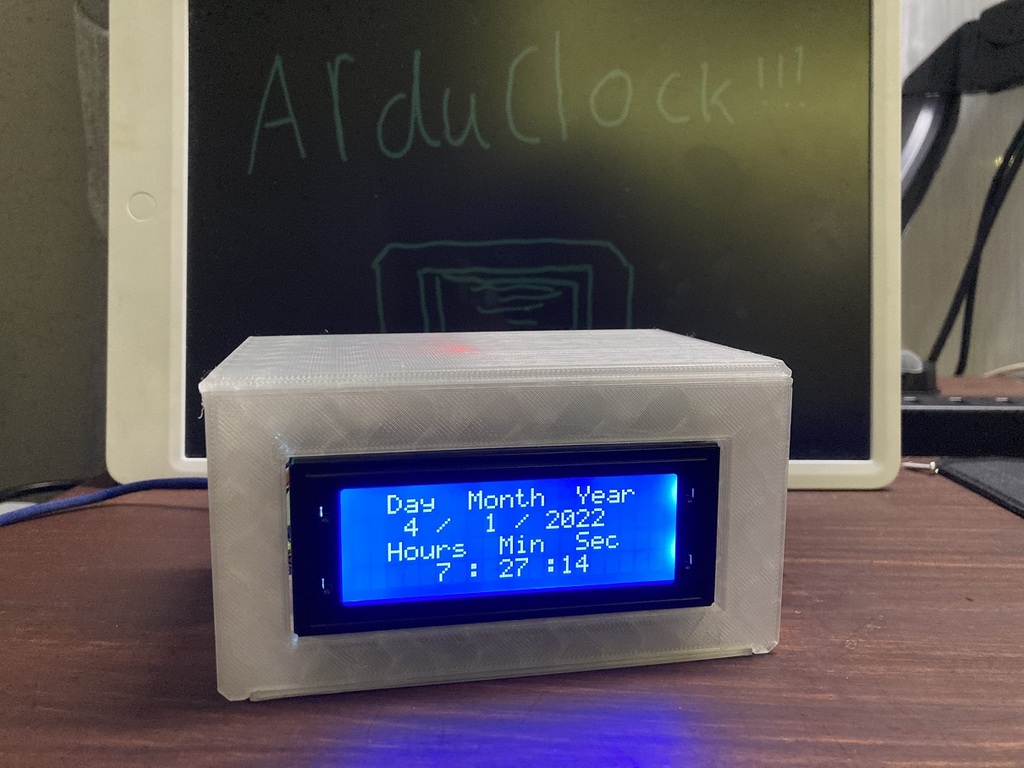
This here is the ArduClock! The ArduClock is similar to the PiClock but it is around 2 times the size of the PiClock. NOTE: The clock is longer in the photo but the actual 3D model is shorter by 2cm to make it smaller as the all the extra size was unnecessary and the switch hole has better tolerances so it does not need to be sanded so the Z distance is less. Also if you intend to NOT use the D1302 RTC module then my code will not work as you need to install another library to use your module. Here are differences between the two of them: ArduClock: Bigger 20x4 screen, the PiClock has 16x2 screen Bigger switch hole for louder CLICK and bigger is bigger :) Uses an Arduino Pro Micro (Arduino Nano Version coming soon), instead of raspberry pi zero to keep costs much lower Does not require wifi to calibrate itself as it has an RTC (real time clock module) so it will always have the correct time even if the clock itself is unplugged A bit harder to build as it requires a bit more skill to wire and possibly solder but a good learning experience. Parts needed to build: 20x4 lcd display with i2c if you want (it makes life a lot easier) A RTC module (my specific one that works with my code is the D1302 RTC module) At least 2 M2 screws if you fancy not using glue Arduino Pro Micro (Arduino Nano edition coming soon) 10 x 25 mm 3 pin switch A lot of gpio wires Average dimensions of ArduClock (NOT IN PHOTO): 63 x 71 x 130 mm x y z My guide on how to build it: https://sites.google.com/view/lordevilfish3dp-official-websi/guides/arduclock-diy-20x4-lcd-digital
With this file you will be able to print The ArduClock DIY digital clock with your 3D printer. Click on the button and save the file on your computer to work, edit or customize your design. You can also find more 3D designs for printers on The ArduClock DIY digital clock.