The Button
prusaprinters
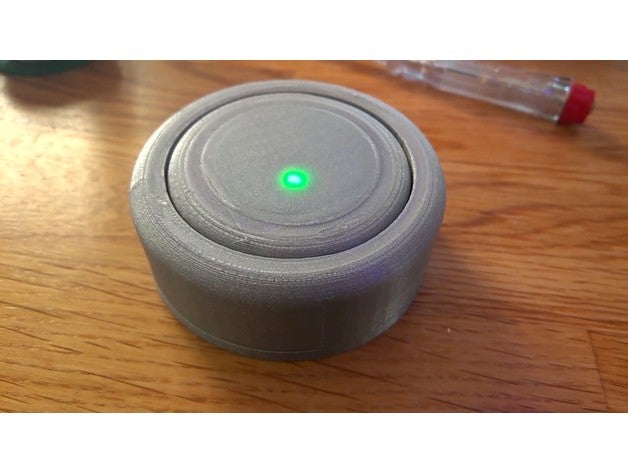
<p>Print the Button to switch your favorite hue lights or scenes, homematic scenes or whatelse you can imagine to do with one click esp-01.</p> <p>After pressing the Button the esp resets and executes the code ( logging into wlan, searching for bridge, sending data). After that the esp goes into deepsleep again and wait for the next reset. The deep sleep mode don't need much energy so you can use the Button for a long time without changing batteries ( I hope so ;) )</p> <p>I use it for my lights to switch a good morning scene (lights, coffeemachine) and for some all off buttons.</p> <p>How it works: <a href="https://youtu.be/y_RpBIn9FNE">https://youtu.be/y_RpBIn9FNE</a><br/> Instruction Video: <a href="https://youtu.be/lTulQg_Kpwo">https://youtu.be/lTulQg_Kpwo</a><br/> Electronics: <a href="https://youtu.be/mddqEOMAVew">https://youtu.be/mddqEOMAVew</a></p> <h3>Print instructions</h3><p><strong>BOM:</strong></p> <p>print all the parts<br/> buy the electronics<br/> 2x 10k resistor<br/> 1x 3mm LED (+resistor for the LED) in my case 150Ohm<br/> 1x perfboard 6*19 dots<br/> 2x battery holders (AAA)<br/> 2x 4 pin connectors<br/> 1x micro push button (long)<br/> 1x M4 nut and screw<br/> 2x 5mm Neodym magnets<br/> double sided tape<br/> maybe some small springs<br/> 1x esp-01</p> <p><strong>Electronics:</strong></p> <p>wire the Electronic</p> <p>on the picture:<br/> 1- 10k resistor<br/> 2 - 150Ohm<br/> left side the esp-01 bottom view (means VCC is in upper left corner, GND in lower right)<br/> the hole on the left is for a M4 screw</p> <p>see picture</p> <p><strong>Battery saving hint:</strong></p> <p>some ESP-01 boards have a working red power LED.</p> <p>"Note: Some batches of this module ship with LED Current limiting resistors of the wrong value (47Ohm vs 4.7KOhm). This usually results in the power LED vanishing in a puff of smoke. "<br/> <a href="http://www.esp8266.com/wiki/doku.php?id=esp8266-module-family#esp-01">http://www.esp8266.com/wiki/doku.php?id=esp8266-module-family#esp-01</a></p> <p>For our project that fact is good cause we save some power ;)<br/> If the red LED is not destroyed on your board ... destroy it. The LED is also glowing in deep sleep mode so it's draining our battery. I powered mine then I saw where the red LED is located and used a plier to destroy it.</p> <p>see picture.</p> <p>you can use the .ino file from my thingiverse link as a start<br/> <a href="https://www.thingiverse.com/thing:2122239">https://www.thingiverse.com/thing:2122239</a></p> <p>some examples for hue lights are in.<br/> From start to action the button needs about 5 secs<br/> maybe you can reduce the time by using static ip adresses</p>
With this file you will be able to print The Button with your 3D printer. Click on the button and save the file on your computer to work, edit or customize your design. You can also find more 3D designs for printers on The Button.