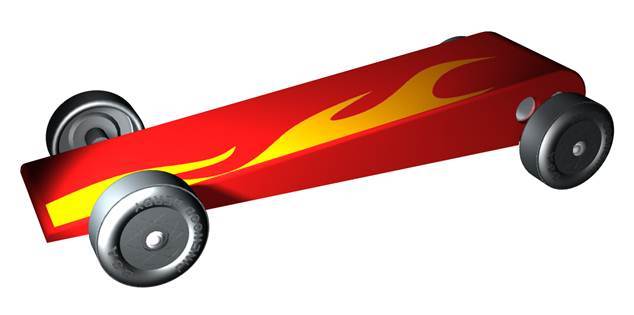
The Flying Wedge Pinewood Derby Car and Template
thingiverse
*IF YOU MAKE A CAR WITH THIS TEMPLATE (3D PRINTED OR OUT OF WOOD), PLEASE "POST A "MAKE" WITH PICTURES!* This is a template for making the BoysDad.com "The Flying Wedge" pinewood derby car. Details can be found at http://boysdad.com/archives/3306. There are multiple versions of the template as well as a 3D printable version of the car. A summary of the versions are: * _Templates to build car with standard derby block (molten lead version):_ Templates for both 4 wheels on the track and raised RF wheel (the boysdad.com version has a raised RF wheel but this may not be legal in your pack). This two hole version is for using molten lead poured into the wooden derby block weight holes per the boysdad.com instructions. * _Templates to build car with standard derby block (3/8" steel rod version):_ This also has 4 wheel and 3 wheel (RF raised) versions. The template has been modified to drill 3 holes for weights to be used with 3/8" steel rod which you can buy for $5 or less for a 3-4' length at your local big box. This avoids working with lead and the 3 steel weights made from 3/8" rod approximate the weight of the 2 lead weights and are also heavier than the similarly sized round derby weights. Note that I moved the bolt cavity forward a little bit to accommodate space for the 3 weight holes. * _3D printable cars:_ You can also print the car on your 3D printer if you want (probably not be BSA legal but maybe if you include a chunk of the BSA pinewood block somewhere). These models are designed to be used with 3/8" steel rod (no pouring molten lead into PLA). The holes are actually 9.8mm and may need to be cleaned out with a 3/8" drill bit to get them perfectly round (3D printing leaves a flat spot at the top due to the layering of material to make the round shape). The axle holes are oversized at 2.6mm (the PLA shrinks and you end up with a smaller hole than what was designed) and you should be able to push your axle in without drilling out the hole. *Building you car from a BSA pinewood derby kit -* If you use the template to build your car, you should be able to put your block of pinewood into the template, hold together with clamps if needed, and use it to drill the axle and weight holes as well as cut and sand the wedge shape. This template also acts as an inlay template for a router to hollow out the cavity on the bottom of the car where the bolts and washers go. There is a 1/8" (1/16" on each side) increase in dimensions for the inlay template based on a 1/4" straight router bit and a 5/16" OD router inlay adapter. The bottom of the template is about 8.25mm on the bottom to clear the 5/16" inlay adapter that I have (mine is from Harbor Freight). If you are using the inlay template, I would not cut the block on an angle until you did the router work. If you leave the square block, you can easily clamp the block in a vice while using the router. Just make sure the template is secured to the block. You can use 3/8" bolts through two of the weight holes to do this.. Also make sure you have the proper depth and rotate the router in the correct direction. If you don't know what you are doing with a router maybe skip this part and just put stick on weights as needed. *Double your fun -* If you use the template on a standard derby block, you can actually make two flying wedges if you do the angle cut close to the template. *Printing the 3D car model of The Flying Wedge -* These are meant to be for the most part "print and play." In Cura you can use the lay flat option under rotate to get to lay flat and print top side down. As noted below, you may need to clean out the weight holes with a drill bit as these will not be perfectly round and may vary slightly due to the 3D printer and filament that you use. There are two indentations where the #8 bolts get epoxied in the cavity on the bottom side of the car. *The Flying Wedge car body weight calculator -* To aid in figuring out the infill and if you will make weight, there is an Excel weight calculator. The grams calculation in Cura seems to be pretty accurate. So you can use this calculator to determine how much weight you need to add at a given print setting / Cura grams calculation using the setup of your car. I included weights of the wheels and axles, the 3 3/8" x 1 3/4" round steel weights, and bolts and nuts. You can then add your Cura calculated weight based on print settings and see the excess or deficit to get to 5.0 oz. I would plan on having at least a small deficit in case things end up heavier and you can make up the deficit with washers. *Drilling axle holes -* My templates have axle holes designed for a #44 (0.086") drill bit hole. The BoysDad.com website calls for a #49 (0.0730"). I have a #44 bit and according the engineering data on the BoysDad.com website the derby nails are 0.087" thick. I have used the #44 on a couple of cars and the nails fit nicely and I haven't had any issues whatsoever with nails coming out, even a year or so later. You can also use a 2 mm bit if you have one which is just slightly smaller than a #44. A drill press that has been checked for square with a machinist square is much preferred here but this can also be done with a hand drill. Just be careful to let the printed hole guide the bit and don't let the drill wander while drilling. *Drilling weight holes -* The weight holes are 3/8" although maybe try smaller bits and build your way up as the pinewood likes to split. If you are burying your weights under wood putty or wood filler this is less of an issue. You may also want to stop at 23/64" if you have it and see if you can squeeze your weights in. A drill press is still preferred but a little less necessary that with axle holes which need to be perfectly straight for obvious reasons. CHECK WITH YOUR PACK FOR RULES ON DRILLED AXLE HOLES AND RAISED WHEELS! If you must use slots, try my axle keepers thing at https://www.thingiverse.com/thing:3389739. I also have a axle hole drilling template at https://www.thingiverse.com/thing:3388371 that will allow you to drill out the square slots with a #44 bit so the axles go in easier and straighter, and have less chance of splitting the wood (which ALWAYS seems to happen).
With this file you will be able to print The Flying Wedge Pinewood Derby Car and Template with your 3D printer. Click on the button and save the file on your computer to work, edit or customize your design. You can also find more 3D designs for printers on The Flying Wedge Pinewood Derby Car and Template.