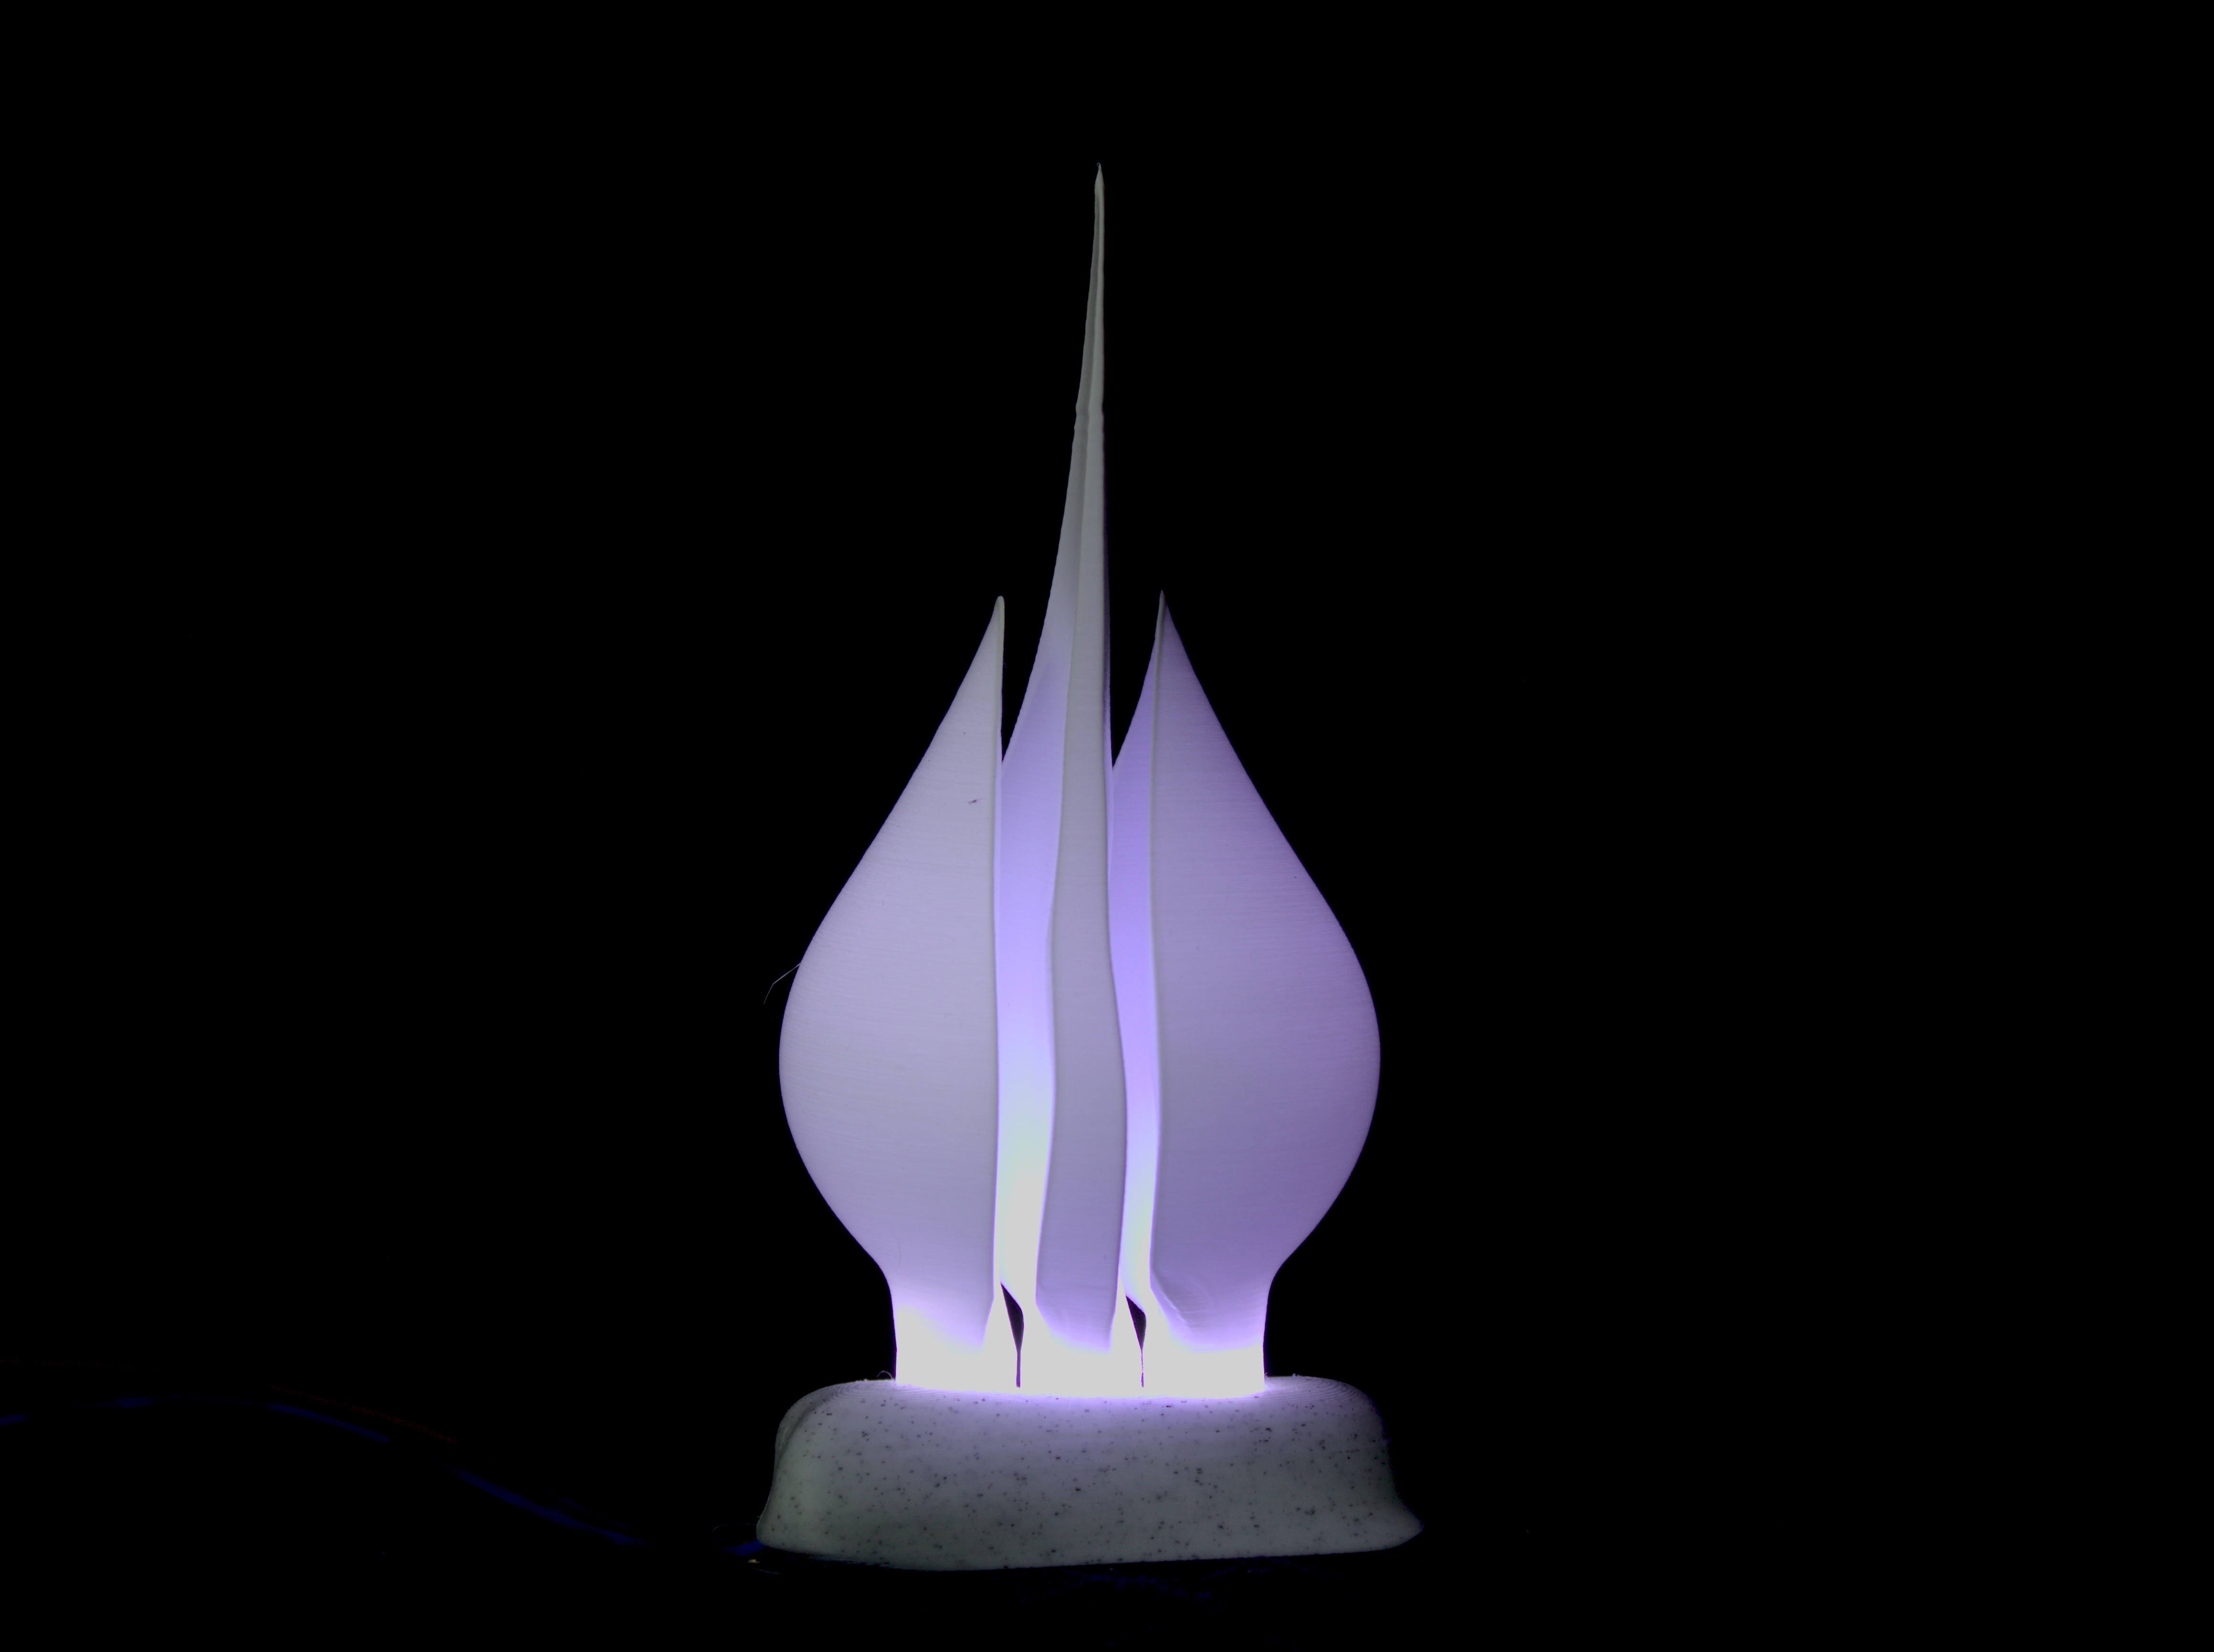
The Goganthale Orb (LED Light)
prusaprinters
<p>Whimsical light feature representing an orb waiting for its story</p> <p>Features a 50mm LED strip built directly into the base. (That is, stop the printer, place the LED, resume printing, 'Built-in-place'.)</p> <p>Placing the LEDstrip, as you print, is easier than you might think. The method creates a single sealed unit with no need for an access door or a post fit process.</p> <h3>Print instructions</h3><p>0.2 layer height</p> <p>Print the objects 'Left', 'Right' and 'Centre' using 'vase' mode, (PrusaSlicer 'Spiral vase', this creates hollow objects with an even thickness. Use white, light coloured or translucent filament.</p> <p>In PrusaSlicer default creates a bottom shell. Leave this on for stability while printing. However, when printed, you will need to cut it off, so it fits the base.</p> <p><strong>Assembly</strong></p> <p>The design fits a LED strip 50mm x 10mm x 3mm; this should fit most brands. If not the following link makes available the original fusion 360 files as well as several other formats including STEP.</p> <p><a href="https://a360.co/334D6PJ">Get CAD files if needed</a></p> <ol> <li><p>Prepare the LED before you print, solder or use a solderless joiner to attach wires to LED strip. (Wires should be no more than 0.2mm diameter).</p> </li> <li><p>Set slicer to pause so you can insert the LED</p> </li> </ol> <p>If using PrusaSlicer</p> <ol> <li>Set other parameters as required</li> <li>Push 'Slice Now' to create the layers</li> <li>Pull the top part of the layer slider, (Long orange thing to the left of the image), down till no more filament paths cross over where the LED sits. This should be layer 78 @ 0.2mm layer height. (See image)</li> <li> Right click on the little plus sign and select "Pause Print"</li> <li> If you wish, enter a message to yourself like "Don't forget to expose sticky stuff" and then click "OK"</li> <li> Click 'Slice Now' again</li> </ol><p>Print</p> <ol> <li>Start your print</li> <li>When the printer pauses. Pass the wires through the opening provided till they emerge at the bottom edge of the hase, then pull them through. (See image)</li> <li>Take the thin strip off the back of the LED so the sticky part is exposed, then place firmly down in position (See image)</li> <li>Check that leads will not interfere with the print (See image)</li> <li>Restart the printer</li> </ol><p>When printing finished</p> <ol> <li>Join wires to a 12v female plug</li> <li>Assemble parts</li> <li>Connect to a suitable 12v power supply<br/> Enjoy!</li> </ol>
With this file you will be able to print The Goganthale Orb (LED Light) with your 3D printer. Click on the button and save the file on your computer to work, edit or customize your design. You can also find more 3D designs for printers on The Goganthale Orb (LED Light).