The Last Supper 3D
pinshape
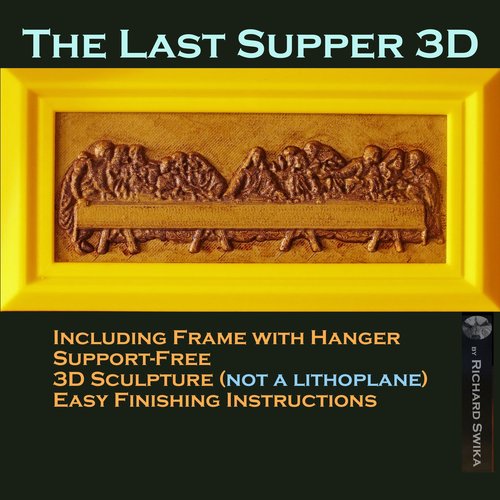
Leonardo Da Vinci’s “Last Supper” sculpted in relief for 3D printing. Includes a separate frame model for easier finishing and printing. Both models print quickly without any support, waste or cleanup. Finishing is purely optional, but is fun and easy to get a nice shaded appearance. Instructions Requires a usable build plate size of at least 191mm x 152mm. Because of the large size of these models, it is essential to have a perfectly level and clean build plate, with plenty of adhesion. Otherwise these are easy prints. There are no overhangs. The yellow frame in the picture was printed in ABS and came out with practically no warping because it did not release from the build plate at all during printing. Print picture at 0.1 mm, 20% in fill, no support. 152mm x 60mm x 4.5mm Print frame at 0.2 mm, 15% in fill, no support. 191mm x 94mm x 8mm Finishing: Spray with any paint that bonds to plastic. Mist on the first coat so the surface only becomes tacky. Spray at a 45% angle from each edge to you cover all the sides. Once the first coat has started to dry, spray on an even coat, again at a 45% angle from each edge, start spraying before you hit the piece and continue past it so you don’t start or stop on the piece. The tacky undercoat allows for a thicker more even second coat. You want the paint to even out some of the gaps between layers. You can repeat the above until you are satisfied with the coverage and surface finish. Let it dry. Seal this with a light coat of acrylic sealer. I like matt or satin. This is essential for the next step. To shade the valleys of the picture you’ll need a dark brown or black ink or paint. I used ink because it doesn’t stick very well to the acrylic, but will stain it, darker the longer you leave it on. You can experiment with whatever you have laying around, as long as it is transparent. Oil works. Water color works. Pastels work. Ink works the best, IMHO. I poured a small amount of brown ink directly onto the painting. It naturally flows into the lower points. I then used a brush to spread it around and shade until I was a happy. I dapped it off with a paper towel until I was happy with the shading. That’s it. Spray again with acrylic to seal it. You can try dry brushing on some highlights, or running white pastel or chalk across the ridges for highlights. I didn’t think it was necessary, so stopped after the shading step. Assembly First please notice the three triangle shaped openings on the inside ledge of the frame. There is one at the center top of the frame, and one on each side. This is where you will put the wedges that hold the picture. First, slide the bottom of the picture into the frame. Push it all the way down and then push the top forward. Now you can break apart the wedges and insert them one at a time into the little openings to hold the picture firmly in the frame. Hang using the hole at the top of the frame.
With this file you will be able to print The Last Supper 3D with your 3D printer. Click on the button and save the file on your computer to work, edit or customize your design. You can also find more 3D designs for printers on The Last Supper 3D.