The Observatory: a parametric vertical laptop stand for the M1 Pro/M1 Max MacBook Pro (2021)
prusaprinters
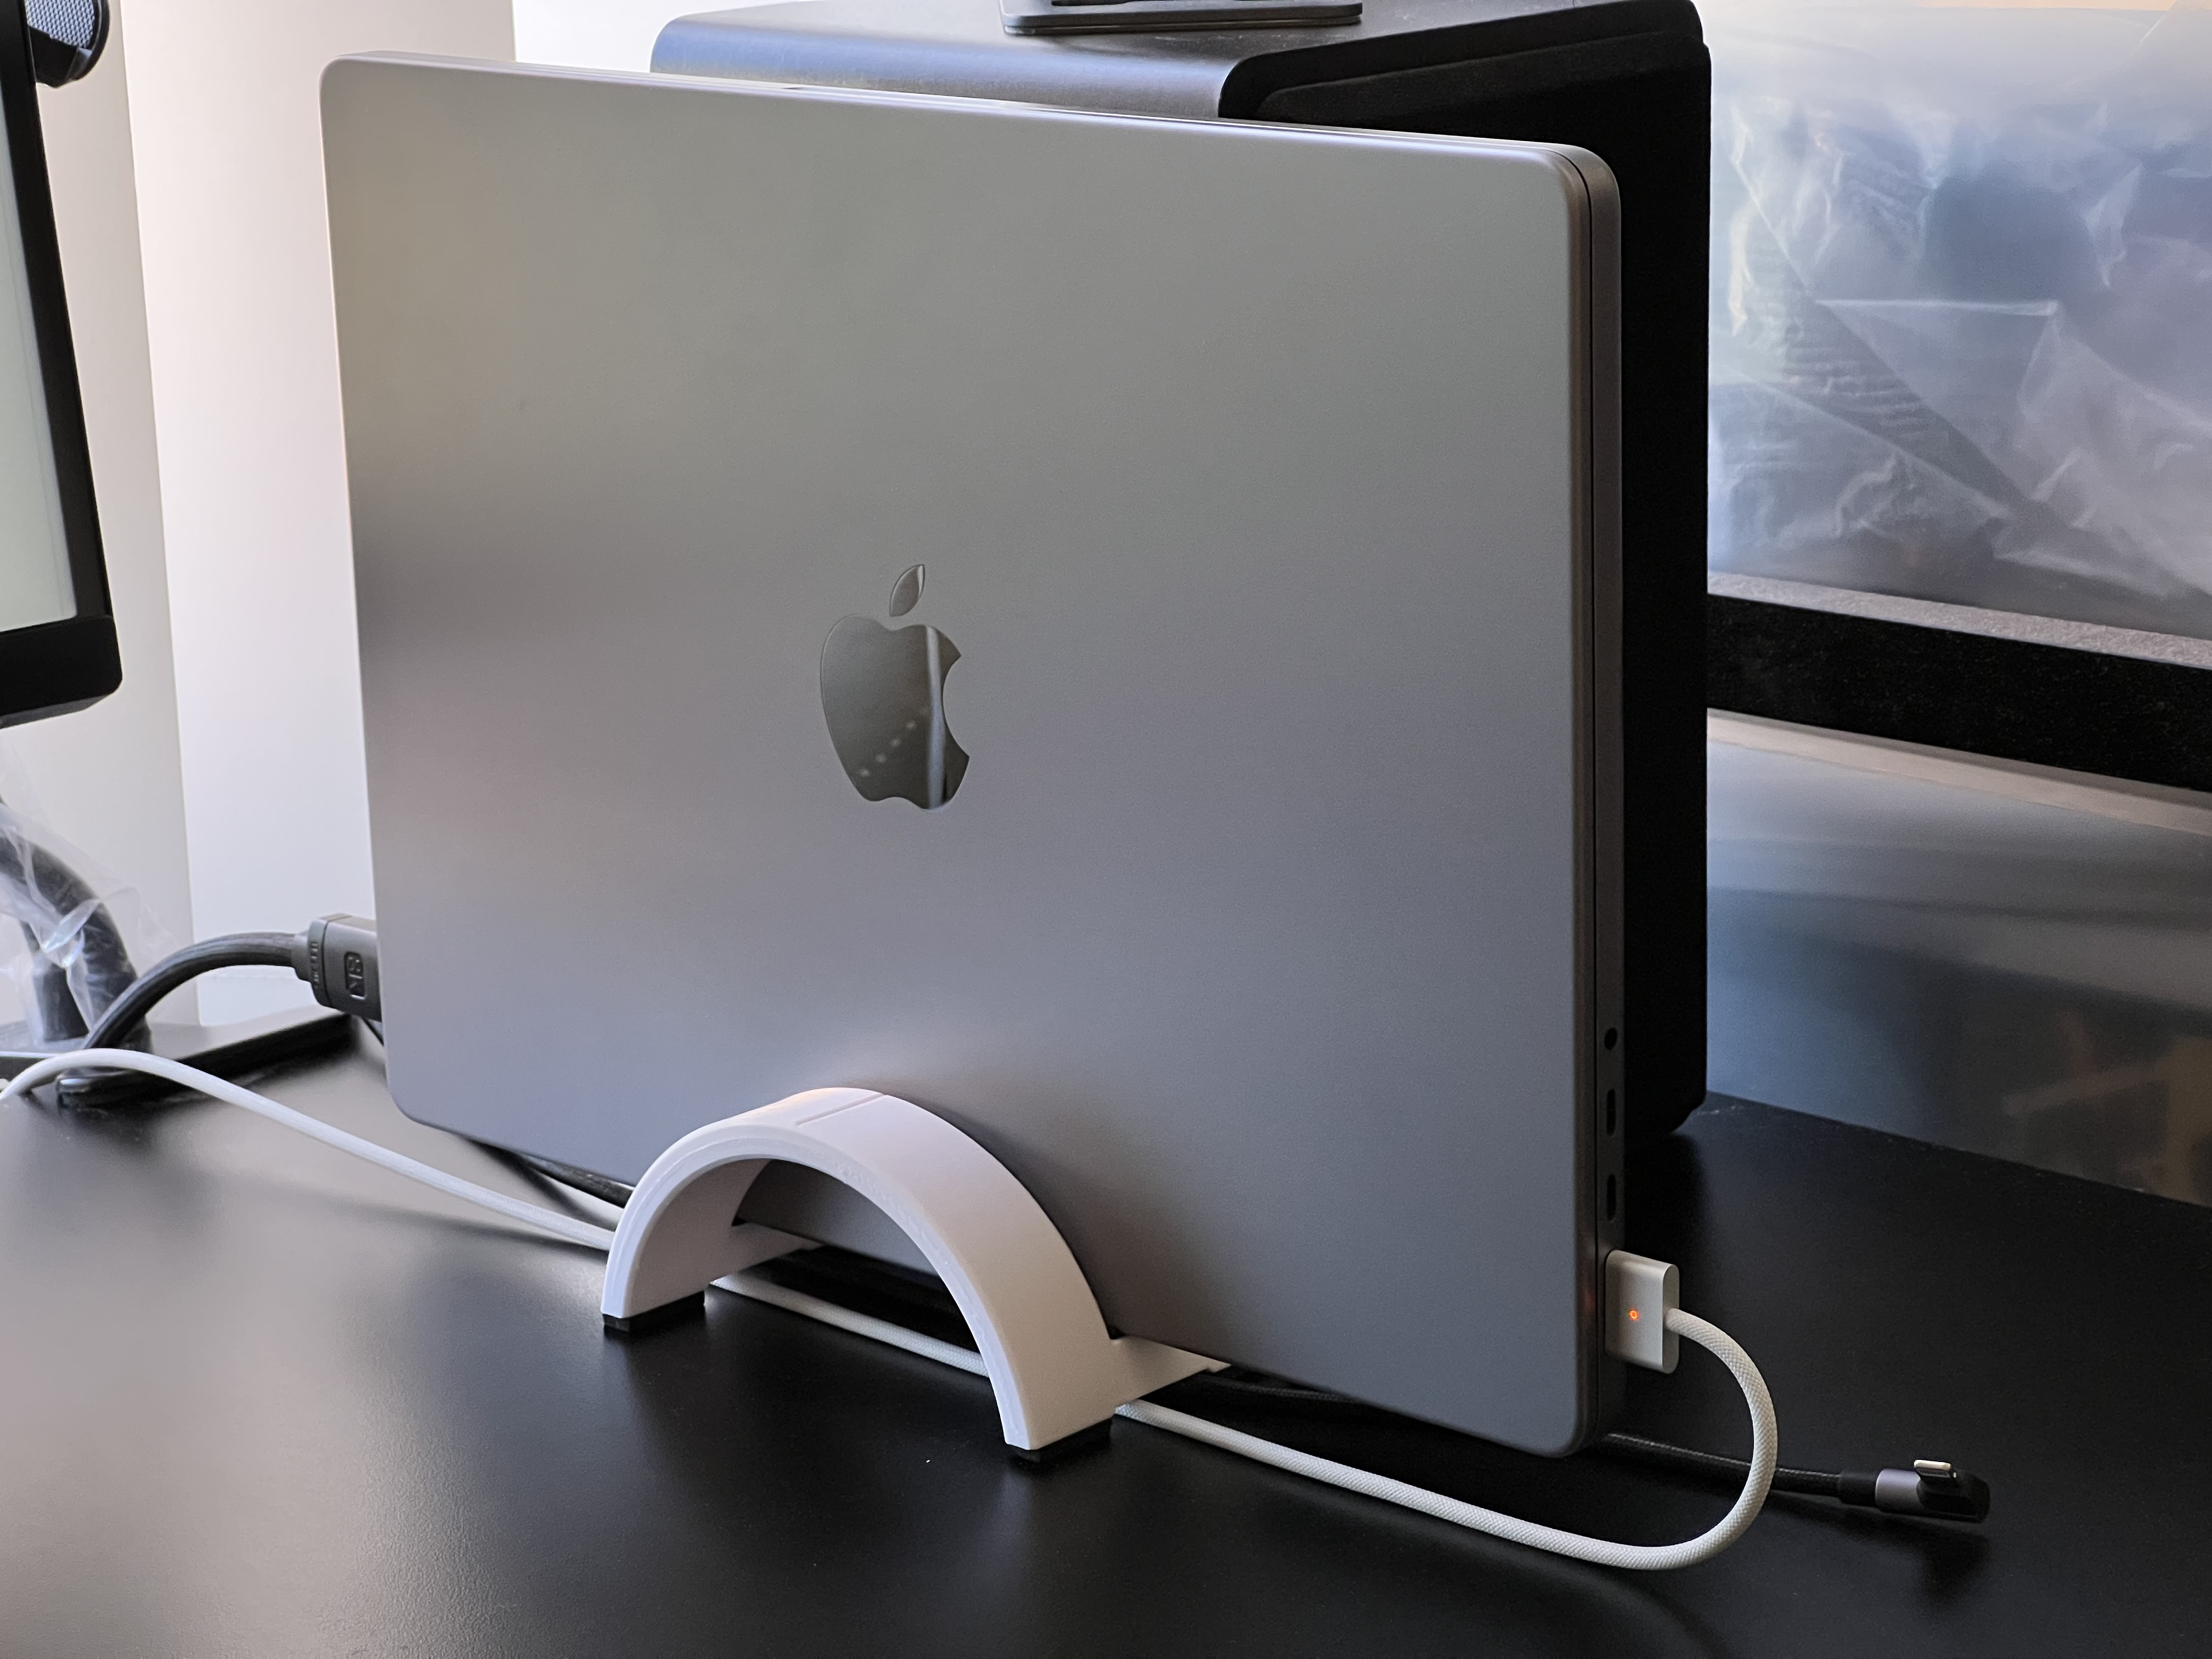
<p>I couldn't find a vertical clamshell stand that meets my requirements, so I made my own. Fits the 14-inch and 16-inch M1 Pro/M1 Max MacBook Pro (2021 model), and is designed to be used with adhesive non-slip rubber feet.</p><p><i>Beta version note:</i></p><p>The 16-inch version has not been tested yet, but it should work as the only difference is the thickness/width of the cutout slot where the MacBook Pro sits. If you've successfully printed and used the 16-inch version of this stand, do let me know or post a Make!</p><h4>Features/specs</h4><ul><li>70 mm wide for maximum stability</li><li>suspends the laptop 15 mm above the desk surface, to allow air flow underneath and around the rear vents</li><li>avoids obstructing the rear air exhaust vents, as long as you correctly centre your MBP on the stand by lining up the notch at the top of the arc with the middle of the Apple logo (or the debossed “MacBook Pro” text on the underside)</li><li>includes a cable management slot underneath the stand (designed to fit most braided cables up to 4.1 mm in diameter, including the MagSafe 3 cable)</li><li>parametric Fusion 360 (.f3d) and STEP source file is included so that you can customise and resize the model for your own specific use case</li></ul><h4>Disclaimer and warning</h4><p><strong>As always, print and use this at your own risk. This stand is intended for light/medium workloads only. It has worked well for me, but I do not and cannot take responsibility for any failures or damage to your computer/property.</strong></p><p>Laptops can get very hot during heavy workloads. There is a very real possibility that a 3D printed stand may warp and fail at high temperatures. Take all necessary precautions! If you are regularly running your laptop hot, I strongly suggest using a metal/aluminium stand instead.</p><h4>Model files</h4><p>There are two 3MF model variants included: </p><ol><li>The first one (preferred variant) is designed to be used with 2.8 mm thickness adhesive non-slip rubber/silicone feet – you can get these from eBay/Amazon or most hardware stores, just get some large rectangular pads and cut them to size. In addition to the 4 feet, I highly recommend also adding rubber pads to the 2 supporting beams that actually hold the laptop up, to help avoid sliding.<br><br>Here's the specific rubber pads that I used, but you should be able to use whatever you have on hand:<br><a href="https://www.ebay.com.au/itm/114473036896">https://www.ebay.com.au/itm/114473036896</a><br>(note that the product description states these are 4 mm thickness, but you need to account for the actual thickness once the rubber pads are compressed/under load)<br> </li><li>The other 3MF model assumes you won't be sticking any rubber feet on underneath. The only difference this makes is the amount of vertical clearance for the cable management slot and the height that the laptop is supported at. I don't recommend using this version of the stand as-is, since there is not enough grip and it tends to easily slide around the desk, and is less stable.</li></ol><p>Note that you can use this latter model with your own measured thickness of rubber feet by chopping off the excess amount of bottom vertical height in PrusaSlicer via the <strong>Cut</strong> tool, like so:</p><figure class="image"><img src="https://media.prusaprinters.org/media/prints/110647/rich_content/deab09d3-1c53-4972-b880-b605946145ba/prusaslicer_cut_keep_upper_part.jpg#%7B%22uuid%22%3A%22df6e20d4-97d9-4124-b095-d6a03d8bb0bf%22%2C%22w%22%3A2528%2C%22h%22%3A1896%7D"></figure><h4>Parametric Fusion 360 (.f3d) and STEP source file</h4><p>I've included the source files in case you want to make your own bespoke versions/remixes. I'm still a F360 novice so please excuse the messy design, but I have used <strong>Parameters</strong> wherever possible so you can readily adjust most of the dimensions.</p><figure class="image"><img src="https://media.prusaprinters.org/media/prints/110647/rich_content/e377dd76-ee73-41c4-90fe-2e9b4670ef61/screen-shot-2022-01-05-at-161448.png#%7B%22uuid%22%3A%2268654023-c1eb-45a0-a000-4c486393beea%22%2C%22w%22%3A1994%2C%22h%22%3A1196%7D"></figure><p>For example, the default <code>RubberFeetThickness</code> is 2.8 mm. Set this to 0 mm if you don't plan on adding any rubber feet.</p><p>The <code>LaptopHeightOrThicknessOfficial</code> determines the thickness/width of the cutout slot that the laptop rests in, and can be set to either <code>MBP14Inch2021Height</code> or <code>MBP16Inch2021Height</code>, or your own custom value. You can adjust this if you use a protective case around your MBP, or if you're making a remix for a different laptop. A default <code>LooseTolerance</code> value of 0.4 mm is then added on top of this to allow the laptop to be readily inserted/removed without friction. You can shrink the tolerance value to 0.2 mm if you want a very tight fit with less wobbliness.</p><p><code>ArcThickness</code> is currently set to 8mm — you can increase this value if you want a chunkier and more substantial stand; this also determines the surface area of the two supporting beams that the laptop rests on.</p><p><code>MaxArcOuterLength</code> defaults to 122 mm for both the 14" and 16" 2021 MBPs and is equivalent to the distance between the two outer exhaust vents. This is then used to calculate the actual length of the arc and distance between the supporting beams that hold the laptop up, without blocking any of the rear exhaust vents. You can adjust this if you have a different model of laptop.</p><figure class="image"><img src="https://media.prusaprinters.org/media/prints/110647/rich_content/b1d54db5-f240-4e86-bb28-91722638e6db/img_4441.jpg#%7B%22uuid%22%3A%22c4414267-6ce8-45db-84ec-ef961186b70d%22%2C%22w%22%3A4032%2C%22h%22%3A3024%7D"></figure><p><i>(ignore the tiny size of the stand in the photo above, this is an optical illusion caused by perspective and distance)</i></p><h4>Print settings</h4><p>The provided 3MF files include the default recommended print settings and print orientation:</p><ul><li>0.20 mm layer height</li><li>6 perimeters (this is crucial for maximum strength, do not skimp on this)</li><li>10% gyroid infill (infill percentage is less important than the number of perimeters)</li><li>7 top and bottom solid layers</li><li>print orientation: I recommend printing the stand lying on its side</li><li>supports are required for the middle cutout where the laptop will sit – I suggest using <strong>Snug</strong> style supports and <strong>unticking Thick Bridges</strong> (found in the latest PrusaSlicer 2.4.0 onwards) for the cleanest print</li></ul><figure class="image"><img></figure><figure class="image"><img src="https://media.prusaprinters.org/media/prints/110647/rich_content/04dab0f2-0c6c-40b1-93db-effa62e6939a/prusaslicer_orientation.jpg#%7B%22uuid%22%3A%2287d1824d-724a-4f7a-a9c4-e0e15d702597%22%2C%22w%22%3A2900%2C%22h%22%3A2175%7D"></figure><p>I strongly recommend using PETG (or even ABS) for better heat resistance, instead of PLA. I find that functional prints like this are best produced hot and slow – I print at 45 mm/s at 245 °C nozzle and 80 °C bed temperature with eSUN PETG, on the Prusa textured PEI powder-coated spring steel sheet.</p><p>Estimated print time with these settings is 5.5 hours, utilising 61 g of filament.</p><p>I strongly advise against using silk/extra shiny filaments for functional prints like this as they tend to be weaker/brittle.</p><h4>Credits and acknowledgements</h4><p>A big thank you to Redditor <i>titleunknown</i> for helping me out by providing air vent measurements for the 16-inch 2021 MBP.</p><h4>Changelog/releases</h4><ul><li><strong>5 January 2022</strong><br>Version 1.1 — beta release of the 16-inch MBP model (untested, but should work)</li><li><strong>2 January 2022</strong><br>Version 1.0 — initial release (14-inch MBP only)</li></ul>
With this file you will be able to print The Observatory: a parametric vertical laptop stand for the M1 Pro/M1 Max MacBook Pro (2021) with your 3D printer. Click on the button and save the file on your computer to work, edit or customize your design. You can also find more 3D designs for printers on The Observatory: a parametric vertical laptop stand for the M1 Pro/M1 Max MacBook Pro (2021).