The Pixel Pixie (DIY fairy LED grid)
prusaprinters
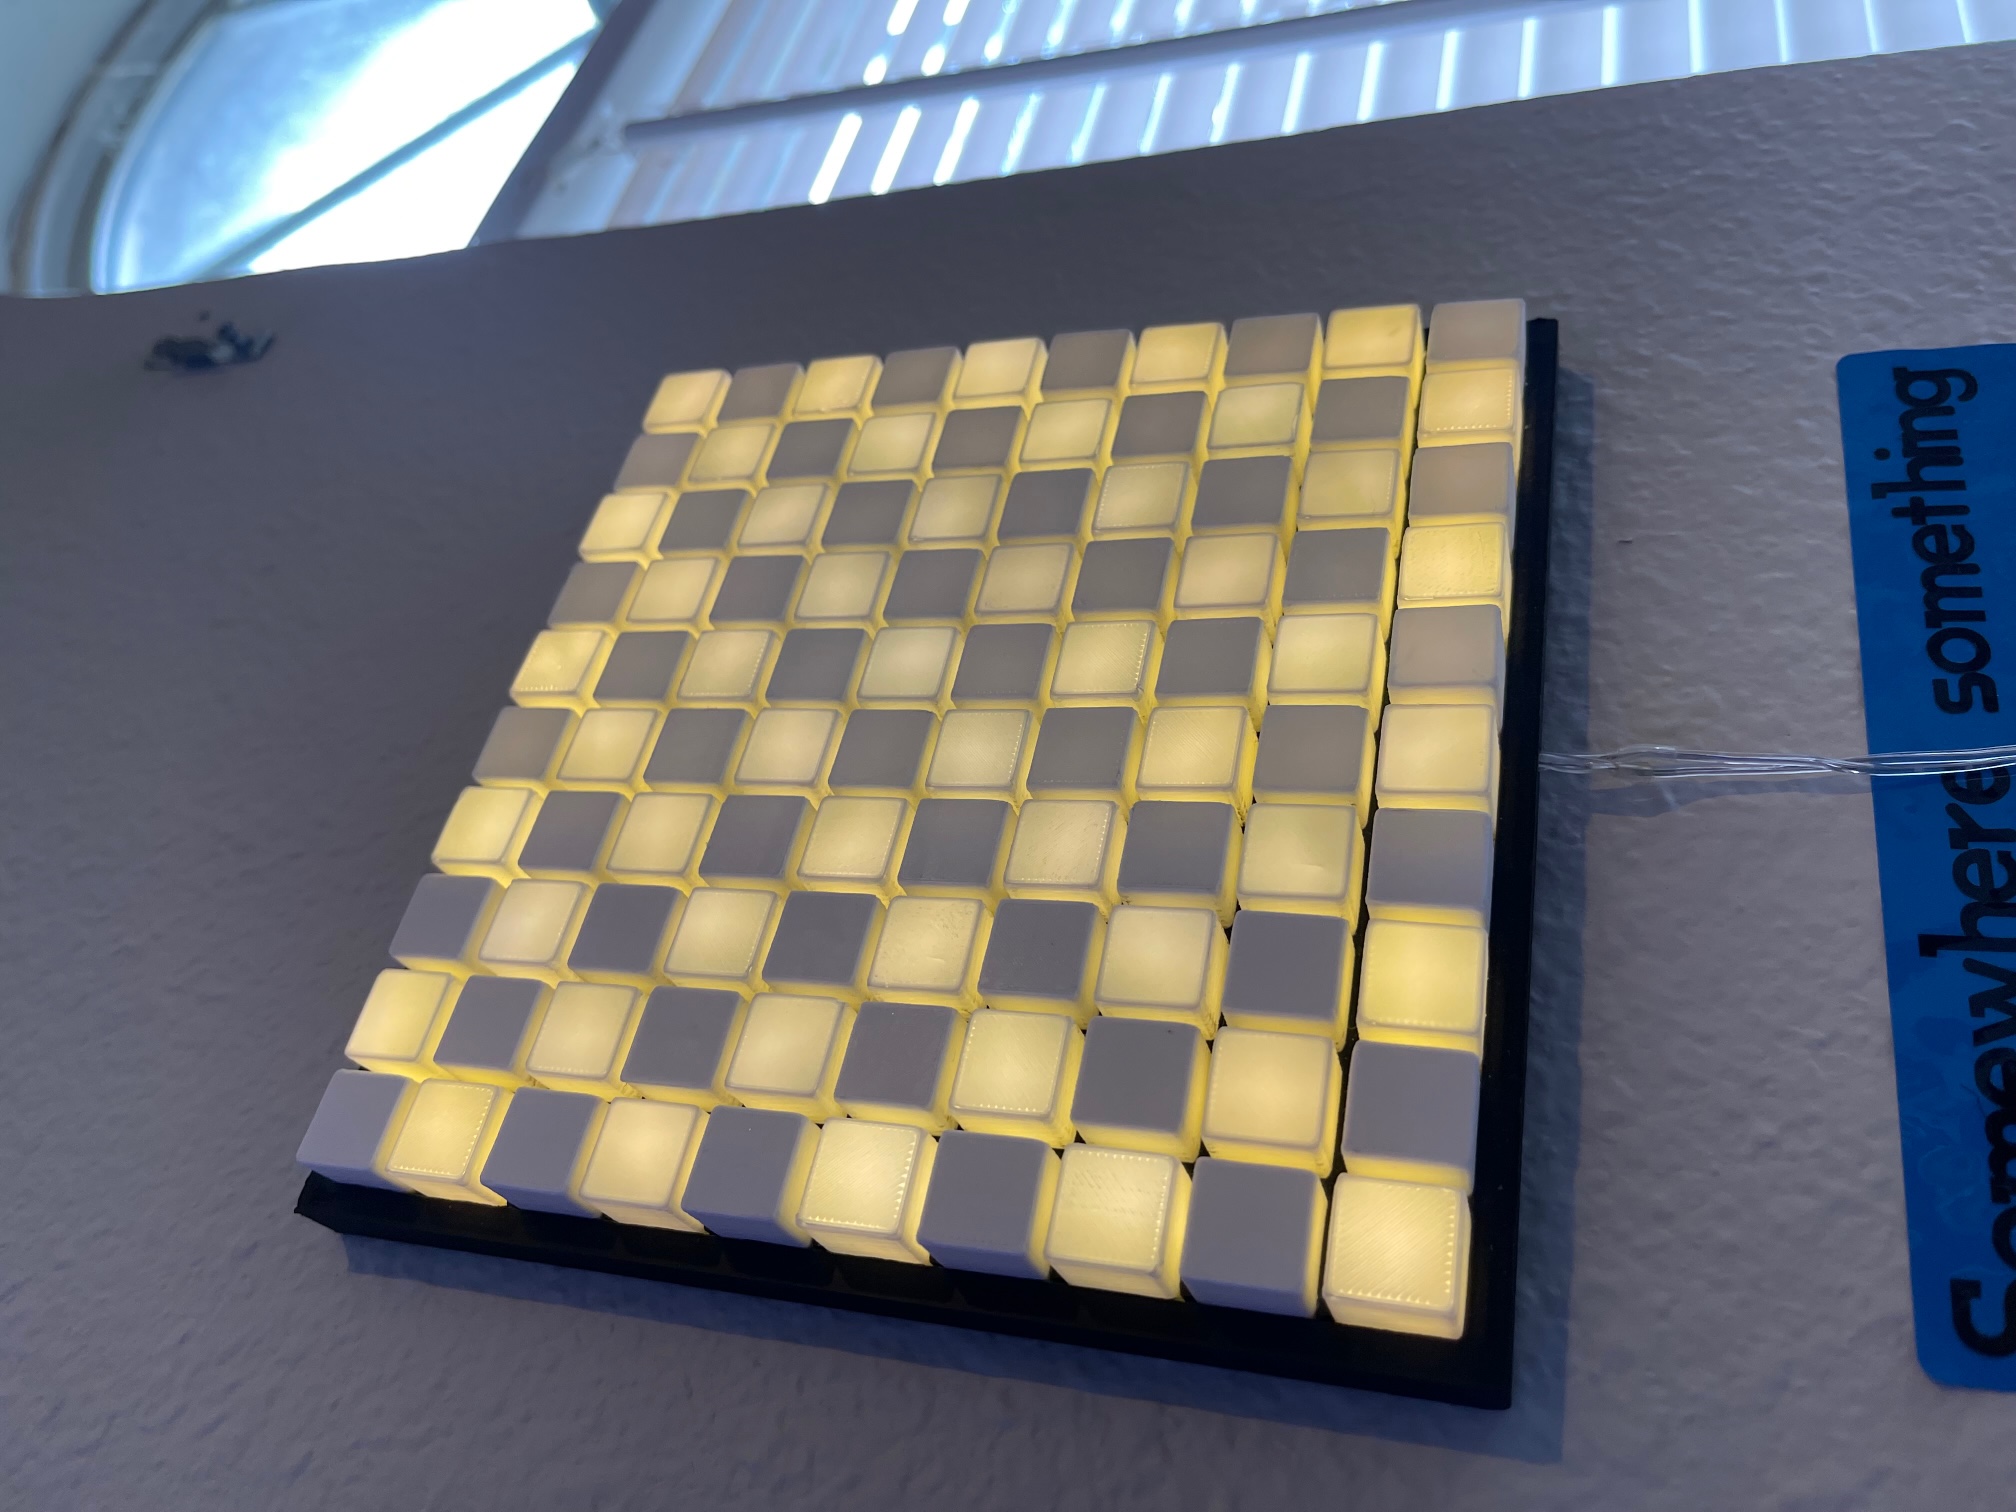
<figure class="image image_resized image-style-align-left" style="width:50%;"><img src="https://media.prusaprinters.org/media/prints/155263/rich_content/248fd42e-5e17-4ae8-b01e-e7862214b8dc/img_8020.gif#%7B%22uuid%22%3A%2269946cb4-c550-4ec6-9848-bfc2b82d7f12%22%2C%22w%22%3A460%2C%22h%22%3A480%7D"></figure><h3>Hi again! </h3><p> I was shopping around and decided to make another thing instead of purchasing. This originally was made for the Neopixel but they weren't available so I used regular fairy LED lights. </p><p> The whole project can be done in a weekend and takes around 24 hours to print, 3 hours to assemble. I'm super curious to see what colors and combos you guys try!! </p><p> </p><p>I have a great video on my TikTok @Joshuaisodd but Prusa won't let me link bc they hate me. :) </p><h3> </h3><p> </p><p> </p><p><strong>You'll need: </strong></p><ul><li>Fairy LED string (100 lights)</li><li>Popsicle Stick</li><li>Hot Glue gun</li></ul><p> </p><p>Notes: </p><p> I definitely recommend using ironing on the base and grate. With those, it doesn't matter on the layer height as much as the cubes. On the cubes, you want to do them at 150 microns layer height so that there is only 300 microns of plastic. Otherwise the light might look faded. </p>
With this file you will be able to print The Pixel Pixie (DIY fairy LED grid) with your 3D printer. Click on the button and save the file on your computer to work, edit or customize your design. You can also find more 3D designs for printers on The Pixel Pixie (DIY fairy LED grid).